The X button on a PS4 controller is a crucial component that allows players to interact with their games effectively. However, like any mechanical component, it can sometimes encounter issues and require repair. In this guide, we will explore how to fix the X button on a PS4 controller, providing step-by-step instructions and troubleshooting tips along the way.
Understanding the Functionality of the X Button
Before we delve into the repair process, it is essential to understand the role of the X button in gameplay. The X button is one of the primary buttons used for confirming actions, jumping, and interacting with objects in many games. Its functionality is crucial for smooth gameplay and can significantly impact the overall gaming experience.
Role of the X Button in Gameplay
The X button serves various purposes depending on the game being played. In platformers, it often functions as a jump button, allowing the player’s character to traverse obstacles and reach higher platforms. The X button’s responsiveness and sensitivity can greatly affect the precision and timing required for successful jumps, making it a vital component for platforming enthusiasts.
In menu navigation, the X button is commonly used to confirm selections, progress through dialogues, and interact with in-game objects. Whether it’s choosing a dialogue option in a role-playing game or selecting an item from a menu, the X button’s reliability is crucial for smooth and intuitive gameplay. A malfunctioning X button can hinder the player’s progress and disrupt the immersive experience.
Common Issues with the X Button
There are several issues that players may encounter with the X button on their PS4 controller. These issues can include unresponsive button presses, sticking buttons, or buttons that require excessive force to activate. Identifying the specific problem is crucial for determining the appropriate repair approach.
An unresponsive X button can be frustrating, as it may prevent players from executing crucial in-game actions or interacting with objects. This issue can occur due to various reasons, such as a faulty connection between the button and the controller’s circuit board or accumulated dirt and debris interfering with the button’s mechanism.
Sticking buttons are another common problem that players may face. This occurs when the X button gets stuck in a pressed position or does not fully return to its original state after being pressed. Sticking buttons can be caused by mechanical issues, such as worn-out springs or misaligned components within the button assembly.
Buttons that require excessive force to activate can also pose a challenge for players. This issue can make gameplay uncomfortable and tiring, as players need to exert more pressure than usual to register button presses. It can be caused by worn-out or damaged button contacts, which affect the electrical connection between the button and the controller’s circuit board.
Understanding these common issues with the X button is essential for troubleshooting and addressing any problems that may arise. By identifying the specific issue, players can take the necessary steps to repair or replace the X button, ensuring a seamless gaming experience.
Tools Needed for the Repair
Before attempting to fix the X button on your PS4 controller, it is essential to gather the necessary tools. Having the right tools at your disposal will ensure that the repair process goes smoothly and without any unnecessary delays or complications.
When it comes to repairing your PS4 controller, having the right tools is crucial. Not only will it make the process easier, but it will also ensure that you don’t cause any further damage to your controller. So, let’s take a closer look at the tools you’ll need to fix that pesky X button.
List of Essential Tools
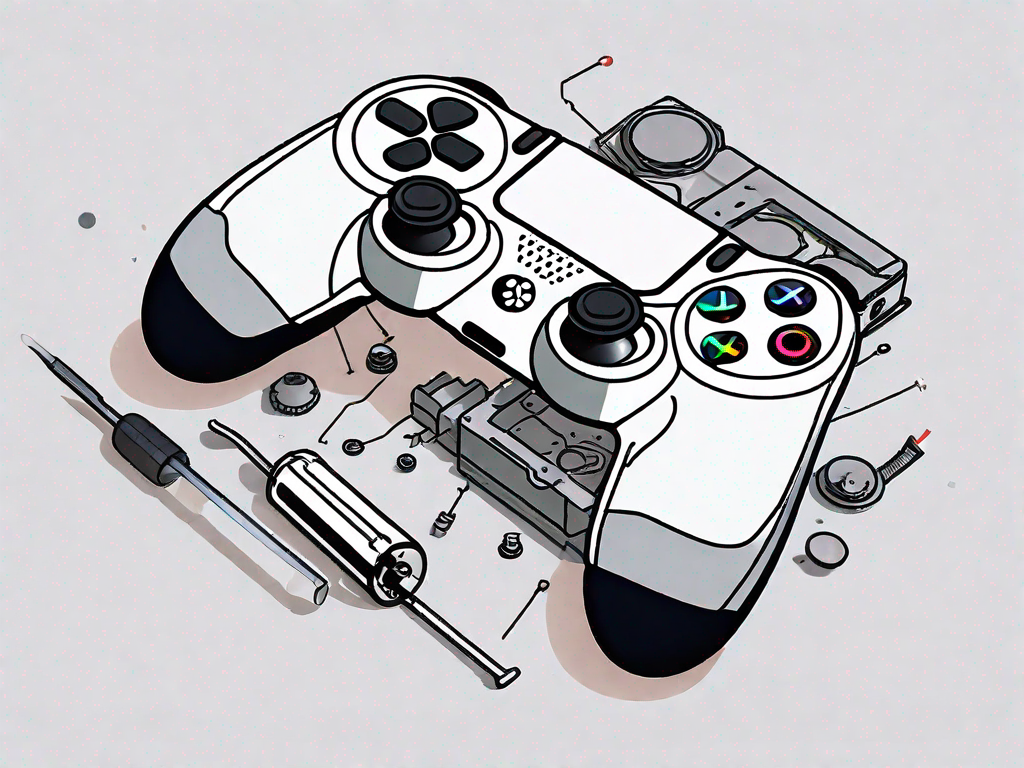
To successfully repair the X button on your PS4 controller, you will need the following tools:
- Small Phillips screwdriver: This tool is essential for removing the screws that hold the controller together. It’s important to have a small-sized screwdriver to ensure a proper fit and prevent any damage to the screws.
- Tweezers: Tweezers are handy for handling small components and delicate parts. They allow for precise maneuvering and can help you remove or insert small pieces without causing any damage.
- Cotton swabs: Cotton swabs are useful for cleaning hard-to-reach areas and removing any dirt or debris that may be affecting the functionality of the X button. They are gentle enough not to scratch or damage the controller’s surface.
- Rubbing alcohol: Rubbing alcohol is an excellent cleaning agent for electronic devices. It helps remove grime, grease, and other substances that may be causing issues with the X button. Make sure to use a high percentage isopropyl alcohol for effective cleaning.
- Replacement button (if needed): If your X button is beyond repair or missing, you may need a replacement button. Ensure that you have the correct button that is compatible with your PS4 controller model.
Safety Precautions While Using Tools
Before proceeding with the repair, it is crucial to take some safety precautions to avoid any accidents or damage. Make sure to disconnect the controller from any power sources and handle all tools with care to prevent injuries. Additionally, consider working on a clean and well-lit surface to aid in the repair process.
Your safety should always be a top priority when working with electronic devices. By following these safety precautions, you can minimize the risk of accidents and ensure a successful repair.
Step-by-Step Guide to Fix the X Button
Now that we have the necessary tools and understand the importance of the X button, it’s time to dive into the step-by-step repair process. Follow these instructions closely to ensure a successful repair.
Preparing Your Work Area
Before starting the repair, create a suitable work area. Lay down a clean, soft cloth to prevent scratching the controller’s surface. This will provide a safe and comfortable space to dismantle and repair the controller.
Additionally, it is recommended to have good lighting in your work area. Proper lighting will help you see the small components and ensure accurate repair.
Disassembling the PS4 Controller
1. Locate the small screws on the back of the controller and remove them using a small Phillips screwdriver.
2. Carefully separate the back panel from the front panel of the controller, exposing the internal components.
3. Take note of the button layout and the position of the X button before proceeding.
It’s important to handle the controller with care during disassembly. Avoid applying excessive force to prevent any accidental damage to the delicate internal components.
Identifying the Problem
1. Inspect the X button for any visible physical damage, such as dirt, debris, or signs of wear and tear.
2. If the button appears dirty, gently clean it using a cotton swab dipped in rubbing alcohol.
3. If the button is damaged or worn, it may be necessary to replace it. Proceed to the next step for repair or replacement instructions.
When cleaning the X button, make sure to be thorough but gentle. Avoid using excessive force that could cause further damage.
Repairing or Replacing the X Button
1. If the button requires repair, gently adjust the button’s position using tweezers to ensure it aligns correctly with the controller’s circuit board.
2. For a button replacement, carefully remove the X button from the circuit board using tweezers. Insert the new button into the corresponding slot.
3. Double-check the alignment of the new button, ensuring it sits flush with the surrounding buttons.
4. Reassemble the controller, following the reverse order of disassembly to put all components back together.
When adjusting the button’s position or replacing it, take your time to ensure proper alignment. Rushing this step may result in a faulty button or improper functionality.
Reassembling the PS4 Controller
1. Carefully align the front and back panels of the controller, ensuring all button placements match up accurately.
2. Gently press the two halves back together until they fit snugly.
3. Replace the small screws on the back of the controller, securing the panels firmly together.
When reassembling the controller, pay attention to the alignment of the buttons and make sure they are in their correct positions. This will ensure smooth operation once the repair is complete.
Troubleshooting Post-Repair Issues
Once you have successfully completed the repair process, it’s time to test the functionality of the X button. However, in some cases, even after repair, issues may persist. Here are some troubleshooting steps to help you address potential post-repair problems.
After repairing the X button on your PS4 controller, it is important to ensure that all the necessary steps have been taken to guarantee its proper functionality. While the repair process may seem straightforward, there are a few additional considerations that can help you achieve optimal results.
Firstly, it is crucial to double-check the alignment of the X button. Although it may seem like a simple task, ensuring that the button is correctly seated on the controller’s circuit board is essential. Any misalignment can lead to issues with responsiveness or functionality. Take a moment to carefully examine the button’s position and make any necessary adjustments.
In addition to alignment, it is also important to clean the button and the surrounding area. Over time, dirt, dust, and residue can accumulate, affecting the button’s performance. To address this, use rubbing alcohol and a clean cloth to gently clean the button and its immediate surroundings. This will help remove any debris that might be interfering with its functionality, ensuring a smooth and responsive experience.
If, despite your best efforts, the X button still doesn’t work properly, it may be time to consider seeking professional repair services or contacting the manufacturer for further assistance. They have the expertise and resources to diagnose and address complex issues that may require specialized knowledge or equipment.
Addressing Other Potential Controller Issues
While the focus of this troubleshooting guide is on the X button, it is important to acknowledge that other issues may arise with your PS4 controller after repairing the X button. These issues can include stick drift, unresponsive buttons, or connectivity problems.
If you encounter any of these problems, it is crucial to troubleshoot them as well to ensure a fully functional controller. Start by consulting the controller’s user manual, as it often contains valuable information and troubleshooting steps specific to your device. Additionally, reaching out to customer support can provide you with expert guidance on resolving these issues.
Remember, a comprehensive approach to troubleshooting will help you address any potential problems that may arise with your PS4 controller. By following the step-by-step guide and troubleshooting tips outlined in this article, you can effectively fix the X button on your PS4 controller and enjoy uninterrupted gaming once again.