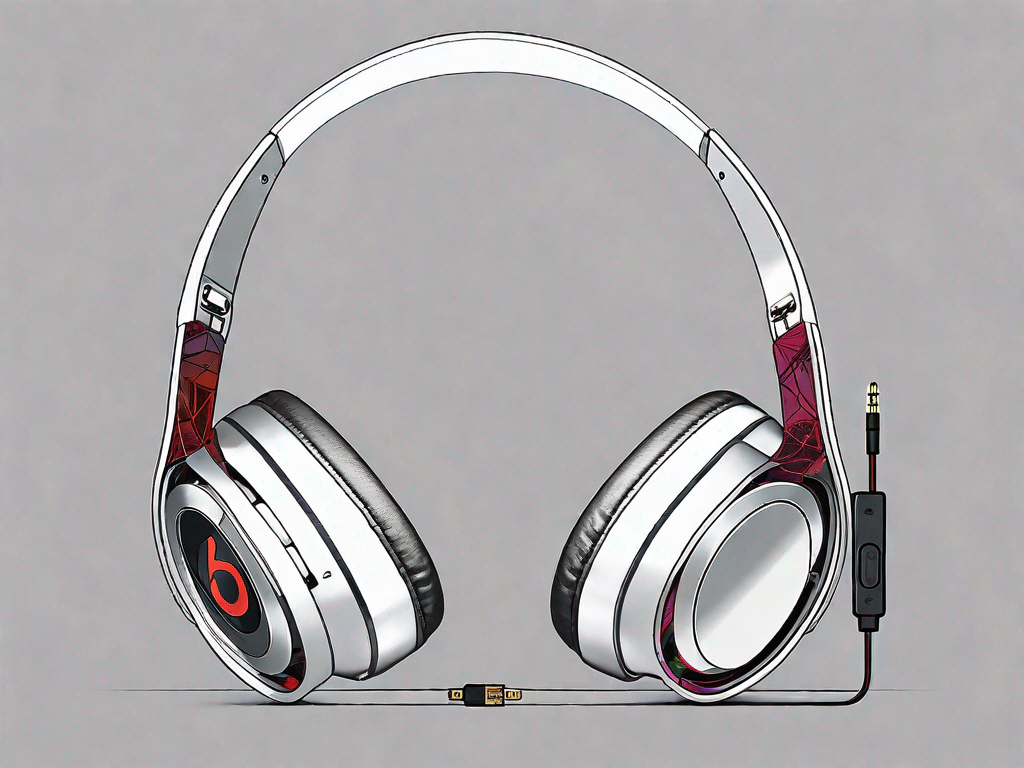
Is your Beats Solo 3 headphone experiencing issues with the right side? Don’t worry, there are steps you can take to fix it. In this article, we will guide you through the process of understanding the problem, gathering the necessary tools, preparing for the repair, following a step-by-step guide, and completing post-repair steps. Let’s get started!
Understanding the Problem
When it comes to troubleshooting and repairing Beats Solo 3 headphones, it’s crucial to have a solid understanding of the common issues that can occur. By familiarizing yourself with these problems, you’ll be better equipped to tackle any repairs that may be necessary.
Common Issues with Beats Solo 3
One of the most prevalent problems that users encounter with the right side of their Beats Solo 3 headphones is sound distortion. This issue can be incredibly frustrating, as it can significantly impact the audio quality and overall listening experience. Another common problem is low volume, where the sound from the right earcup is noticeably softer than the left. Lastly, some users may experience a complete loss of audio from the right earcup, rendering the headphones practically useless.
These issues can arise due to a variety of reasons, including hardware malfunctions, software glitches, or even physical damage to the headphones. Understanding the root cause of the problem is essential in determining the appropriate repair method.
Identifying the Problem with Your Beats Solo 3
If you find yourself unsure about the specific issue affecting your Beats Solo 3 headphones, there are several steps you can take to identify it accurately.
Firstly, try connecting your headphones to different devices. This will help you rule out any compatibility problems between your headphones and a particular device. Sometimes, the issue may not lie with the headphones themselves but rather with the device they are connected to.
Additionally, it’s worth testing your headphones with both wired and wireless connections. This will help you determine if the problem persists regardless of the type of connection used. If you notice that the issue is present in both scenarios, it’s more likely that the problem lies within the headphones themselves.
Furthermore, it’s essential to inspect the external components of your Beats Solo 3 for any visible damage or loose connections. Sometimes, a loose wire or a damaged connector can cause audio issues, and identifying these physical defects can guide you towards the appropriate repair solution.
By following these steps and thoroughly examining your Beats Solo 3 headphones, you’ll be able to gain a clearer understanding of the problem at hand. Armed with this knowledge, you can proceed with confidence towards finding the most suitable repair method.
Tools Needed for the Repair
Essential Tools for Headphone Repair
Proper tools are crucial for successfully repairing your Beats Solo 3. Here are some essential tools you will need:
- Screwdriver set (including various sizes)
- Prying tools (such as plastic spudgers)
- Tweezers
- Multimeter (for advanced troubleshooting)
Repairing your headphones can be a rewarding experience, but it requires the right tools. A screwdriver set with various sizes is essential for removing screws and accessing the internal components of your Beats Solo 3. Prying tools, such as plastic spudgers, are useful for gently separating the different parts of the headphones without causing any damage. Tweezers come in handy when handling small components or delicate wires during the repair process. For more advanced troubleshooting, a multimeter allows you to measure voltage, resistance, and continuity, helping you identify and fix any electrical issues.
Safety Equipment for Electronic Repairs
When working with electronics, it’s important to ensure your safety. These safety items should be considered:
- Anti-static wrist strap
- Safety glasses
- Gloves
- Work mat or surface with ESD protection
Repairing electronic devices like headphones involves handling sensitive components that can be easily damaged by static electricity. To prevent any electrostatic discharge from harming your headphones, an anti-static wrist strap is a must-have. Safety glasses protect your eyes from any potential hazards, such as flying debris or small particles. Gloves not only provide a layer of protection but also help maintain cleanliness by preventing fingerprints or oils from transferring onto the delicate surfaces. Additionally, using a work mat or surface with electrostatic discharge (ESD) protection ensures that any static charges are safely dissipated, reducing the risk of damaging your headphones or other electronic components.
Preparing for the Repair
When it comes to repairing electronic devices, proper preparation is key. Before diving into the repair process, it’s crucial to set up a clean and organized workspace. This will not only make the repair more efficient but also help prevent any accidental damage. Here are some essential tips to consider:
Setting Up Your Workspace
First and foremost, find a well-lit area where you can comfortably work. Adequate lighting is essential for accurately identifying components and ensuring precision during the repair. Natural light or a bright desk lamp can be great options.
Next, create a clean surface to work on. Clear away any clutter or unnecessary items from your workspace. A clutter-free environment will not only help you focus better but also minimize the chances of losing small components or tools during the repair process.
Gathering all the necessary tools and components before starting the repair is another crucial step. Make sure you have a comprehensive toolkit that includes screwdrivers, pliers, tweezers, and any other specialized tools required for the specific repair. Additionally, gather all the replacement components you may need, such as new batteries, cables, or circuit boards.
Safety Precautions Before Starting the Repair
Working with electronic devices requires caution to ensure your safety and prevent further damage. Before you begin the repair, it’s important to take the following safety precautions:
- Disconnect any power source connected to the device. This includes unplugging it from the wall socket or removing any batteries. This step is crucial to avoid electric shocks and prevent accidental short circuits.
- If your repair involves audio devices or charging cables, make sure to remove any headphones or other accessories connected to them. This will prevent any accidental tugging or damage to the cables during the repair process.
- If the device has been in use prior to the repair, allow it to cool down. Some electronic devices can become hot during operation, and attempting a repair on a hot device can be hazardous. Give it a few minutes to cool down and reach a safe temperature before proceeding.
By following these preparatory steps and taking the necessary safety precautions, you’ll be well-equipped to tackle the repair process with confidence and minimize the risk of any mishaps. Remember, a well-prepared workspace and a cautious approach are the foundations of successful electronic device repairs.
Step-by-Step Repair Guide
Opening the Right Side of Beats Solo 3
To begin the repair process, you’ll need to carefully open the right side of your Beats Solo 3. Follow these steps:
- Locate the screws on the outer edge of the earcup
- Use the appropriate screwdriver to remove the screws
- Gently pry open the earcup using a prying tool
Opening up your Beats Solo 3 can be a bit nerve-wracking, but with the right tools and a steady hand, you’ll be able to access the internal components that need attention. Take your time and be gentle to avoid causing any further damage.
Once the earcup is open, you’ll get a glimpse of the intricate inner workings of your headphones. It’s fascinating to see how all the different parts fit together to produce high-quality sound. Take a moment to appreciate the engineering that went into creating these sleek and stylish headphones.
Troubleshooting the Internal Components
Once you’ve opened the right earcup, it’s time to troubleshoot the internal components. Look for any loose wires, disconnected connectors, or damaged parts. Carefully examine each component, taking note of any signs of wear or damage.
If you’re unsure about what to look for, consult the user manual or search online for specific troubleshooting guides for your Beats Solo 3 model. There are many helpful resources available that can provide detailed instructions and visual aids to assist you in identifying and resolving common issues.
If necessary, use a multimeter to test the functionality of different components. This tool will help you determine if a particular part is faulty and needs to be replaced. It’s always a good idea to double-check before proceeding with any repairs to ensure that you’re addressing the correct problem.
Replacing the Speaker in Beats Solo 3
If you have identified a faulty speaker as the problem, you can replace it with a new one. Follow these steps:
- Detach the existing speaker from its connectors
- Carefully connect the new speaker, ensuring proper alignment
- Secure the speaker with any necessary fasteners
Replacing a speaker requires precision and attention to detail. Make sure to handle the new speaker with care to avoid any accidental damage. Aligning the connectors correctly is crucial for optimal sound quality, so take your time to ensure a proper fit.
When securing the speaker with fasteners, be mindful of the appropriate tightness. Over-tightening can cause damage, while under-tightening may result in loose connections. Strike a balance and ensure that the speaker is securely in place without putting excessive pressure on the delicate components.
Reassembling Your Beats Solo 3
Once you have successfully repaired or replaced the right side components, it’s time to reassemble your Beats Solo 3. Reverse the steps used to open the earcup, ensuring that all screws are tightly secured.
Take a moment to appreciate the satisfaction of a job well done as you put the final pieces back together. The reassembly process allows you to reflect on the intricacies of the headphones’ design and the effort you’ve put into restoring them to their full functionality.
Remember to test your Beats Solo 3 after reassembly to ensure that everything is working correctly. Put them on and enjoy the crisp and immersive sound that these headphones are known for. You’ve successfully completed a repair that would have cost you time and money if you had taken them to a professional technician.
By taking the initiative to repair your Beats Solo 3 yourself, you’ve not only saved yourself some cash but also gained valuable knowledge and skills. The ability to troubleshoot and fix electronic devices is a valuable skill in today’s world, and you should be proud of your accomplishment.
Post-Repair Steps
Testing Your Repaired Beats Solo 3
Before declaring your repair complete, it’s essential to test your Beats Solo 3 thoroughly. Connect them to various devices and ensure that sound comes from both earcups without any distortion or volume issues.
Maintenance Tips for Beats Solo 3
To prolong the lifespan of your Beats Solo 3 headphones, consider following these maintenance tips:
- Keep them in a protective case when not in use
- Avoid exposing them to extreme temperatures or moisture
- Clean them regularly with a soft cloth
- Avoid bending or applying excessive pressure to the headband
By following this comprehensive guide, you can successfully fix the right side of your Beats Solo 3 headphones. Remember to exercise caution, use the proper tools, and ensure your workspace is organized. Good luck with your repair!