Nike Air VaporMax shoes are known for their innovative design and comfortable fit. However, over time, the VaporMax bubble on these shoes may develop issues such as leaks or damage. This article will guide you through the process of fixing the Nike Air VaporMax bubble, ensuring that you can continue to enjoy your favorite kicks for years to come.
Understanding the Nike Air VaporMax Bubble
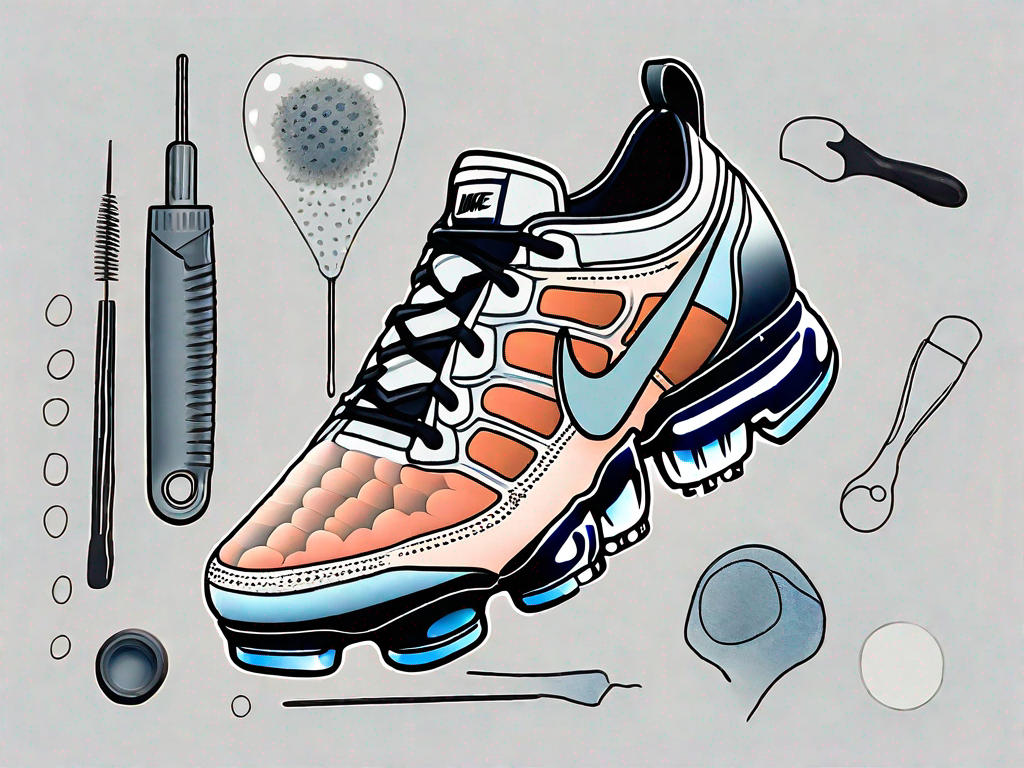
Before we dive into the repair process, it’s important to understand the design and function of the VaporMax bubble. The bubble, located in the sole of the shoe, provides cushioning and impact absorption. It consists of a durable material that is meant to withstand regular wear and tear. However, with constant use, the bubble can develop leaks or suffer damage.
The VaporMax bubble is a marvel of engineering, carefully designed to enhance your performance and comfort. Its unique construction allows it to distribute the pressure of your foot evenly, providing a comfortable and responsive feel. The designers at Nike have taken great care to ensure that every step you take is cushioned and supported.
One of the key features of the VaporMax bubble is its use of air pockets. These pockets of air not only provide cushioning but also absorb impact, reducing strain on your feet and joints. Imagine walking on clouds, each step feeling light and effortless. That’s the experience the VaporMax bubble aims to deliver.
The Design and Function of the VaporMax Bubble
The transparent design of the VaporMax bubble is not just for aesthetics; it allows you to see the air cushioning technology in action. As you walk or run, you can witness the air pockets compress and expand, adapting to your movements and providing a dynamic and responsive ride. It’s like having a personal airbag for your feet.
But what makes the VaporMax bubble so durable? The material used in its construction is carefully selected to withstand the rigors of regular use. It is engineered to resist wear and tear, ensuring that your shoes can keep up with your active lifestyle. Whether you’re hitting the pavement or conquering the trails, the VaporMax bubble is designed to provide long-lasting performance.
Common Issues with the VaporMax Bubble
Despite its durability, the VaporMax bubble is not invincible. Over time, it may develop leaks or suffer from damage due to regular use or accidental incidents. While the designers at Nike have taken every precaution to make the bubble as robust as possible, it’s important to acknowledge that wear and tear is inevitable.
Air leakage is one of the most common issues that can occur with the VaporMax bubble. This can happen due to small punctures or tears in the bubble’s surface, which can gradually worsen over time. It’s essential to address any signs of air leakage promptly to prevent further damage and maintain the integrity of your shoes.
Accidental incidents can also cause damage to the VaporMax bubble. Sharp objects or rough surfaces can puncture or tear the bubble, compromising its functionality. It’s important to be mindful of your surroundings and take precautions to protect your shoes from potential hazards.
If you notice any issues with your VaporMax bubble, whether it’s air leakage, punctures, or tears, it’s crucial to address them promptly. Ignoring these problems can lead to further damage and potentially render your shoes unusable. By taking proactive measures to repair and maintain your VaporMax bubble, you can extend the lifespan of your shoes and continue enjoying the unparalleled comfort and performance they offer.
Tools Needed for the Repair
Now that you understand the basics of the VaporMax bubble, let’s gather the tools you’ll need for the repair process. Here are the essential equipment and safety precautions you should keep in mind:
Essential Equipment for Bubble Repair
Repairing a VaporMax bubble requires a few specific tools to ensure a successful outcome. Here are the essential equipment you’ll need:
- A small flathead screwdriver or a puncture repair tool: This tool will be used to carefully puncture the bubble and release the trapped air. Be sure to choose a tool that is small enough to fit into the bubble without causing any further damage.
- Tweezers: To remove any debris or adhesive that may be present inside the bubble, a pair of tweezers will come in handy. Use them to gently extract any foreign objects or excess glue.
- A patch kit specifically designed for shoe repairs: Look for a patch kit that is specifically designed for repairing shoe bubbles. These kits usually include adhesive patches that can be applied to the damaged area to reinforce and seal the bubble.
- A shoe repair adhesive or glue suitable for use on the VaporMax bubble: To ensure a strong and long-lasting repair, it is crucial to use a shoe repair adhesive or glue that is compatible with the VaporMax bubble material. Look for a product that is specifically formulated for shoe repairs and provides a strong bond.
Safety Precautions and Gear
Before starting the repair, it is important to prioritize your safety and take the necessary precautions. Here are some safety measures and gear you should consider:
- Work in a well-ventilated area: Repairing the VaporMax bubble may involve working with adhesives or glues that emit strong fumes. To protect yourself from any potential respiratory irritation, make sure to work in a well-ventilated area. Open windows or use a fan to improve air circulation.
- Wear gloves to protect your hands from the adhesive and any sharp objects: When handling adhesives or puncture repair tools, it is important to protect your hands from any potential injuries. Wear a pair of gloves that provide good grip and dexterity to ensure safe and comfortable handling.
- Keep a clean cloth or paper towel nearby for cleaning the shoe: During the repair process, it is common to encounter spills or excess adhesive. Having a clean cloth or paper towel within reach will allow you to quickly clean any mess and prevent the adhesive from spreading further on the shoe’s surface.
Step-by-Step Guide to Fixing the VaporMax Bubble
Now that you have all the necessary tools and safety precautions in place, let’s dive into the step-by-step process of fixing the VaporMax bubble:
Preparing Your Shoe for Repair
Start by cleaning the area around the bubble using a mild soap and water solution. This will remove any dirt or debris that could interfere with the repair process. Gently scrub the surface of the shoe, paying close attention to the bubble area. Rinse the shoe thoroughly and pat it dry with a clean towel.
Once the shoe is clean and dry, inspect the bubble for any punctures or tears. Carefully examine the bubble from different angles to ensure you don’t miss any hidden damage. Use your small flathead screwdriver or puncture repair tool to enlarge any existing holes slightly. This will provide a clean and secure surface for the adhesive to bond to.
Take a moment to appreciate the craftsmanship of the VaporMax shoe. The innovative design and unique air cushioning technology make it a favorite among sneaker enthusiasts worldwide. The bubble, which gives the shoe its distinctive look, is not only aesthetically pleasing but also plays a crucial role in providing comfort and support.
Repairing the Bubble
Apply a small amount of shoe repair adhesive or glue to the punctured area of the bubble. Be careful not to use too much adhesive, as it may create a messy appearance and compromise the shoe’s flexibility. Using a patch from your repair kit, carefully place it over the adhesive, ensuring it covers the entire damaged area. Press down firmly to ensure a secure bond between the patch, adhesive, and bubble.
While you wait for the adhesive to dry, take a moment to reflect on the importance of proper shoe maintenance. Regularly cleaning and inspecting your shoes can help prevent issues like bubble damage. It’s always better to catch and address problems early on to extend the lifespan of your favorite sneakers.
Allow the adhesive to dry completely according to the manufacturer’s instructions. This will typically take a few hours. During this time, resist the temptation to touch or test the repaired area. Patience is key to achieving a successful repair.
Post-Repair Steps
After the adhesive has dried, check the repaired area for any excess adhesive or rough edges. If necessary, use tweezers to remove any residue and smooth out the surface. Take your time to ensure a clean and polished finish, as this will contribute to the overall appearance of the shoe.
Once you’re satisfied with the repair, clean the shoe again to remove any adhesive or debris that may have accumulated during the repair process. Use a soft cloth or brush to gently wipe the entire shoe, paying extra attention to the repaired area. Allow the shoe to dry completely before wearing it, as wearing it prematurely could compromise the repair.
Now that your VaporMax bubble is fixed, you can confidently step out in style. Take a moment to appreciate the effort you put into repairing your beloved shoes. Remember, proper maintenance and care will help prolong the life of your sneakers and keep them looking fresh for years to come.
Maintenance Tips for the VaporMax Bubble
Now that you’ve successfully repaired your VaporMax bubble, it’s important to take proper care of your shoes to prevent future damage. Here are a few maintenance tips to keep your VaporMax bubble in top condition:
Regular Cleaning and Care
Regularly clean your shoes using a mild soap and water solution. This will help prevent dirt buildup and prolong the life of your shoes. Avoid using harsh chemicals or excessive scrubbing, as this could damage the bubble.
Avoiding Common Damage Causes
Be mindful of activities that could potentially damage the VaporMax bubble, such as dragging your feet or exposing the shoes to sharp objects. Additionally, avoid wearing your VaporMax shoes for activities that may subject them to excessive strain, such as intense sports or hiking on rough terrain.
When to Seek Professional Help
In some cases, the damage to the VaporMax bubble may be beyond your ability to repair. If you notice severe damage or if the bubble continues to leak even after repair attempts, it may be time to seek professional help. Look for a reliable shoe repair service that specializes in Nike Air VaporMax shoes.
Recognizing Unfixable Damage
Unfixable damage to the VaporMax bubble typically includes large punctures or tears that compromise the structural integrity of the shoe. If the damage is extensive or affects your comfort and safety while wearing the shoe, it’s best to consult a professional.
Finding a Reliable Shoe Repair Service
When seeking professional help, research local shoe repair services and read reviews from previous customers. Look for professionals who have experience working with Nike Air VaporMax shoes specifically. Consult with the repair service to assess the damage and discuss potential solutions.
By following this guide, you can fix the Nike Air VaporMax bubble and extend the lifespan of your favorite shoes. Remember to gather the necessary tools, follow the step-by-step repair process, and maintain your shoes to prevent future damage. Whether you tackle the repair yourself or seek professional help, your VaporMax shoes will continue to provide comfort and performance for years to come.