The back of a shoe is an essential component that provides support and stability to your feet. However, over time, it can get damaged and require repair.
In this step-by-step guide, we will walk you through the process of fixing the back of a shoe, ensuring that it looks and feels as good as new.
Understanding the Problem: Damaged Shoe Backs
The first step in fixing the back of a shoe is understanding the type of damage it has sustained. There are several common types of shoe back damage that you may encounter:
- Friction-induced wear and tear
- Cracks or splits in the material
- Separated or loose stitching
- Broken or damaged heel cup
Identifying the specific problem with your shoe back will help you determine the appropriate repair method.
Common Types of Shoe Back Damage
Friction-induced wear and tear is often caused by rubbing against hard surfaces, leading to scuffs, scratches, and even holes. This type of damage is commonly seen in shoes that have been extensively used or those that have been subjected to rough conditions. It is important to address this issue promptly as it can compromise the structural integrity of the shoe.
Cracks or splits in the material can occur due to age, poor maintenance, or rough handling. Over time, the materials used in the shoe back may become brittle or weakened, making them more prone to developing cracks. Additionally, mishandling or improper storage can contribute to the formation of splits. These types of damage not only affect the aesthetics of the shoe but can also lead to discomfort and reduced functionality.
Separated or loose stitching may result from regular use or inadequate construction. When the stitching that holds the shoe back together becomes loose or unraveled, it can cause the shoe to lose its shape and stability. This issue is commonly seen in shoes that have not been constructed with high-quality materials or proper craftsmanship. It is crucial to address this problem to prevent further damage and ensure the longevity of the shoe.
Lastly, a broken or damaged heel cup can cause discomfort and instability while walking. The heel cup provides support and stability to the back of the foot, and any damage to this area can significantly impact the overall functionality of the shoe. This type of damage can occur due to excessive pressure, improper fit, or accidents. Repairing or replacing the heel cup is essential to restore the shoe’s original comfort and support.
Why Fixing Your Shoe Back is Important
Repairing the back of your shoe is important for several reasons. First and foremost, it ensures that your shoe remains functional, providing the necessary support. When the shoe back is damaged, it can affect the overall fit and stability of the shoe, leading to discomfort and potential foot problems. By addressing the damage, you can restore the shoe’s functionality and ensure a comfortable wearing experience.
Additionally, fixing the shoe back prevents further damage and extends the lifespan of your favorite pair. When left unattended, minor damage can worsen over time, leading to more significant issues that may be irreparable. By addressing the problem early on, you can prevent the need for more extensive repairs or even having to replace the entire shoe.
Lastly, a well-maintained shoe back enhances the overall appearance of the footwear, allowing you to step out in style. The back of the shoe is a noticeable part of the design, and any damage or wear can detract from its visual appeal. By repairing and maintaining the shoe back, you can ensure that your favorite pair of shoes always looks its best, adding a touch of elegance to your outfit.
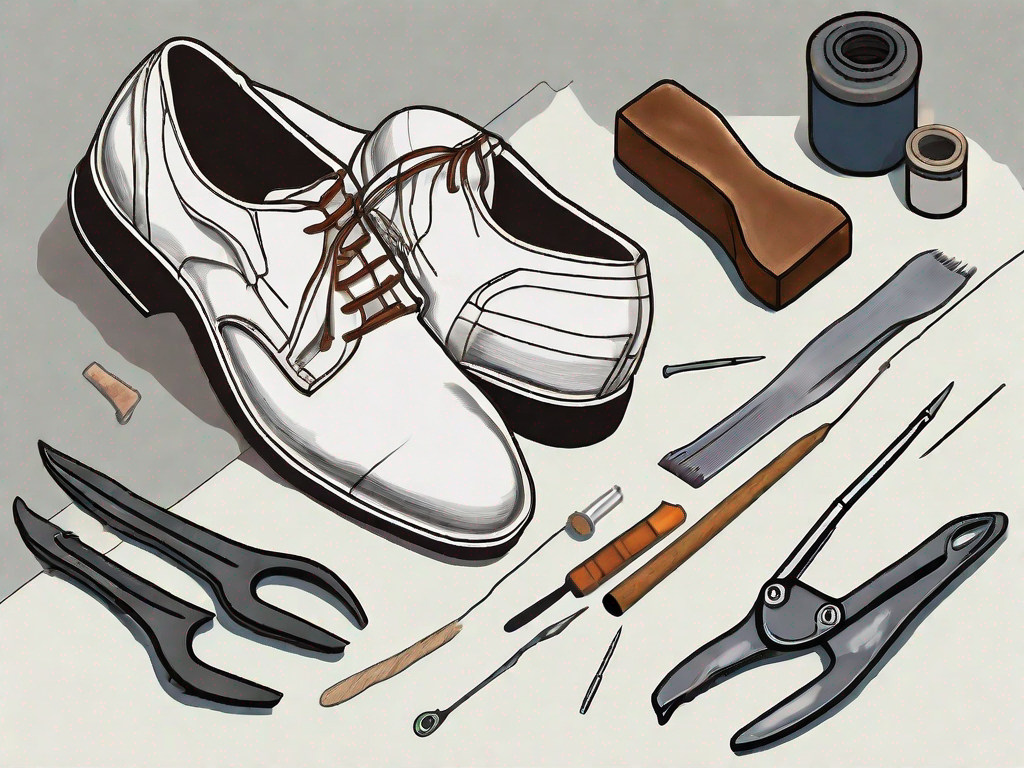
Tools Needed for Shoe Back Repair
Before you embark on your shoe back repair journey, it’s essential to gather the necessary tools. Depending on the extent of the damage and the materials used in your shoes, you may need both basic household tools and specialized shoe repair equipment.
When it comes to repairing the back of your shoes, having the right tools can make all the difference. Not only will they help you achieve a more professional-looking repair, but they will also ensure that your shoes are restored to their former glory, ready to be worn again with confidence.
Basic Household Tools
Some of the basic household tools you might require include:
- Scissors: A sharp pair of scissors is essential for cutting any loose threads or excess material during the repair process.
- Needle and thread: Whether you’re stitching up a tear or reattaching a detached part, a needle and thread will be your best friends. Make sure to choose a thread that matches the color of your shoes for a seamless repair.
- Glue: A strong adhesive is crucial for bonding materials together. Look for a glue that is specifically designed for shoe repair, ensuring a secure and long-lasting hold.
- Iron: If your shoes have wrinkled or creased leather, an iron can help smooth out those imperfections. Remember to use a low heat setting and place a cloth between the iron and the shoe to prevent any damage.
- Leather conditioner: To keep your shoes looking their best after the repair, a leather conditioner is a must. It will moisturize and nourish the leather, preventing it from drying out and cracking.
Having these basic household tools at your disposal will enable you to tackle a wide range of repair tasks, from minor fixes to more extensive restoration projects.
Specialized Shoe Repair Tools
In some instances, you may need specialized shoe repair tools, especially if you’re dealing with more extensive damage or specific shoe constructions. These tools include:
- Shoe last: A shoe last is a foot-shaped mold that helps maintain the shape of the shoe during repair. It provides stability and support, ensuring that your repairs are done accurately.
- Leather awl: An awl is a pointed tool used for making holes in leather. It’s particularly useful when stitching or replacing parts of your shoe’s back.
- Crimping pliers: Crimping pliers are used to secure metal or plastic components, such as eyelets or buckles, onto the shoe. They create a tight and secure attachment, adding both functionality and style to your repaired shoe.
- Sewing machine: For more complex repairs or if you’re working with thick materials, a sewing machine can save you time and effort. It allows for precise stitching and ensures a strong and durable bond.
- Heel replacement kit: If the back of your shoe has a damaged or worn-out heel, a heel replacement kit will come in handy. It typically includes a replacement heel, nails, and any necessary tools for removing the old heel and attaching the new one.
Investing in specialized shoe repair tools can elevate your repair skills to a professional level. Not only will they make the process easier and more efficient, but they will also give you the confidence to take on more challenging repairs.
Remember, having the right tools is just the first step. It’s also essential to familiarize yourself with proper repair techniques and take the time to carefully assess the damage before starting the repair process. With the right tools and knowledge, you’ll be able to breathe new life into your beloved shoes and enjoy them for years to come.
Preparing Your Shoe for Repair
Before diving into the actual repair process, you need to prepare your shoe to ensure optimal results. Taking the time to properly clean and assess the damage will set the foundation for a successful repair.
Cleaning the Shoe
Start by cleaning the shoe thoroughly. Remove any dirt, grime, or debris from the shoe back using a soft brush or cloth. Gently scrub the surface, paying attention to every nook and cranny. This meticulous cleaning process will not only create a clean canvas for repair but also allow you to examine the shoe more accurately.
As you clean, you may uncover hidden details and nuances of your shoe’s construction. The intricate stitching, the quality of the leather, or the unique design elements may captivate your attention. Take a moment to appreciate the craftsmanship that went into creating your beloved pair of shoes.
Furthermore, the act of cleaning your shoe can be therapeutic. As you remove the dirt and grime, you may find yourself reminiscing about the adventures you’ve had while wearing them. Each scuff and scratch tells a story, reminding you of the places you’ve been and the memories you’ve made.
Assessing the Damage
Once the shoe is clean, it’s time to carefully examine the shoe back to assess the extent of the damage. Take a closer look at every corner, seam, and crevice. Identify any areas that require repair and note the specific issues you’ll need to address.
During this assessment, you might discover interesting details about the construction of your shoe. You may notice the precision of the stitching or the unique pattern of the leather. These small details can be a testament to the skill and artistry of the shoemaker.
As you evaluate the damage, you may also reflect on the memories associated with your shoe. Each scuff or tear represents a moment in time, a reminder of the adventures you’ve embarked on. Perhaps you wore these shoes on a memorable hike, a special occasion, or during a significant milestone in your life.
While assessing the damage, you may find yourself contemplating the importance of repair. Repairing your shoe not only restores its functionality but also preserves the memories and sentimental value attached to it. By investing time and effort into the repair process, you are extending the lifespan of a cherished possession.
This assessment will guide your repair process and help you determine the appropriate techniques and materials to use. It’s essential to approach the repair with a clear understanding of the shoe’s condition and the necessary steps to restore it.
Step-by-Step Shoe Back Repair
Now that your shoe is prepped and ready, it’s time to dive into the actual repair process.
Repairing Minor Damage
If your shoe back has minor damage, such as scuffs, scratches, or separated stitching, you can often fix it using basic repair techniques. For scuffs and scratches, you may use shoe polish or leather conditioner to restore the material’s color and texture. To repair separated stitching, carefully thread a needle with a strong thread and sew through both sides of the seam, ensuring a tight and secure stitch.
Repairing Major Damage
For more extensive damage, such as cracks, holes, or broken heel cups, you may need to employ advanced repair techniques or seek professional help. Cracks and holes can often be patched using a compatible material and adhesive. A broken or damaged heel cup may require a replacement if it cannot be repaired effectively. Consult a professional cobbler for guidance on complex repairs.
Tips for Maintaining Your Shoe Back Post-Repair
Once you’ve successfully repaired the back of your shoe, it’s vital to implement a maintenance routine that ensures its longevity.
Regular Shoe Maintenance
Regularly clean your shoes, paying particular attention to the repaired areas. This will prevent dirt or debris from accumulating and maintain the shoe’s overall cleanliness and appearance. Additionally, conditioning the shoe back with leather conditioner periodically will help keep the material supple and prevent drying or cracking.
Avoiding Common Shoe Damages
To minimize future damage to your shoe back, take preventive measures such as avoiding rough surfaces, walking properly to prevent excessive stress on the shoe, and storing your shoes in a clean and dry area. Implementing these practices will significantly extend the lifespan of your repaired shoe backs.
By following this step-by-step guide, you can fix the back of your shoes effectively and restore their functionality and visual appeal. With the right tools, preparation, and repair techniques, you’ll be able to enjoy your favorite pair of shoes for years to come. Happy repairing!