Are your favorite shoes or sneakers in need of some TLC? One common problem that shoe enthusiasts encounter is damaged lace holes. Thankfully, with some basic tools and a little know-how, you can easily fix this issue and extend the life of your beloved footwear. In this step-by-step guide, we will walk you through the process of fixing shoe lace holes, from understanding the basics to finishing the repair. So let’s dive in and get those shoes looking brand new again!
Understanding the Basics of Shoe Lace Holes
Before we jump into the repair process, it’s important to understand the role that shoe lace holes play in footwear. Lace holes not only provide a means to fasten your shoes securely but also contribute to the overall fit and comfort. They distribute the tension evenly across the foot, ensuring a snug fit that prevents rubbing or discomfort. However, lace holes can become damaged over time due to wear and tear or accidental mishaps.
The Role of Shoe Lace Holes in Footwear
Shoe lace holes serve as attachment points for shoelaces, allowing you to tighten or loosen your shoes to your desired level of comfort. They keep the shoe securely in place, preventing it from slipping off while walking or running. Additionally, lace holes help maintain proper heel and arch support, which is crucial for optimal foot alignment and preventing foot fatigue.
When you lace up your shoes, the shoelaces pass through these holes, creating a crisscross pattern that provides stability and support. Each lace hole has a specific purpose in this pattern, ensuring that the tension is evenly distributed across the shoe. This even distribution of tension helps to prevent pressure points and discomfort, allowing you to wear your shoes for extended periods without any issues.
Furthermore, the number and placement of lace holes can vary depending on the type of shoe. For example, athletic shoes often have more lace holes to provide a secure fit during physical activities, while dress shoes may have fewer lace holes for a more streamlined and elegant look.
Common Issues with Shoe Lace Holes
Damaged or broken lace holes can be a nuisance, affecting the functionality and aesthetics of your footwear. The most common issues include frayed or torn lace holes, enlarged or stretched-out holes, and missing or broken eyelets. These problems can make lacing your shoes properly or achieving a secure fit a challenging task. However, with the right tools and techniques, you can easily restore your shoe lace holes.
One common issue with lace holes is fraying or tearing. This can occur when the material around the hole weakens over time or due to excessive force applied during lacing. Frayed or torn lace holes not only compromise the structural integrity of the shoe but also make it difficult to thread the shoelaces smoothly. It’s important to address this issue promptly to prevent further damage and ensure a secure fit.
Another common problem is enlarged or stretched-out lace holes. This can happen when the shoe is worn frequently or when the laces are pulled too tightly. Enlarged lace holes can lead to uneven tension distribution, causing discomfort and instability while walking or running. In some cases, the lace may even slip out of the hole, requiring constant readjustment. Restoring the shape and size of the lace holes is essential to maintain the proper fit and functionality of your shoes.
Missing or broken eyelets are also a common issue that can affect the functionality of your shoe lace holes. Eyelets are the metal or plastic rings that reinforce the lace holes, preventing them from tearing or fraying. When an eyelet is missing or broken, the lace hole becomes weaker and more prone to damage. It’s important to replace the missing or broken eyelets to ensure the longevity of your shoes and maintain a secure fit.
In conclusion, shoe lace holes play a crucial role in the functionality and fit of footwear. Understanding their purpose and common issues can help you take better care of your shoes and address any problems that may arise. By maintaining and repairing your shoe lace holes, you can ensure a comfortable and secure fit every time you lace up your shoes.
Gathering the Necessary Tools and Materials
Before you embark on fixing your shoe lace holes, it is important to gather the necessary tools and materials to ensure a successful repair. Having the right tools will make the process easier and more efficient, saving you time and frustration in the long run. Here are the essential tools you’ll need:
Essential Tools for Fixing Shoe Lace Holes
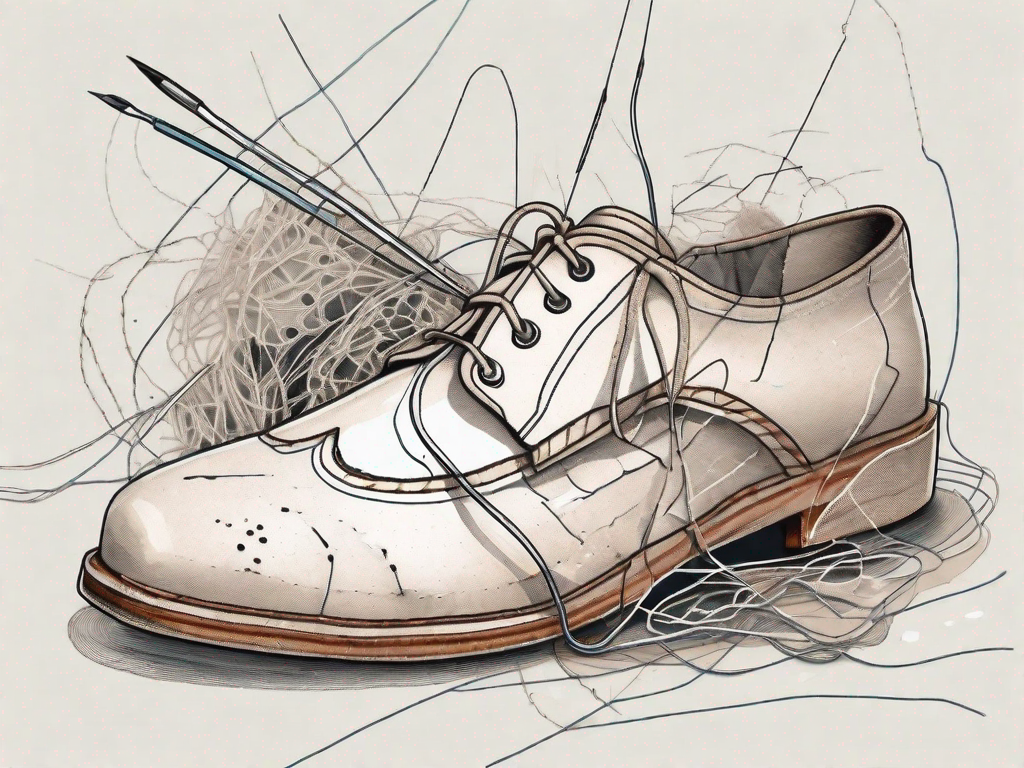
1. Awl or hole punch tool – for creating new lace holes or widening existing ones
When it comes to fixing shoe lace holes, an awl or hole punch tool is an essential tool to have. This tool allows you to create new lace holes or widen existing ones, making it easier to thread your shoelaces through. Whether you’re repairing a worn-out lace hole or customizing your shoes with additional holes for a unique look, an awl or hole punch tool will be your best friend.
2. Pliers – for removing damaged eyelets or grommets
Sometimes, the problem with your shoe lace holes isn’t just about creating new ones but also about removing damaged eyelets or grommets. This is where a pair of pliers comes in handy. With the help of pliers, you can easily grip and remove damaged eyelets or grommets, allowing you to replace them with new ones for a secure and functional repair.
3. Shoe brush – for cleaning and prepping the shoe
Before you start fixing your shoe lace holes, it’s important to clean and prep the shoe surface. A shoe brush will help you remove any dirt, dust, or debris that may have accumulated in the lace holes over time. By thoroughly cleaning the shoe, you’ll ensure that the repair process goes smoothly and that the new lace holes will be free from any obstructions.
4. Epoxy adhesive or super glue – for reinforcing weakened lace holes
If you’re dealing with weakened lace holes that are prone to tearing or fraying, using an epoxy adhesive or super glue can provide the reinforcement needed. Applying a small amount of adhesive around the edges of the lace holes will strengthen them, ensuring that they can withstand the tension and pressure from your shoelaces. This step is especially important if you want a long-lasting repair.
5. Replacement eyelets or grommets – if necessary
In some cases, the damage to your shoe lace holes may be beyond repair. If this is the case, having replacement eyelets or grommets on hand will allow you to replace the damaged ones. Make sure to choose eyelets or grommets that are the right size and material for your shoe. This will ensure a seamless repair that matches the original design of your footwear.
6. Shoelaces – for testing the repaired lace holes and ensuring a secure fit
Lastly, don’t forget to have a spare pair of shoelaces ready for testing the repaired lace holes. Once you’ve fixed the lace holes, it’s important to make sure that they can securely hold your shoelaces in place. By testing the repaired lace holes with a pair of shoelaces, you can ensure that your shoes are ready to be worn again without any worries of loose or slipping laces.
Choosing the Right Materials for Your Shoe Type
The materials you use for repairing your shoe lace holes will depend on the type of shoe you are fixing. For most everyday shoes and sneakers, you can use standard metal eyelets or plastic grommets. These materials are widely available and suitable for most casual footwear.
However, if you are repairing high-performance athletic shoes or specialized footwear, make sure to choose materials that are designed for durability and longevity. These types of shoes often undergo more intense wear and tear, so using high-quality materials such as reinforced metal eyelets or heavy-duty plastic grommets can ensure that your repair lasts longer and withstands the demands of your activities.
Remember, choosing the right materials for your shoe type is crucial for a successful repair. It will not only enhance the functionality of your repaired lace holes but also maintain the overall integrity and aesthetics of your shoes.
Preparing Your Shoe for Repair
Before you jump into fixing your lace holes, it’s essential to prepare your shoe to ensure a successful repair. Taking the time to clean and inspect your shoe will help identify any additional issues that may need attention. Follow these steps to prepare your shoe:
Cleaning and Inspecting Your Shoe
1. Remove the shoelaces from your shoe and set them aside.2. Use a shoe brush to remove any dirt, dust, or debris from the surface of the shoe and the lace holes.3. Inspect the lace holes for any signs of damage or wear. Look for frayed edges, torn material, or loose eyelets. It’s important to address these issues before proceeding with the repair.
Prepping the Damaged Lace Hole
If you have a frayed or torn lace hole, you’ll need to prep it before repairing. Here’s what you need to do:
- Trim any loose or frayed threads around the damaged lace hole using a pair of sharp scissors.
- If the hole is enlarged or stretched-out, use a small amount of super glue or epoxy adhesive around the edges to reinforce and secure the surrounding material.
- Allow the glue to dry completely before proceeding.
The Step-by-Step Process of Fixing Shoe Lace Holes
Now that you’ve prepared your shoe, it’s time to start the actual repair process. Follow these step-by-step instructions to fix your shoe lace holes:
Creating a New Lace Hole
If you have a completely broken or missing lace hole, you’ll need to create a new one. Here’s how to do it:
- Identify the desired location for the new lace hole and mark it lightly with a pencil or a washable pen. Ensure that the placement is symmetrical to maintain proper fit and appearance.
- Position the awl or hole punch tool over the marked spot and apply gentle pressure to pierce through the material. Be cautious not to damage the surrounding area.
- Widen the newly created hole slightly by rotating the awl gently. This will prevent the material from tearing and make lacing easier.
Reinforcing the Lace Hole
To reinforce weakened or damaged lace holes, follow these steps:
- If the original eyelet or grommet is still intact but loose, remove it using pliers. Be careful not to damage the surrounding material.
- Apply a small amount of epoxy adhesive or super glue around the edges of the lace hole.
- Insert the replacement eyelet or grommet into the hole and press down firmly, ensuring it sits flush with the shoe surface.
- Wipe off any excess adhesive with a clean cloth or cotton swab.
- Allow the adhesive to dry completely before reattaching the shoelaces.
Finishing the Repair
Once you have created new lace holes or reinforced the existing ones, it’s time to complete the repair. Follow these final steps:
- Thread the shoelace through the repaired or new lace holes, making sure they are evenly spaced and aligned on both sides.
- Tie the shoelaces in your preferred style, ensuring a secure and comfortable fit.
- Trim any excess lace length if desired.
Tips for Maintaining Your Shoe Lace Holes
Now that you know how to fix your shoe lace holes, it’s important to maintain them properly to prevent future damage. Follow these tips for long-lasting lace holes:
Regular Inspection and Cleaning
Periodically inspect your shoe lace holes for any signs of wear or damage. Address any issues promptly to prevent them from worsening. Regularly clean your shoes and remove any dirt or debris that may accumulate in the lace holes.
Proper Lacing Techniques
Learn and utilize proper lacing techniques that distribute pressure evenly across the shoe. Avoid pulling the laces too tight, as excessive tension can strain the lace holes and lead to damage over time. Experiment with different lacing patterns to achieve the best fit and reduce pressure on specific areas of the foot.
With this comprehensive step-by-step guide, you can now confidently fix your shoe lace holes and give your favorite footwear a new lease on life. By understanding the basics, gathering the necessary tools, and following the repair process, you’ll be able to tackle this common issue like a pro. Remember to regularly inspect and maintain your shoe lace holes to ensure their longevity. Happy repairing!