Are you struggling with window shades that simply won’t go down? It can be frustrating when you’re trying to block out the sunlight or create some privacy, only to find that your shades are stuck in the up position. But fear not, because there are several steps you can take to fix this issue and get your shades working properly again. In this article, we’ll guide you through the process of understanding the mechanism of window shades, performing preliminary checks before repair, identifying the tools needed for shade repair, and providing a step-by-step guide to fixing your shades. We’ll also discuss when it’s appropriate to call a professional for help. So let’s get started!
Understanding the Mechanism of Window Shades
Before diving into the repair process, it’s essential to have a good understanding of how window shades work. Window shades are not just simple coverings for your windows; they are intricate devices that operate using various mechanisms, depending on their type. By gaining insight into the inner workings of window shades, you’ll be better equipped to troubleshoot and fix any issues that may arise.
Let’s take a closer look at the different types of window shades and their mechanisms, as well as some common issues that can occur.
Types of Window Shades and Their Mechanisms
There are several types of window shades available in the market, each with its own unique mechanism. Understanding these mechanisms will help you appreciate the complexity behind the seemingly simple task of raising and lowering your shades.
1. Roller Shades: Roller shades are one of the most common types of window shades. They operate using a spring mechanism, which is responsible for the smooth and controlled movement of the shade. When you pull the shade down, the spring inside is compressed, storing potential energy. This stored energy is then released when you let go, causing the shade to roll up. The spring mechanism ensures that the shade remains taut and in place when fully raised.
2. Roman Shades: Roman shades, also known as fabric shades, are another popular choice for window coverings. Unlike roller shades, Roman shades rely on cords or chains for operation. When you pull the cord or chain, it activates a system of pulleys and rings that raise or lower the shade. The cords are carefully threaded through the rings, creating a series of folds in the fabric as the shade is raised. This folding mechanism gives Roman shades their distinctive appearance.
3. Cellular Shades: Cellular shades, also called honeycomb shades, are designed to provide insulation and energy efficiency. These shades consist of a series of honeycomb-shaped cells that trap air, creating a layer of insulation between the window and the room. Cellular shades typically operate using a cord or cordless mechanism. When the cord is pulled, the shade compresses or expands, allowing you to control the amount of light and privacy in the room.
Common Issues with Window Shade Mechanisms
While window shades are designed to operate smoothly and effortlessly, there are a few common issues that can cause them to malfunction. By understanding these common problems, you’ll be better equipped to diagnose and fix your shades, saving you time and money.
1. Tangled Cords: One of the most common issues with window shades is tangled cords. Over time, the cords can become twisted or knotted, making it difficult to raise or lower the shade. To fix this issue, carefully untangle the cords, ensuring they are free from any knots or twists. If the cords are severely tangled or damaged, it may be necessary to replace them.
2. Broken Springs: In roller shades, broken springs can cause the shade to get stuck or not roll up properly. If you notice that your roller shade is not functioning correctly, it’s possible that the spring inside has become damaged or worn out. To fix this issue, you’ll need to replace the broken spring with a new one. It’s essential to follow the manufacturer’s instructions or seek professional help to ensure a proper repair.
3. Damaged Mechanisms: Over time, the mechanisms that operate window shades can become damaged or worn out. This can result in the shade not raising or lowering smoothly or getting stuck in a particular position. If you suspect that the mechanism is damaged, it’s best to consult a professional for a thorough inspection and repair. Attempting to fix complex mechanisms without proper knowledge and tools can lead to further damage.
By familiarizing yourself with the different types of window shades and their mechanisms, as well as the common issues that can occur, you’ll be better prepared to troubleshoot and repair your shades. Remember, if you’re unsure about any aspect of the repair process, it’s always best to seek professional help to ensure a safe and effective solution.
Preliminary Checks Before Repair
Before diving into the actual repairs, it’s essential to perform some preliminary checks to identify any visible damage to the shade and to ensure that the cord or chain is operating correctly.
Inspecting the Shade for Visible Damage
In order to fix your shades, you’ll need to examine them for any visible damage. This can include tears in the fabric, bent or broken components, or other forms of wear and tear. Identifying the source of the problem will help you determine the best course of action.
When inspecting the shade for visible damage, it’s important to pay attention to the fabric. Look for any signs of fraying, discoloration, or holes. These can indicate that the shade has been exposed to excessive sunlight or has been subjected to rough handling. Additionally, check the frame of the shade for any bent or broken parts. If you notice any damage, make a note of it so that you can address it during the repair process.
Another aspect to consider when inspecting the shade is its overall condition. Take a moment to assess how well the shade is functioning. Are there any difficulties in raising or lowering it? Does it get stuck at certain points? These observations will help you determine if the cord or chain is the root cause of any issues.
Checking the Cord or Chain Operation
If your shades have cords or chains, you’ll need to ensure that they are functioning properly. Check for any kinks, knots, or tangles that may be preventing smooth operation. You may need to untangle the cord or chain and lubricate any parts that are sticking or jammed.
When examining the cord or chain, it’s important to look for signs of wear and tear. Over time, these components can become frayed or weakened, compromising their functionality. Inspect the entire length of the cord or chain, paying close attention to areas where it may rub against the shade or other surfaces. If you notice any damage, it’s advisable to replace the cord or chain to prevent further issues.
In addition to physical damage, check the tension of the cord or chain. It should have enough resistance to hold the shade in place when raised or lowered, but not so much that it becomes difficult to operate. Adjust the tension as needed, ensuring that the shade moves smoothly and stays in the desired position.
Lastly, consider the cleanliness of the cord or chain. Dust and debris can accumulate over time, causing friction and hindering smooth operation. Use a soft cloth or brush to remove any dirt, and if necessary, apply a small amount of lubricant to ensure optimal performance.
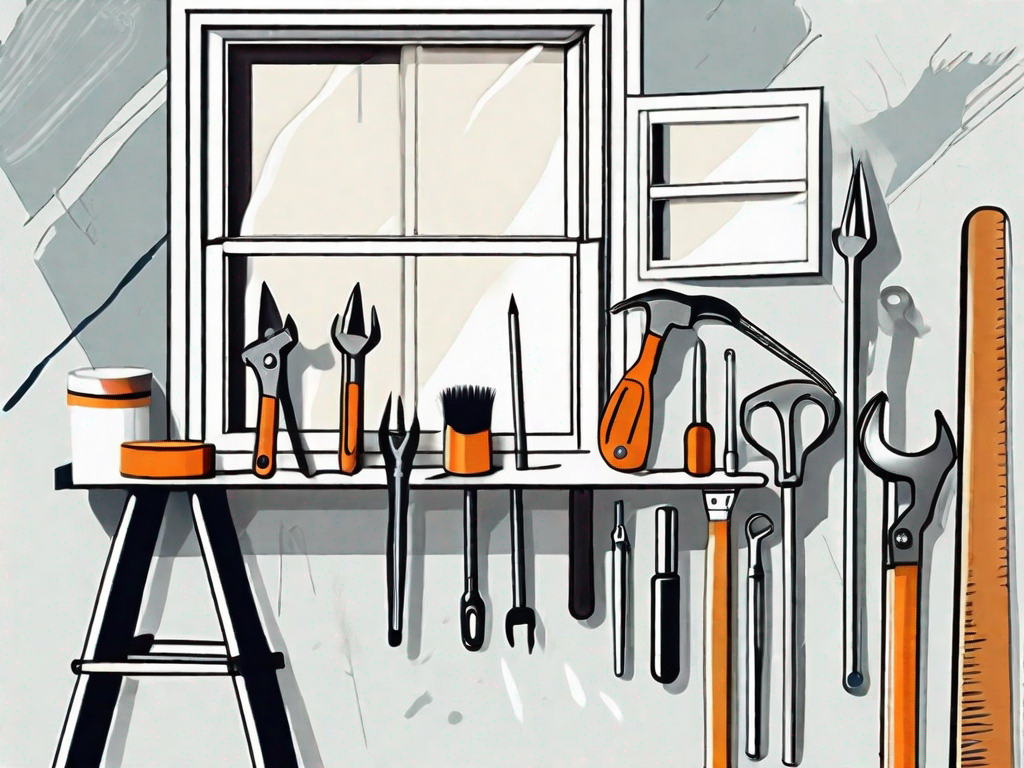
Tools Needed for Shade Repair
Depending on the extent of the repair, you may need specific tools to fix your shades. Let’s take a look at the basic tools for minor repairs and more advanced tools for major fixes.
Basic Tools for Minor Repairs
For most minor repairs, you’ll only need a few basic tools, such as a screwdriver, pliers, and a needle and thread for small fabric repairs. These tools can help you address common issues like loose screws or small tears.
Advanced Tools for Major Fixes
If your shades require more extensive repairs, you may need to invest in some advanced tools, such as a drill, replacement parts, and specialized repair kits. These tools will enable you to tackle more significant issues, such as replacing broken springs or repairing damaged mechanisms.
Step-by-Step Guide to Fixing Your Shades
Now that you have a good understanding of the mechanisms and have performed preliminary checks, let’s dive into the step-by-step guide to fixing your shades. We’ll address two common issues: dealing with stuck or jammed shades, and repairing broken or damaged cords.
Dealing with Stuck or Jammed Shades
If your shades are stuck in the up position and won’t go down, here’s what you can do:
- Start by gently pulling down on the shade to see if you can dislodge it. Sometimes, shades can get stuck due to friction or debris buildup, and a little jolt can help them unjam.
- If pulling down doesn’t work, try using a lubricant to loosen any stuck components. Apply the lubricant to the affected areas, such as the roller mechanism or pulleys, and then try pulling down again.
- If the lubricant doesn’t do the trick, you may need to disassemble the shade to access the inner mechanisms. Consult the manufacturer’s instructions or search online for specific disassembly steps for your type of shade.
- Once the shade is disassembled, inspect the components for any visible damage, such as broken springs or bent pulleys. Replace any damaged parts as needed.
- Reassemble the shade carefully, following the manufacturer’s instructions. Ensure that all components are aligned correctly and securely fastened.
- Test the shade by pulling it down and up several times to ensure smooth operation. If the shade still doesn’t lower correctly, consider reaching out to a professional for further assistance.
Repairing Broken or Damaged Cords
If your shades have cords that are broken or damaged, here’s a step-by-step guide to repairing them:
- Start by removing any decorative covers or end caps that may be concealing the cord mechanism.
- Examine the cord for any fraying, knots, or breaks. If the cord is badly damaged, you may need to replace it entirely.
- If the cord only has minor damage, you can attempt to repair it by retying any loose knots or splicing the broken ends. Be sure to use sturdy knots and secure the spliced ends with tape or adhesive.
- Once the cord is repaired or replaced, reattach the decorative covers or end caps.
- Test the shade by pulling on the cord to raise and lower it. Ensure that the cord operates smoothly and that the shade stays in the desired position without slipping.
When to Call a Professional
While many shade repairs can be done on your own, there may be situations where it’s best to call in a professional. Here are a few instances where you should consider seeking professional help:
Identifying Problems Beyond DIY Repair
If you’ve followed all the necessary steps and your shades still won’t go down or operate correctly, there may be underlying issues that are beyond your DIY capabilities. A professional can assess the problem and provide an appropriate solution.
Finding a Reliable Window Shade Repair Service
If you’re unable to fix your shades yourself or simply prefer to leave it to the experts, finding a reliable window shade repair service is crucial. Look for reputable companies that specialize in window shade repairs and have positive customer reviews.
Now that you have a comprehensive guide on how to fix shades that won’t go down, you can confidently tackle the task and restore your window shades to their full functionality. Remember to take the time to understand the mechanism of your shades, perform preliminary checks, use the necessary tools, and follow the step-by-step guide provided. And in cases where DIY repairs are not successful, don’t hesitate to call a professional. With these tips, you’ll soon be enjoying fully functioning window shades once again.