Scrunch bum leggings have gained popularity in recent years, thanks to their flattering design and unique functionality. However, like any other garment, these leggings are not immune to wear and tear. Over time, the scrunching feature may become loose, or the leggings may develop tears or lose their elasticity. If you’re facing any of these issues with your favorite pair of scrunch bum leggings, don’t fret! In this step-by-step guide, we’ll walk you through the process of fixing your leggings and restoring them to their former glory.
Understanding the Scrunch Bum Leggings
Before diving into the repair process, it’s important to understand the design and functionality of scrunch bum leggings. These leggings are specifically designed to enhance your curves and accentuate your booty. The scrunching detail at the back creates a lifted and rounded look, giving you a firmer and more shapely appearance.
But what makes scrunch bum leggings so unique? Let’s take a closer look at their design and functionality.
The Design and Functionality of Scrunch Bum Leggings
Scrunch bum leggings are typically made from a blend of stretchy fabrics such as spandex and nylon. This combination of materials allows for a comfortable and flexible fit, perfect for workouts or casual wear.
The scrunching detail is achieved by gathering and stitching the fabric at the center back seam, creating a ruched effect. This design element not only enhances your figure but also adds a touch of style to your outfit.
When you put on a pair of scrunch bum leggings, you’ll notice how they hug your curves in all the right places. The scrunching detail at the back accentuates your booty, giving it a lifted and rounded appearance. Whether you’re at the gym or running errands, these leggings are sure to turn heads.
Common Issues with Scrunch Bum Leggings
As with any clothing item, scrunch bum leggings can experience various problems over time. It’s important to be aware of these issues so you can take the necessary steps to fix them.
One common issue is loose scrunching. Over time, the gathering and stitching at the back may become less pronounced, resulting in a less defined scrunch. This can affect the overall look and fit of the leggings. Another issue is tears or damages in the fabric, which can occur due to wear and tear or accidents. Lastly, loss of elasticity is a common problem, especially with frequent use and washing.
Fortunately, these problems can be fixed with a few simple steps and the right tools. Whether you need to tighten the scrunch, repair a tear, or restore elasticity, there are solutions available to help you prolong the life of your scrunch bum leggings.
By understanding the design and functionality of scrunch bum leggings, as well as common issues that may arise, you’ll be better equipped to care for and maintain your favorite pair. So go ahead, rock those scrunch bum leggings with confidence!
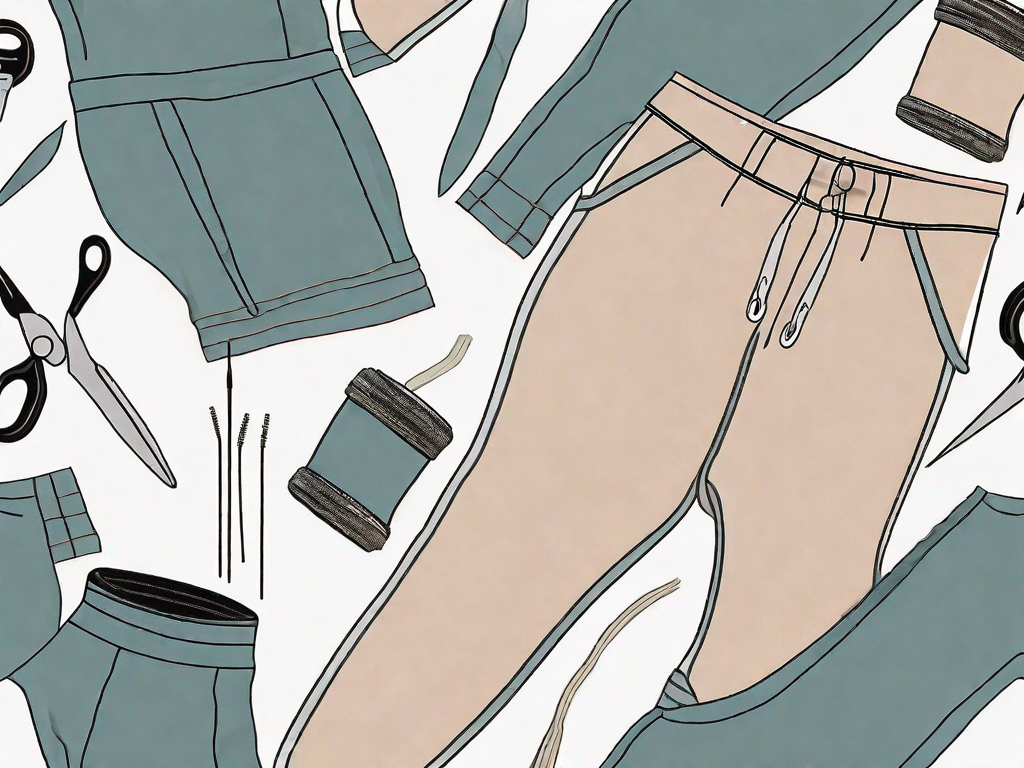
Gathering the Necessary Tools
Before starting the repair process, make sure you have the following materials on hand:
List of Materials Needed for the Repair
- Needle and thread
- Fabric glue
- Scissors
- Pins
- Iron-on patches
Where to Purchase Repair Tools
You can find most of these tools at your local craft store or online. Look for quality supplies that will ensure a long-lasting repair. Additionally, consider purchasing a seam ripper if you need to remove stitches during the repair process.
Now that you have gathered the necessary tools for your repair project, it’s time to delve into the world of DIY mending. Whether you are fixing a torn garment, patching up a hole, or reinforcing a weak seam, having the right materials is essential for achieving a successful outcome.
Let’s start with the needle and thread. This classic duo is a staple in any sewing kit. When selecting a needle, consider the type of fabric you will be working with. For lightweight fabrics like silk or chiffon, choose a fine needle. For heavier materials such as denim or canvas, opt for a stronger needle that can withstand the extra strain. As for thread, make sure to match the color as closely as possible to the garment you are repairing, ensuring a seamless finish.
Fabric glue is another handy tool to have in your arsenal. It can be a lifesaver when dealing with fabrics that are difficult to sew or when you need a quick fix. Just apply a small amount of glue to the edges of the tear or hole, press the fabric together, and let it dry. However, keep in mind that fabric glue is not suitable for all types of repairs, especially those that require flexibility or heavy-duty strength.
Scissors are an essential tool for any sewing project. Invest in a good pair of fabric scissors that are sharp and comfortable to hold. This will make cutting through various materials a breeze and ensure clean, precise edges. Remember to use caution when handling scissors and keep them out of reach of children.
Pins are your best friend when it comes to holding fabric in place during the repair process. They help keep everything aligned and prevent shifting while you work. Choose pins that are long enough to securely hold the fabric but not too thick to leave noticeable holes. If you are working with delicate fabrics, consider using silk pins to minimize damage.
Iron-on patches are a fantastic solution for repairing holes or adding decorative elements to your garments. These patches are available in various colors, patterns, and sizes, allowing you to get creative with your repairs. To apply an iron-on patch, simply place it over the damaged area, cover it with a thin cloth, and press a hot iron over it for a few seconds. The heat activates the adhesive on the patch, bonding it to the fabric.
When it comes to purchasing the necessary repair tools, you have a few options. Your local craft store is a great place to start, as they usually have a wide selection of sewing supplies. You can physically examine the tools, compare prices, and seek advice from knowledgeable staff. If convenience is a priority, consider shopping online. Many reputable websites offer a vast range of sewing tools and materials, often with customer reviews to help you make an informed decision.
Lastly, if you anticipate needing to remove stitches during the repair process, it’s worth investing in a seam ripper. This handy tool allows you to carefully cut through stitches without damaging the fabric. It’s especially useful when undoing seams or taking apart garments for alterations. Look for a seam ripper with a sharp blade and a comfortable handle for ease of use.
Now that you know where to find the necessary tools and have a deeper understanding of their importance, you are well-equipped to embark on your repair journey. Remember to take your time, follow instructions carefully, and enjoy the satisfaction of breathing new life into your beloved garments.
Preparing Your Scrunch Bum Leggings for Repair
Before diving into the repair process, it’s important to properly clean and inspect your scrunch bum leggings. Follow these steps:
Cleaning and Inspecting Your Leggings
1. Turn your leggings inside out and place them in a washing machine on a gentle cycle. Avoid using harsh detergents or bleaching agents, as they can damage the fabric.2. After washing, hang your leggings to air dry. Avoid using a dryer, as excessive heat can shrink or warp the fabric.3. Once dry, inspect your leggings for any tears, loose threads, or areas where the scrunching has come undone.
Identifying the Problem Areas
Take a closer look at your scrunch bum leggings and identify the areas that require repair. Pinpoint loose scrunching, tears, or damages that need attention. This will help you focus your repair efforts and ensure a thorough fix.
Step-by-Step Repair Guide
Repairing Loose Scrunching
If the scrunching detail on your leggings has become loose, follow these steps to fix it:
- Turn your leggings inside out.
- Thread a needle with a thread color that matches your leggings.
- Starting at the center back seam, stitch through the scrunching detail, creating small, even stitches.
- Continue stitching along the scrunching detail until you reach the other end. Make sure the gathers are even and secure.
- Tie a knot at the end of your stitching to secure it.
By following these steps, you’ll be able to tighten the scrunching and restore its original look and functionality.
Fixing Torn or Damaged Areas
If your scrunch bum leggings have tears or damages in the fabric, don’t worry. You can easily repair them using fabric glue or iron-on patches. Here’s what to do:
- Clean and dry the damaged area as described earlier.
- If using fabric glue, apply a small amount to the torn edges and press them together. Hold the fabric in place until the glue sets and dries completely.
- If using iron-on patches, cut the patch to the appropriate size and place it over the damaged area. Follow the instructions provided with the patches to apply them correctly.
- Allow the glue or patches to dry completely before wearing or washing your leggings again.
These repair methods will help you mend the tears and damages, ensuring your leggings look as good as new.
Restoring the Elasticity of Your Leggings
Over time, scrunch bum leggings may lose their elasticity, resulting in a saggy fit. To restore their stretchiness, try this simple technique:
- Fill a sink or basin with lukewarm water.
- Add a few drops of gentle fabric conditioner to the water, following the instructions on the bottle.
- Place your leggings in the water and gently swirl them around for a few minutes to allow the conditioner to penetrate the fabric.
- Remove the leggings from the water and gently squeeze out the excess moisture.
- Lay the leggings flat on a clean towel and roll them up to remove any remaining water.
- Unroll the towel and reshape the leggings, gently stretching the fabric to restore its elasticity.
- Leave the leggings to air dry completely before wearing or storing them.
Following these steps will help bring back the elasticity of your scrunch bum leggings, ensuring a snug and flattering fit.
Tips for Maintaining Your Scrunch Bum Leggings
Proper Washing and Drying Techniques
To keep your scrunch bum leggings in the best condition possible, follow these tips when washing and drying them:
- Turn your leggings inside out before washing to protect the scrunching detail.
- Wash them on a gentle cycle using cold water and mild detergent.
- Avoid using fabric softeners, as they can negatively affect the elasticity of the fabric.
- Air dry your leggings to avoid excessive heat that can damage the fabric.
By adopting these washing and drying techniques, you’ll prolong the longevity and appearance of your scrunch bum leggings.
Storing Your Leggings to Prevent Damage
When not in use, properly storing your scrunch bum leggings can help maintain their shape and prevent damage. Consider these storage tips:
- Fold your leggings neatly and store them in a drawer or on a shelf.
- Avoid hanging them, as this can stretch out the fabric and ruin the scrunching detail.
- Keep your leggings away from direct sunlight or heat sources to prevent color fading or fabric damage.
By following these storage tips, you can ensure that your scrunch bum leggings stay in great condition and are ready to be worn whenever you need them.
With this comprehensive step-by-step guide, you now have all the information you need to repair and maintain your scrunch bum leggings. Remember to follow each step carefully and use the appropriate tools and materials. By investing a little time and effort into the repair process, you’ll be able to enjoy your favorite leggings for many more workouts or casual outings to come. Happy fixing!