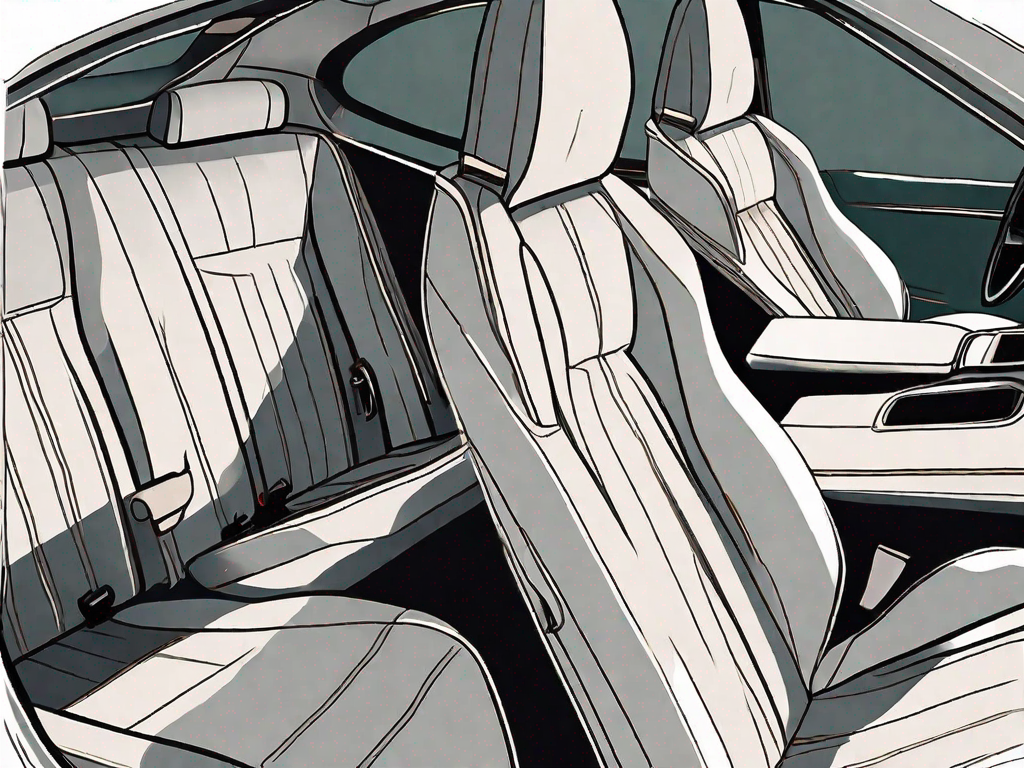
Leather car seats are a luxurious and stylish addition to any vehicle. However, over time, they can start to sag and lose their original shape and appeal. If you want to restore your saggy leather car seats to their former glory, you’ve come to the right place. This article will provide you with a comprehensive guide on how to fix saggy leather car seats effectively and efficiently.
Understanding the Causes of Saggy Leather Car Seats
Before diving into the repair process, it’s essential to understand the factors that contribute to saggy leather car seats. By identifying the causes, you can take preventive measures to maintain the condition of your car seats in the long run.
The Impact of Regular Wear and Tear
One of the primary reasons for saggy leather car seats is regular wear and tear. Over time, constant use and rubbing against the leather surface can lead to the material losing its elasticity. As a result, the seats become saggy and lose their supportive structure.
Imagine the countless hours spent driving, commuting, and running errands. Each time you slide into your car seat, the leather bears the weight and friction of your body. This constant pressure and movement gradually wear down the leather’s natural elasticity, causing it to sag over time.
Additionally, factors such as the type of clothing you wear while driving can also contribute to wear and tear. Rough fabrics or clothing with embellishments can create friction against the leather, accelerating the sagging process.
The Role of Weather Conditions
Weather conditions also play a significant role in the deterioration of leather car seats. Extreme temperatures, high humidity, and direct sunlight can cause the leather to expand, contract, and eventually sag. It’s crucial to protect your car seats from prolonged exposure to such conditions.
During hot summer days, the intense heat can cause the leather to expand, stretching its fibers and leading to sagging. On the other hand, cold winter temperatures can cause the leather to contract, further weakening its elasticity. The constant expansion and contraction cycle due to changing weather conditions can gradually take a toll on the leather, resulting in saggy seats.
Moreover, high humidity levels can cause the leather to absorb moisture, making it more prone to sagging. The excess moisture weakens the leather’s structure, causing it to lose its firmness and support. Direct sunlight can also accelerate the breakdown of leather fibers, leading to saggy seats.
The Effect of Poor Maintenance
Inadequate maintenance practices can accelerate the sagging process of leather car seats. Neglecting regular cleaning, conditioning, and protecting the leather from spills and stains can contribute to its gradual breakdown. Proper maintenance is essential to preserve the quality of your car seats.
Regular cleaning and conditioning help remove dirt, oils, and other contaminants that can accumulate on the leather surface. These contaminants can seep into the leather, causing it to lose its natural oils and moisture, resulting in dry and brittle seats. Without proper moisture and nourishment, the leather becomes more susceptible to sagging.
Furthermore, spills and stains left untreated can penetrate the leather, causing discoloration and weakening of the fibers. The damaged areas are more prone to sagging as the structural integrity of the leather is compromised. Promptly addressing spills and stains with appropriate cleaning methods can help prevent saggy seats.
Additionally, using the wrong cleaning products or harsh chemicals can also damage the leather, accelerating its deterioration. It’s crucial to use leather-specific cleaners and conditioners to maintain the quality and longevity of your car seats.
By understanding the causes of saggy leather car seats, you can take proactive steps to prevent or minimize their occurrence. Regular maintenance, protecting your car seats from extreme weather conditions, and being mindful of wear and tear can help keep your leather seats looking and feeling great for years to come.
Tools and Materials Needed for Repair
Before diving into the repair process, gather the necessary tools and materials. This will ensure that you have everything you need at your disposal, allowing for a smooth and efficient repair job.
Repairing saggy leather car seats requires attention to detail and the right tools. While it may seem daunting at first, with the right equipment and materials, you can restore your car seats to their former glory.
Essential Leather Repair Tools
When fixing saggy leather car seats, you will need a few essential tools. These include a leather repair kit, which typically contains adhesives, patches, and color matching supplies. These tools are crucial in repairing any tears, cracks, or worn-out areas in the leather upholstery.
Additionally, having a heat gun can be beneficial throughout the repair process. The heat gun helps in softening the leather, making it easier to manipulate and apply the necessary repairs. Needle-nose pliers are also handy for removing any staples or fasteners that may be holding the leather in place.
A staple gun is another tool that comes in handy during the repair process. It allows you to secure the repaired areas firmly, ensuring that they stay in place and maintain their original shape.
Choosing the Right Leather Conditioner
It’s crucial to select a high-quality leather conditioner to nourish and restore your car seats. Leather conditioners help keep the leather soft, supple, and prevent it from drying out or cracking. When choosing a conditioner, look for one that is specifically designed for automotive leather, as it will provide the best results.
Remember to read the instructions carefully and follow the application process accordingly. Applying the conditioner in the right way will ensure that it penetrates the leather fibers effectively, providing optimal nourishment and protection.
Importance of Quality Cleaning Supplies
Before starting the repair process, it’s essential to thoroughly clean your leather car seats. Cleaning the seats not only removes dirt and debris but also prepares the surface for repair. Having quality cleaning supplies will ensure that you achieve optimal cleanliness, preparing the seats for repair.
Use a gentle leather cleaner and a microfiber cloth to remove any dirt, debris, or stains from the surface. Avoid using harsh chemicals or abrasive materials that can damage the leather. Gentle cleaning will help maintain the integrity of the leather while preparing it for the repair process.
By investing in the right tools, choosing the appropriate leather conditioner, and using quality cleaning supplies, you can ensure a successful leather car seat repair. Taking the time to gather the necessary materials and following the repair process diligently will result in a beautifully restored car interior.
Preparing Your Leather Car Seats for Repair
Now that you have gathered the necessary tools and materials, it’s time to prepare your leather car seats for the repair process. This involves a few crucial steps that will help you achieve the best possible results.
Repairing your leather car seats not only enhances the overall appearance of your vehicle’s interior but also ensures its longevity. By following these steps, you can restore your seats to their former glory and enjoy a comfortable and luxurious driving experience.
Cleaning the Leather Surface
Start by thoroughly cleaning the leather surface using a gentle leather cleaner. This step is essential as it removes any dirt, oils, or stains that may have accumulated over time. By cleaning the seats, you create a clean canvas for the repair process, allowing the repair materials to adhere properly.
When choosing a leather cleaner, opt for a product specifically designed for automotive leather. These cleaners are formulated to be gentle yet effective, ensuring that they do not damage the leather surface. Apply the cleaner to a microfiber cloth and wipe the seats in a circular motion. This motion helps to lift and remove any stubborn dirt or grime.
Take your time during this process, paying attention to every nook and cranny of the seats. Ensure that you clean not only the visible areas but also the crevices and seams. Once you have thoroughly cleaned the seats, allow them to dry completely before proceeding to the next step.
Evaluating the Extent of Sagging
Next, evaluate the extent of sagging in your leather car seats. Carefully examine each seat, identifying the areas that require repair. Take note of any additional damage or loose upholstery that may need attention.
Understanding the extent of the sagging will help you determine the appropriate repair techniques for each affected area. Some areas may require simple re-stitching, while others may need more extensive repairs. By assessing the situation, you can plan your repair process accordingly, ensuring that you address all the necessary issues.
Prepping the Area for Repair
Before beginning the repair process, it’s essential to prepare the area around the saggy spots. This preparation ensures that the repair materials adhere properly and that the final result is seamless.
Using needle-nose pliers, carefully remove any loose upholstery or staples from the affected areas. This step is crucial as it creates a clean and smooth surface for the repair materials to bond with. By removing any loose elements, you prevent them from interfering with the repair process and potentially causing further damage.
Take your time during this step, ensuring that you remove all loose upholstery or staples. Pay attention to any hidden areas or corners that may have loose elements. Once you have prepped the area, you are ready to proceed with the repair process.
Step-by-Step Guide to Fixing Saggy Leather Car Seats
Now that you have prepared your leather car seats, it’s time to delve into the repair process. Follow this step-by-step guide to effectively fix the sagging and restore your seats to their former glory.
Tightening the Leather
Begins by applying a leather adhesive to the sagging areas on your car seats. Follow the instructions provided with the adhesive for the best results. Use a staple gun to secure the adhesive and hold the leather in place. Work in small sections, ensuring that the leather is taut and free of wrinkles.
Conditioning the Leather
Once the adhesive has dried and the leather is secured, it’s time to condition your car seats. Apply a generous amount of high-quality leather conditioner to a clean microfiber cloth. Gently rub the conditioner into the leather in circular motions, focusing on the repaired areas. Allow the conditioner to penetrate the leather and restore its suppleness and strength.
Final Touches and Finishing
After conditioning the leather, ensure that it is completely dry before using your car seats. Inspect the repaired areas and make any necessary touch-ups or adjustments. Additionally, consider applying a leather protectant to shield your car seats from future damage. This will help maintain their condition and prevent further sagging.
In conclusion, saggy leather car seats can be a frustrating and unsightly issue. However, with the right tools, materials, and techniques, you can restore your car seats to their original condition. By understanding the causes of sagging, taking preventive measures, and following a step-by-step repair process, you can enjoy the comfort and elegance of pristine leather car seats for years to come.