Wood rot on the roof can be a frustrating and potentially dangerous problem for homeowners. If left untreated, it can lead to significant damage and costly repairs. However, with the right knowledge and tools, you can successfully fix rotted wood on your roof and prevent further deterioration. In this article, we will guide you through the process step-by-step.
Understanding the Causes of Wood Rot
Before diving into the repair process, it’s important to understand what causes wood rot in the first place. The primary culprit behind wood rot is moisture. When wood is exposed to excessive moisture for long periods, it creates a favorable environment for fungi, such as mold and mildew, to thrive. These fungi break down the wood fibers, leading to rot.
Wood rot can be a frustrating and costly problem for homeowners. It not only affects the aesthetic appeal of wooden structures but also compromises their structural integrity. Understanding the causes of wood rot is the first step in preventing and addressing this issue effectively.
The Role of Moisture in Wood Rot
To effectively combat wood rot, it’s crucial to address the issue of moisture. Start by identifying any sources of moisture that may be contributing to the rot. Common culprits include leaky roofs, poor drainage systems, and high humidity levels.
Moisture can seep into the wood through cracks, gaps, or damaged paint or varnish. It can also accumulate around the foundation of a structure, leading to moisture buildup in the wooden supports. Additionally, water leaks from plumbing or faulty gutters can contribute to the moisture problem.
Once you’ve identified and addressed the underlying moisture issue, you can proceed with the repair process confidently. However, it’s important to note that even after repairing the damage, ongoing maintenance and preventive measures are necessary to ensure the long-term health of the wood.
Identifying Different Types of Wood Rot
Wood rot can manifest in different forms, each requiring a specific approach to repair. The three most common types of wood rot are:
- Brown Rot: Also known as dry rot, this type of rot causes wood to become brown and crumbly. It often presents itself in cubical fractures. Brown rot is commonly found in damp and poorly ventilated areas, such as basements and crawl spaces.
- White Rot: Typically found in hardwoods, white rot attacks lignin, causing the wood to become soft and spongy. Affected wood may appear whitish or yellowish. White rot is commonly found in outdoor structures exposed to constant moisture, such as decks and fences.
- Soft Rot: Unlike brown and white rot, soft rot primarily affects the cellulose structure of the wood. It results in the wood losing strength and becoming structurally compromised. Soft rot is commonly found in areas with high moisture content, such as bathrooms and kitchens.
Identifying the specific type of wood rot is essential for determining the best course of action for repair. Different types of rot may require different treatments, ranging from simple repairs to complete replacement of affected wood.
It’s worth noting that wood rot can spread if left untreated, affecting adjacent areas and potentially causing further damage. Regular inspections and prompt action are crucial in preventing the spread of rot and minimizing repair costs.
In conclusion, understanding the causes and types of wood rot is essential for effective repair and prevention. By addressing moisture issues and identifying the specific type of rot, homeowners can take the necessary steps to restore the integrity of their wooden structures and ensure their longevity.
Safety Precautions Before Starting the Repair
Prior to starting the repair, it’s important to ensure your safety. Working with rotted wood on a roof can be hazardous, so taking the necessary precautions is crucial.
Repairing a roof with rotted wood is a task that requires attention to detail and careful planning. Not only do you need to have the right tools and materials, but you also need to prioritize your safety throughout the entire process. By following these safety precautions, you can minimize the risk of accidents and injuries.
Necessary Safety Equipment
When working with rotted wood, it’s essential to wear protective gear, including gloves, safety goggles, and a dust mask. These items will protect you from any potential splinters or dust particles that may be released during the repair process.
Gloves are particularly important as they provide a barrier between your hands and the rotted wood. They can prevent cuts and punctures, as well as protect you from any harmful substances that may be present. Safety goggles, on the other hand, shield your eyes from flying debris and dust, reducing the risk of eye injuries. Lastly, a dust mask is necessary to filter out any fine particles that could be harmful if inhaled.
Assessing the Extent of Damage Safely
Before proceeding with the repair, assess the extent of the wood rot carefully. Check for any structural damage and ensure that the roof is stable and safe to work on. If you notice any signs of significant damage or instability, it’s advisable to consult a professional.
To assess the extent of the wood rot, start by visually inspecting the affected area. Look for signs of discoloration, softness, or crumbling wood. Use a screwdriver or a similar tool to gently probe the wood, checking for any areas that give way easily or feel spongy. It’s important to be thorough in your assessment to avoid any surprises or further damage during the repair process.
Additionally, consider the overall condition of the roof. Are there any signs of leaks or water damage? Is the roof sagging or showing any other signs of structural instability? These are important factors to consider as they can affect the safety of the repair process. If you have any doubts about the stability of the roof, it’s best to seek professional assistance.
By taking the time to assess the extent of the damage and ensuring the stability of the roof, you can proceed with the repair process confidently and safely.
Tools and Materials Needed for Repair
Now that you’ve taken the necessary safety precautions, let’s gather the tools and materials needed for the wood repair.
Repairing rotted wood requires careful consideration of the tools and materials you use. By choosing the right wood filler and having the essential tools at hand, you can ensure a successful and long-lasting repair.
Choosing the Right Wood Filler
When it comes to repairing rotted wood, choosing the right wood filler is crucial. Look for an epoxy-based filler specially designed for wood repair. These fillers provide excellent adhesion and durability, ensuring a long-lasting repair.
Additionally, consider the color of the wood filler. You want a filler that matches the color of the wood you are repairing. This will help the repair blend seamlessly with the surrounding area, making it nearly invisible.
Before applying the wood filler, make sure to clean and dry the damaged area thoroughly. This will ensure proper adhesion and prevent any moisture from compromising the repair.
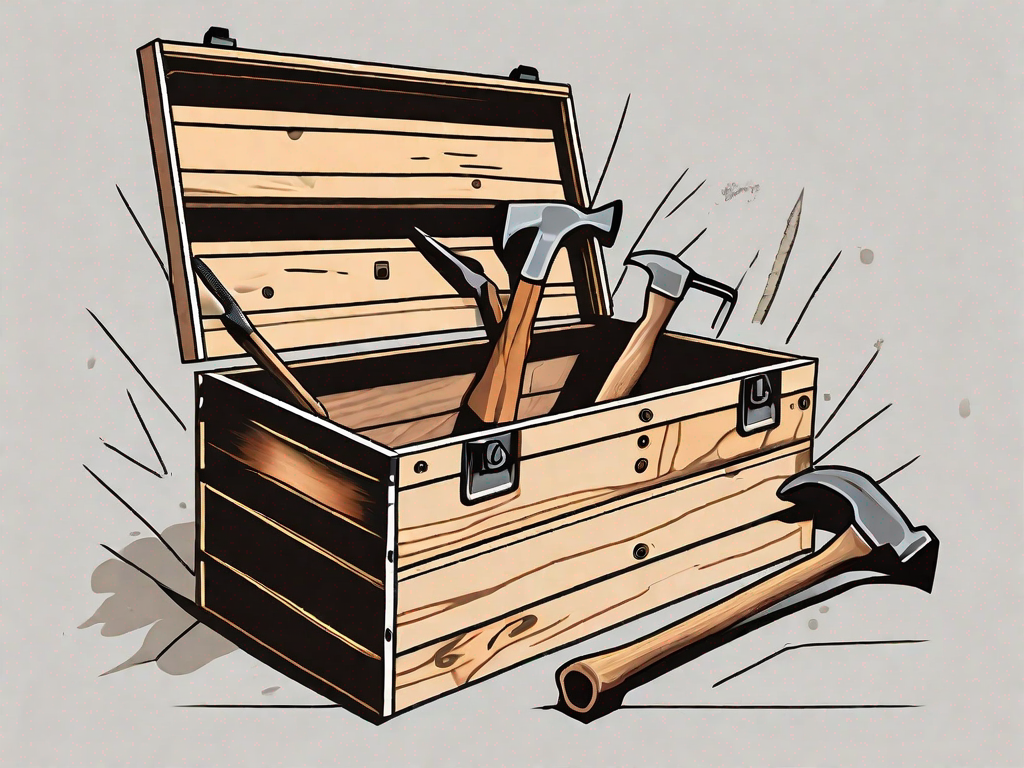
Essential Tools for Wood Repair
Here are the essential tools you’ll need for repairing rotted wood:
- Hammer and chisel for removing the damaged wood
- Saw for cutting and shaping the replacement wood
- Measuring tape for accurate measurements
- Screwdriver for removing any adjacent fixtures that might hinder the repair process
- Sanders and sandpaper for smoothing the repaired area
- Paintbrushes for applying the wood filler and sealing the repair
Having these tools readily available will ensure a smooth repair process. It’s important to note that the size and complexity of the repair may require additional tools not listed here. Assess the specific needs of your repair project and gather any additional tools accordingly.
Remember to wear appropriate safety gear, such as gloves and safety glasses, while using these tools to protect yourself from any potential injuries.
Once you have gathered all the necessary tools and materials, you are ready to begin the wood repair process. Take your time, follow the instructions provided with the wood filler, and ensure each step is completed with precision.
By using the right wood filler and having the essential tools at your disposal, you can restore rotted wood to its former glory. With patience and attention to detail, your repair will not only be functional but also aesthetically pleasing.
Step-by-Step Guide to Repairing Rotted Wood
Now that you’re equipped with the necessary knowledge and tools, let’s dive into the step-by-step process of repairing rotted wood on your roof.
Removing the Rotted Wood
The first step in the repair process is removing the rotted wood. Use a hammer and chisel to carefully cut away the damaged area. Take your time to ensure that you remove all traces of rot.
If the damage extends to a larger area, it may be necessary to remove nearby fixtures temporarily so that you have better access to the affected area.
Preparing the Area for Repair
Before applying the wood filler, it’s essential to prepare the area properly. Start by cleaning the exposed wood thoroughly, removing any debris or loose material. Once clean, use sandpaper to smooth the surface, ensuring a better bond with the wood filler.
Applying the Wood Filler
Once the surface is prepared, it’s time to apply the wood filler. Follow the instructions provided by the manufacturer, ensuring that you mix the epoxy-based filler properly.
Using a putty knife or a similar tool, apply the wood filler to the damaged area. Smooth it out evenly and remove any excess filler. Allow the filler to cure and harden as per the manufacturer’s instructions.
Finishing and Sealing the Repair
After the wood filler has cured, it’s time to finish and seal the repair. Use sandpaper to smooth the repaired area, ensuring that it blends seamlessly with the surrounding wood. Once smooth, apply a primer and paint that matches the color of your roof, providing an extra layer of protection.
Preventing Future Wood Rot on Your Roof
Now that you’ve successfully repaired the rotted wood on your roof, it’s important to take preventive measures to avoid future wood rot issues.
Regular Roof Maintenance Tips
Maintaining your roof regularly is essential for keeping it in good condition and preventing wood rot. Schedule regular inspections to identify any potential moisture issues or signs of rot. Keep gutters clean and ensure proper drainage to prevent water pooling on your roof.
Choosing Rot-Resistant Materials for Roofing
When replacing or installing roofing materials, opt for rot-resistant options. Pressure-treated lumber, cedar, or redwood are good choices for wood components, as they naturally resist rot and decay. Additionally, consider using metal or synthetic roofing materials that are less susceptible to rot.
Proper Roof Ventilation and Its Role in Preventing Wood Rot
Proper roof ventilation plays a crucial role in preventing wood rot. It helps regulate temperature and humidity levels, reducing the chances of moisture buildup that can lead to rot. Ensure that your roof has adequate ventilation and consider installing additional vents if necessary.
With these preventive measures in place, you can enjoy a rot-free roof for years to come.
Remember, fixing rotted wood on your roof is a task that requires patience, attention to detail, and the right tools. By following the step-by-step guide and taking preventive measures, you can effectively repair rotted wood and keep your roof in excellent condition.