LED strip lights are a popular choice for adding ambiance and lighting effects to various spaces. However, these lights can sometimes encounter issues, such as rips or tears. The good news is that you can fix ripped LED strip lights without soldering! In this article, we will guide you through the process step by step, ensuring that your LED strip lights are back to their radiant glory in no time.
Understanding the Basics of LED Strip Lights
LED strip lights have become increasingly popular in recent years due to their versatility and energy efficiency. They are commonly used for various purposes, including decorative lighting, accent lighting, and task lighting. Before we dive into the repair process, let’s take a closer look at the basic structure of LED strip lights.
The Structure of LED Strip Lights
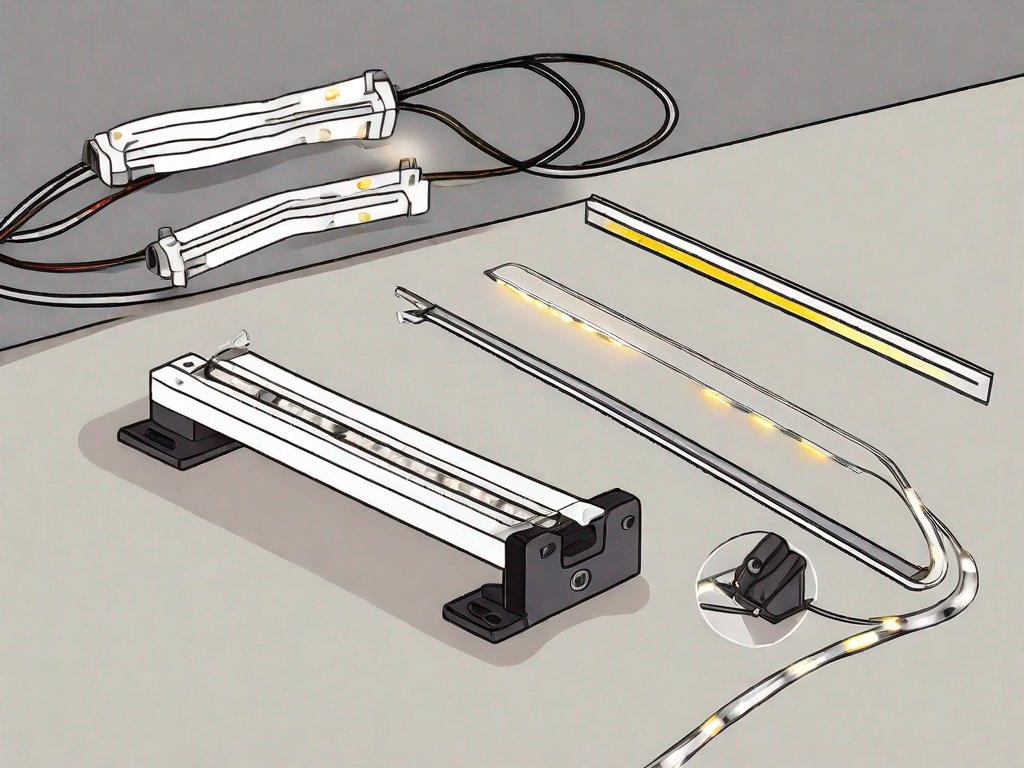
LED strip lights consist of a flexible circuit board with attached LED chips, covered by a protective coating. This flexible circuit board allows the strip lights to be bent and shaped according to your desired configuration. The LED chips are the actual light-emitting components of the strip lights, responsible for producing the illumination.
These lights are typically sold in reels, making them easy to handle and install. The length of the reel can vary, allowing you to cut the strip lights into different lengths to fit your specific needs. This flexibility makes LED strip lights suitable for a wide range of applications, from illuminating cabinets and shelves to creating stunning lighting effects in architectural designs.
Common Issues with LED Strip Lights
While LED strip lights are generally durable and long-lasting, they can experience common issues over time. One of the most common issues is the occurrence of rips or tears in the strip. These can happen due to mishandling during installation or accidental damage while in use. It’s important to handle the strip lights with care and avoid applying excessive force when bending or shaping them.
When a rip or tear occurs, it can lead to malfunctioning sections or complete disruptions in lighting. This can be frustrating, especially if you have meticulously designed a lighting setup. However, it’s not the end of the world. LED strip lights are often designed with individual segments that can be independently controlled. This means that even if one section is damaged, the rest of the strip lights can still function properly.
Repairing LED strip lights is usually a straightforward process. Depending on the severity of the damage, you may need to replace the affected section of the strip or use soldering techniques to fix any loose connections. It’s always a good idea to consult the manufacturer’s instructions or seek professional assistance if you’re unsure about the repair process.
Regular maintenance and inspection can help prevent common issues with LED strip lights. Checking for any signs of wear and tear, such as loose connections or discoloration, can help you identify potential problems before they worsen. Additionally, keeping the strip lights clean and free from dust or debris can ensure optimal performance and longevity.
Overall, understanding the basics of LED strip lights and being aware of common issues can help you make the most out of this versatile lighting solution. Whether you’re using them for practical or decorative purposes, LED strip lights can add a touch of brilliance to any space.
Necessary Tools for Repairing LED Strip Lights
Identifying Your Tools
Before you begin the repair process, it’s essential to gather the necessary tools. Here are the items you’ll need:
- Heat shrink tubing
- Scissors
- Electrical tape
- Wire stripper
- Wire cutter
- Heat gun or hairdryer
Now that you have identified the tools required for repairing LED strip lights, let’s delve into each item’s purpose and how it contributes to the repair process.
1. Heat shrink tubing: This flexible plastic tubing is used to insulate and protect electrical wires. It shrinks when heat is applied, creating a tight seal around the wires, preventing any potential short circuits or damage.
2. Scissors: Scissors are a versatile tool used for cutting various materials, including heat shrink tubing, electrical tape, and wires. Make sure to use a sharp pair of scissors to ensure clean and precise cuts.
3. Electrical tape: Electrical tape is an essential tool for insulating and securing electrical connections. It provides an extra layer of protection against moisture, dust, and accidental contact with live wires.
4. Wire stripper: A wire stripper is used to remove the insulation from the ends of wires, exposing the bare metal. This allows for proper connection and ensures a secure electrical contact.
5. Wire cutter: Wire cutters are designed to cut through different gauges of wire. They provide a clean and precise cut, preventing any damage to the wire strands.
6. Heat gun or hairdryer: A heat gun or hairdryer is used to apply heat to the heat shrink tubing, causing it to shrink and form a tight seal around the wires. This step is crucial for maintaining the integrity and safety of the repaired LED strip lights.
Safety Precautions When Handling Tools
Remember to prioritize safety when handling tools. Ensure that you are working in a well-ventilated area and wear safety goggles to protect your eyes from any debris. Additionally, make sure to disconnect the power source before starting any repairs.
Working in a well-ventilated area is important as it helps to dissipate any fumes or odors that may be emitted during the repair process. Proper ventilation reduces the risk of inhaling harmful substances and ensures a healthier working environment.
Wearing safety goggles is crucial to protect your eyes from any potential debris or particles that may be released while handling tools or working with the LED strip lights. It’s always better to be safe than sorry, and protecting your eyes is a vital aspect of staying safe during repairs.
Lastly, before starting any repairs, it is essential to disconnect the power source. This precautionary measure ensures that there is no electrical current flowing through the LED strip lights, minimizing the risk of electric shock or damage to the components.
By following these safety precautions and using the necessary tools, you can confidently proceed with repairing your LED strip lights, knowing that you have taken the necessary steps to ensure your safety and the successful restoration of your lights.
Step-by-Step Guide to Fixing Ripped LED Strip Lights
Preparing Your Work Area
Firstly, clear a clean and well-lit workspace to perform the repair. It is important to have ample space to work efficiently and avoid any accidental damage to the LED strip lights.
Set up a sturdy table or workbench where you can spread out your tools and materials. Ensure that there is enough room to maneuver and that you have access to a power source if needed.
Gather all the necessary tools and materials for the repair, including wire cutters, wire strippers, heat shrink tubing, a heat gun or hairdryer, electrical tape, and a soldering iron if necessary. Having everything ready beforehand will help streamline the repair process.
Assessing the Damage
Once the work area is ready, carefully examine the ripped or torn section of the LED strip lights. It’s crucial to determine the extent of the damage before proceeding. If the damage is limited to a small area, you can easily fix it using the following steps.
Inspect the LED strip lights closely, looking for any signs of frayed wires or loose connections. Sometimes, the damage may not be immediately visible, so gently flex the strip lights to see if any sections flicker or lose power.
If the damage is extensive or if you notice any other issues with the LED strip lights, it may be necessary to replace the entire strip or seek professional assistance.
The Repair Process
Start by cutting away any damaged sections of the LED strip lights. Make sure to give yourself enough room to work with by cutting slightly before and after the damaged area. Use the wire cutters to make clean, straight cuts.
Inspect the remaining strip lights to ensure that there are no other damaged areas. If you notice any, repeat the cutting process to remove those sections as well.
Next, take the wire cutter and strip off the protective coating on both ends of the remaining strip lights. Be careful not to cut into the wires themselves, as this can cause further damage.
Afterward, cut a piece of heat shrink tubing that is slightly longer than the gap created by the removed section. Slip the heat shrink tubing onto the strip light, covering the exposed solder pads. Ensure that the tubing overlaps the strip light on both ends.
Now, carefully align the exposed copper pads of the old strip light with the solder pads on the existing strip lights. Use the wire stripper to remove a small portion of insulation from the copper pads, creating a clean contact surface.
Apply a small amount of soldering flux to the exposed copper pads to ensure a good solder joint. Then, using a soldering iron, heat the pads and apply solder to create a strong connection between the old and new strip lights.
Join the old and new copper pads together, making sure they are aligned correctly. Apply heat to the heat shrink tubing using a heat gun or hairdryer to secure the connection. The heat will cause the tubing to shrink tightly around the strip lights, creating a firm bond.
Finally, use electrical tape to cover the entire repaired section. This step helps provide additional protection and insulation for the repair. Wrap the tape tightly around the repaired area, ensuring that there are no exposed wires or solder joints.
Once the repair is complete, test the LED strip lights to ensure that they are functioning properly. Plug them into a power source and check for any flickering or dimming. If everything looks good, you can reinstall the strip lights in their original location or any desired location.
Remember to always exercise caution when working with electrical components. If you are unsure about any step of the repair process, consult a professional electrician or seek guidance from the manufacturer of the LED strip lights.
Tips to Prevent Future Damage to LED Strip Lights
Proper Handling and Installation
To prevent future damage to your LED strip lights, handle them with care during installation. Avoid bending or folding the strip lights excessively, as this can weaken the circuit board and lead to tears. Additionally, make sure to follow the manufacturer’s guidelines for installation to ensure proper functioning.
Regular Maintenance and Care
Maintaining your LED strip lights is key to their longevity. Keep the lights clean by gently wiping them with a microfiber cloth. Avoid using harsh chemicals or abrasive materials that can damage the protective coating. Regularly inspect the lights for any signs of wear or tear, and address any issues promptly to prevent further damage.
Troubleshooting Other Common LED Strip Light Problems
Dealing with Dim Lights
If your LED strip lights appear dim, ensure that they are receiving the correct voltage from the power source. Check the wiring connections and power supply to rule out any issues. Additionally, verify that the LED strip lights are compatible with the power supply being used.
Addressing Flickering Issues
Flickering lights can be frustrating. To troubleshoot flickering LED strip lights, check for loose connections or damaged wiring. If the issue persists, consider replacing the power supply as it may not be providing a stable current.
With these steps and tips in mind, you can confidently and effectively repair ripped LED strip lights without the need for soldering. Remember to take your time and follow the instructions carefully to ensure a successful repair. Now, let’s get those LED strip lights shining brightly once again!
Leave a Reply