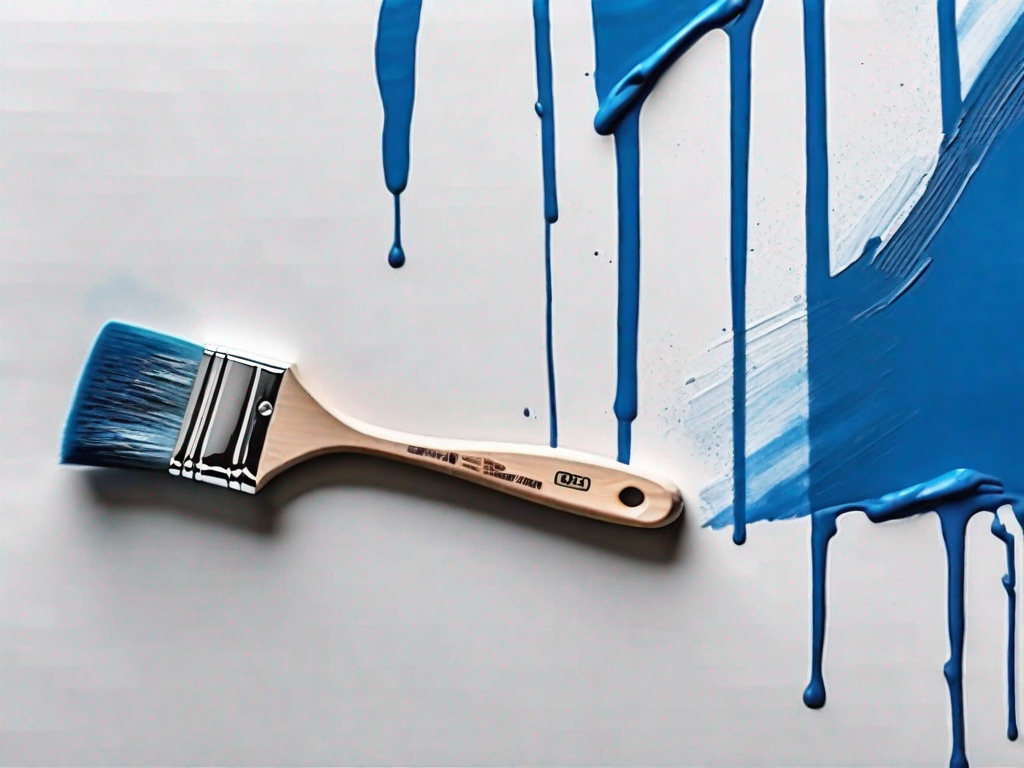
Paint bleed under tape can be a frustrating issue when it comes to achieving a clean and professional paint job. Thankfully, there are steps you can take to prevent and fix this problem. In this comprehensive guide, we will walk you through the process of fixing paint bleed under tape, providing you with all the information you need to achieve a flawless finish. Let’s dive in!
Understanding Paint Bleed Under Tape
Before we delve into the solutions, it’s crucial to understand what paint bleed under tape actually is. Paint bleed occurs when paint seeps under the edges of the tape, resulting in uneven or blurry lines. This can happen due to various reasons, such as improper application of tape, low-quality tape, or excessive pressure applied during painting.
What is Paint Bleed?
Paint bleed is the phenomenon where paint spreads beyond the intended boundaries, causing unsightly marks and ruining the overall appearance of your paint job. It can occur when the tape does not create a proper seal against the surface, allowing paint to seep through the gaps.
Common Causes of Paint Bleed
Several factors can contribute to paint bleed under tape. Some common causes include:
- Using low-quality tape
- Inconsistent application of tape
- Excessive pressure during painting
- Uneven or rough surfaces
- Moisture or humidity
Using low-quality tape can increase the chances of paint bleed. Inferior tapes may not adhere well to the surface, allowing paint to seep underneath.
When applying tape, it’s important to ensure a consistent and tight seal against the surface. Inconsistent application, such as gaps or overlaps, can create opportunities for paint to bleed through.
Applying excessive pressure while painting can cause the tape to deform or lift slightly, creating gaps for paint to seep under. It’s important to maintain a steady and controlled painting technique.
If the surface being painted is uneven or rough, it can make it difficult for the tape to create a proper seal. Irregularities in the surface can lead to gaps where paint can bleed under the tape.
High levels of moisture or humidity in the environment can affect the adhesion of the tape. Moisture can cause the tape to lose its stickiness, making it easier for paint to seep through.
Necessary Tools and Materials
Now that we have a clear understanding of the problem at hand, let’s gather the tools and materials required to fix paint bleed under tape effectively.
Fixing paint bleed under tape requires a few essential tools and materials. By having these items on hand, you can ensure a smooth and successful paint job without any unwanted bleed.
List of Tools for the Job
Here’s a list of essential tools you’ll need:
- Painter’s tape: A high-quality painter’s tape is essential for achieving clean lines and preventing paint bleed. Look for tape specifically designed for this purpose.
- Scissors: You’ll need a pair of scissors to cut the painter’s tape to the desired length.
- Sanding sponge or sandpaper: To prepare the surface for painting, you’ll need a sanding sponge or sandpaper to smooth out any rough areas or imperfections.
- Tack cloth or rag: A tack cloth or rag is useful for removing any dust or debris from the surface before applying the tape.
- Putty knife or scraper: If there are any loose or peeling paint, a putty knife or scraper can help remove them, ensuring a clean surface for painting.
- Primer: Depending on the condition of the surface and the type of paint you’re using, you may need a primer to create a smooth base and improve adhesion.
- Paint roller or brush: Choose a paint roller or brush based on the size of the area you’re painting and your personal preference.
- Paint tray or container: A paint tray or container is necessary for holding the paint and providing a convenient way to load your roller or brush.
- Drop cloth or plastic sheeting: To protect the surrounding area from paint splatters or spills, lay down a drop cloth or plastic sheeting.
Choosing the Right Paint and Tape
When it comes to fixing paint bleed, selecting the right paint and tape is crucial. Opt for high-quality painter’s tape specifically designed for clean lines and minimal bleed. Look for tapes that are easy to apply and remove, ensuring that they won’t damage the surface or leave any residue behind.
Additionally, ensure that you choose the appropriate paint for your surface, considering factors such as texture and finish. Different surfaces may require different types of paint, such as latex or oil-based. It’s important to select a paint that is compatible with the surface you’re working on to achieve the best results.
Consider the color of the paint as well. If you’re covering up a dark color with a lighter one, you may need multiple coats to achieve full coverage. On the other hand, if you’re painting a light color over a dark one, a primer may be necessary to prevent the previous color from bleeding through.
By carefully selecting the right paint and tape, you can minimize the chances of paint bleed and ensure a professional-looking finish.
Preparing the Surface for Painting
Proper surface preparation is essential to achieve a successful paint job. Before applying tape and paint, make sure to thoroughly clean the surface and apply the tape correctly.
Cleaning the Surface
Start by cleaning the surface you’re planning to paint. This step is crucial as it ensures that the paint adheres properly and provides a smooth finish. Remove any dust, dirt, or grease using a mild detergent or cleaner. Pay close attention to areas that are prone to collecting grime, such as kitchen walls or bathroom tiles.
Once you have your cleaning solution ready, use a sponge or cloth to gently scrub the surface. Take your time and be thorough, making sure to reach every nook and cranny. For stubborn stains, you may need to apply a bit more pressure or use a specialized cleaner.
After cleaning, it’s important to address any imperfections on the surface. Take a sanding sponge or sandpaper and gently sand any rough areas or bumps. This step helps create a smooth and even surface for the paint to adhere to. Be careful not to oversand, as it can damage the surface. Once you’re done, wipe away any residue with a tack cloth or rag.
Applying the Tape Correctly
To prevent paint bleed and achieve clean, crisp lines, it’s essential to apply the tape correctly. Begin by selecting the right type of painter’s tape for your project. Different tapes have varying levels of adhesion and are designed for specific surfaces, such as walls, trim, or delicate surfaces like wallpaper.
Before applying the tape, ensure that the surface is completely dry and free from any dust or debris. This will help the tape adhere better and create a tight seal. Cut the painter’s tape into manageable lengths using scissors, making sure to have enough to cover the desired area.
When positioning the tape, take your time to ensure it is straight and aligned with the edges you want to protect. Press the tape firmly against the surface, making sure it adheres well and creates a tight seal. Use your fingers or a putty knife to smooth out any air bubbles or wrinkles that may have formed.
For corners or curves, gently stretch the tape to fit the shape, ensuring it lies flat against the surface. This will help prevent any paint from seeping underneath. If needed, use a craft knife to trim any excess tape for a neater finish.
Remember, the tape should be applied just before you start painting and removed as soon as the paint is dry to the touch. Leaving the tape on for too long can cause it to bond with the paint, making it difficult to remove without damaging the surface.
Painting Techniques to Prevent Bleed
Using the right painting techniques can significantly reduce the chances of paint bleed under tape. Let’s explore a couple of key considerations:
Painting is not just about applying color to a surface; it is an art form that requires skill and precision. Whether you are a professional painter or a DIY enthusiast, understanding the techniques to prevent paint bleed can make a significant difference in the final result of your project.
Brushing vs. Rolling: Which is Better?
When it comes to applying paint, both brushing and rolling techniques have their pros and cons. Brushing allows for more precision and control, which can be beneficial when working near tape edges. The delicate bristles of a paintbrush can navigate tight corners and intricate details with ease, ensuring that the paint stays within the desired boundaries.
On the other hand, rolling covers larger surfaces more efficiently while avoiding excessive pressure that can cause bleed. A paint roller evenly distributes the paint, creating a smooth and uniform finish. This technique is ideal for walls, ceilings, and other expansive areas where speed and efficiency are key.
Consider your project requirements and personal preference when deciding between the two techniques. If you are working on a project that requires intricate detailing, such as trim or furniture, brushing may be the better choice. However, if you are painting a large surface area, such as a room or exterior walls, rolling can save you time and effort.
The Importance of Drying Time
Allowing sufficient drying time between coats is crucial to avoid paint bleed. Rushing the process can cause the tape to peel off or disturb the fresh coat, leading to bleed. Patience is key when it comes to achieving a flawless paint job.
Follow the manufacturer’s instructions for recommended drying times, which can vary depending on the paint type and environmental conditions. Factors such as humidity, temperature, and ventilation can affect the drying time. It is essential to create an optimal environment for the paint to dry properly.
During the drying process, it is also crucial to avoid any contact or pressure on the painted surface. Even a slight touch can disrupt the drying paint and result in bleed. Take the necessary precautions to protect the freshly painted area, such as using drop cloths and avoiding any unnecessary movements.
Additionally, if you are working with multiple coats of paint, ensure that each layer is completely dry before applying the next. This will prevent the colors from blending and bleeding into each other.
By allowing ample drying time, you give the paint the opportunity to cure and adhere properly to the surface, minimizing the risk of bleed. Remember, patience and attention to detail are essential for achieving professional-looking results.
How to Fix Existing Paint Bleed
If you’ve encountered paint bleed under tape during your painting project, don’t worry. Here’s what you can do to fix it:
Removing the Excess Paint
First, carefully remove the tape while the paint is still wet. This will help prevent any further damage or inconsistencies. Use a putty knife or scraper to gently lift the tape from the surface. Be cautious and go slow to avoid any unintentional smudges or drips.
Repainting the Affected Area
Once the excess paint has been removed, allow the surface to dry completely. If needed, lightly sand the area to create a smooth surface. Apply a primer to the affected area to ensure proper adhesion of the new paint. Finally, repaint the area using the appropriate technique, following the guidelines mentioned earlier.
By following these steps and utilizing the right tools and techniques, you can effectively fix paint bleed under tape and achieve a flawless paint job. Remember to be patient and meticulous in your approach, and you’ll soon enjoy the satisfying results of your efforts. Good luck!