In the world of digital photography, overexposure is a common problem that can significantly impact the quality of your images. Whether it’s due to harsh lighting conditions or incorrect camera settings, overexposure can result in blown-out highlights, loss of detail, and washed-out colors. Fortunately, with the help of DaVinci Resolve, a powerful photo editing software, you can easily fix overexposed images and restore their visual balance. In this article, we will explore the causes of overexposure, introduce you to DaVinci Resolve, and provide you with techniques and tips to correct and prevent overexposure in your future shoots.
Understanding Overexposure in Digital Photography
Overexposure occurs when too much light reaches the camera sensor, causing the image to appear brighter than intended. This happens when the camera’s exposure settings, such as aperture, shutter speed, and ISO, are not properly adjusted to the lighting conditions. When a photo is overexposed, the highlights become blown-out, resulting in a loss of detail and texture. It’s important to understand the impact of overexposure on image quality to effectively fix it using DaVinci Resolve.
The Impact of Overexposure on Image Quality can be significant. Blown-out highlights can create a distracting effect, drawing attention away from the subject and making the image appear unnatural and less appealing. Additionally, overexposure reduces the dynamic range of the image, limiting the amount of detail visible in both the highlights and shadows. This loss of information can be problematic during post-processing as it limits the adjustments you can make to the image. Therefore, it’s crucial to identify and correct overexposure to ensure the best possible outcome.
Understanding how overexposure occurs during shooting is essential for effectively fixing it later in DaVinci Resolve. Factors such as shooting in bright sunlight, using incorrect exposure settings, or not properly managing the light source can contribute to overexposure. By being aware of these causes, you can take steps to prevent overexposure from happening in the first place. However, if it does occur, don’t worry; DaVinci Resolve is here to help.
When it comes to digital photography, overexposure is a common challenge that photographers face. It can happen in various situations, such as shooting outdoors on a sunny day or capturing subjects with bright light sources. Understanding the causes and consequences of overexposure is crucial for photographers who want to capture stunning and well-exposed images.
One of the main causes of overexposure is shooting in bright sunlight. The intense light can easily overwhelm the camera’s sensor, leading to blown-out highlights and washed-out colors. To avoid this, photographers can use techniques such as shooting during the golden hour, when the sunlight is softer and more flattering, or using a lens hood to reduce the amount of direct light entering the lens.
Another factor that contributes to overexposure is using incorrect exposure settings. When photographers don’t adjust the aperture, shutter speed, and ISO properly, they risk letting in too much light, resulting in overexposed images. Understanding the relationship between these settings and how they affect the exposure is essential for achieving the desired results. Experimenting with different combinations and understanding the exposure triangle can help photographers master exposure control.
Properly managing the light source is also crucial in avoiding overexposure. When photographing subjects with bright light sources, such as the sun or artificial lights, it’s important to position the subject in a way that minimizes direct light hitting the camera’s sensor. This can be achieved by using reflectors or diffusers to control the light, or by adjusting the angle of the subject in relation to the light source.
Despite taking precautions, overexposure can still occur. However, with the help of post-processing software like DaVinci Resolve, photographers can effectively fix overexposed images and restore detail and balance. DaVinci Resolve offers powerful tools and features that allow photographers to adjust exposure, recover highlights, and enhance the overall image quality. By understanding the causes of overexposure and utilizing the capabilities of DaVinci Resolve, photographers can ensure that their images are visually appealing and accurately represent their intended vision.
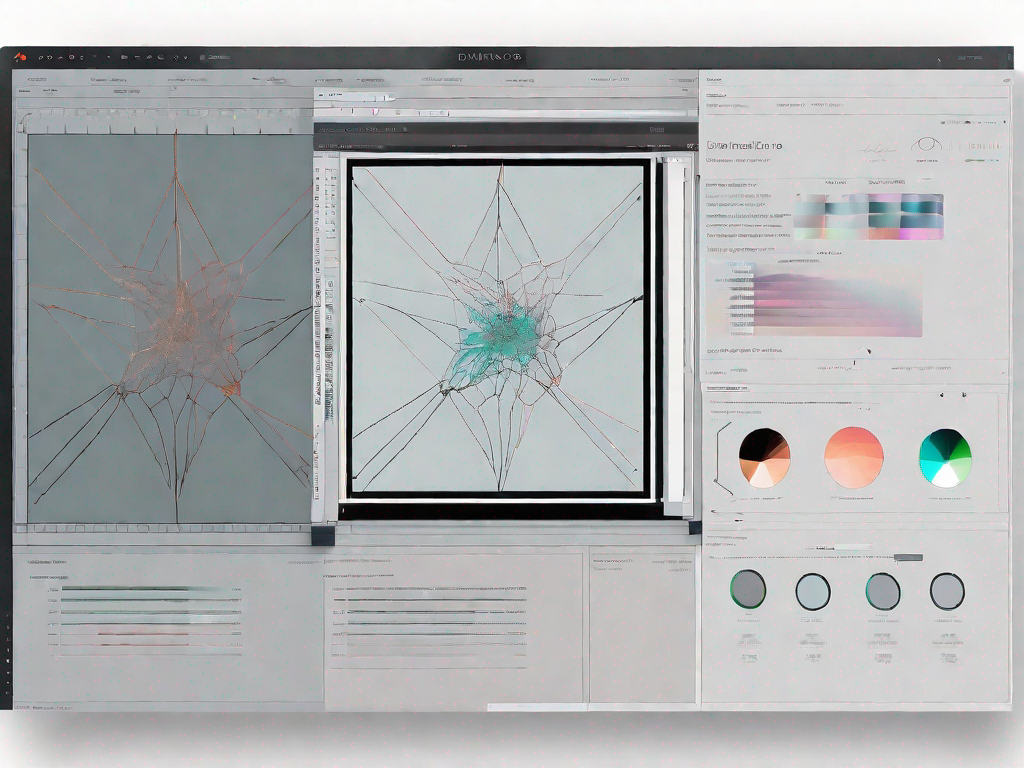
Introduction to DaVinci Resolve
DaVinci Resolve is a comprehensive software widely used by photographers and videographers, primarily known for its powerful color grading capabilities. However, it also offers a range of features to enhance your images, including the ability to fix overexposure. Before we delve into the techniques of correcting overexposure in DaVinci Resolve, let’s take a quick look at its key features for photo editing.
One of the standout features of DaVinci Resolve is its intuitive and user-friendly interface. Navigating through the software is a breeze, allowing you to focus on your creative vision without getting lost in complex menus and options. With its sleek design and customizable workspace, DaVinci Resolve provides a seamless editing experience, making it an ideal choice for photographers looking to enhance their images efficiently.
In addition to its user-friendly interface, DaVinci Resolve offers a wide range of powerful tools and effects to take your photo editing to the next level. Whether you want to adjust the exposure, contrast, or saturation of your images, DaVinci Resolve provides precise controls that allow you to achieve the desired look with ease.
Another notable feature of DaVinci Resolve is its advanced color grading capabilities. With a comprehensive set of tools and a wide range of color palettes, you can easily manipulate the colors in your images to create a specific mood or enhance the overall visual impact. Whether you want to achieve a warm and inviting look or a cool and moody atmosphere, DaVinci Resolve has the tools to make your vision a reality.
Furthermore, DaVinci Resolve offers a range of professional-grade filters and effects that can add a creative touch to your images. From vintage film looks to modern cinematic styles, you can experiment with various effects and transform your photos into stunning works of art.
When it comes to organizing and managing your photo library, DaVinci Resolve provides a robust system that allows you to easily sort, categorize, and search for your images. With its efficient file management tools, you can quickly locate specific photos and streamline your workflow.
Additionally, DaVinci Resolve supports a wide range of file formats, ensuring compatibility with different cameras and devices. Whether you shoot in RAW or JPEG, DaVinci Resolve can handle your files seamlessly, allowing you to edit and export your images without any hassle.
Overall, DaVinci Resolve is a versatile software that offers a comprehensive set of features for photo editing. From its intuitive interface to its powerful tools and effects, it provides photographers with the necessary tools to enhance their images and bring their creative vision to life. In the following sections, we will explore the techniques of correcting overexposure in DaVinci Resolve, helping you achieve perfectly balanced and visually appealing photos.
Identifying Overexposure in DaVinci Resolve
Before you can fix overexposure in DaVinci Resolve, you need to be able to identify it accurately. This can be done by using the built-in Histogram tool, which displays the distribution of brightness values in your image. By analyzing the histogram, you can determine if any areas of your photo are overexposed or underexposed. Let’s take a closer look at how you can use the histogram to spot overexposure in your images.
The histogram in DaVinci Resolve provides a graphical representation of the luminance values in your image. The left side of the histogram represents the shadows, the middle represents the mid-tones, and the right side represents the highlights. A well-exposed image typically has a balanced histogram, with a smooth curve that extends from the darkest shadows to the brightest highlights. When there is overexposure, the curve on the right side of the histogram becomes truncated, indicating that the highlights are blown-out.
Aside from using the histogram, there are other signs of overexposure you can look out for. These include areas of your image that lack detail or texture, overly bright or washed-out colors, and loss of contrast. By being familiar with these indicators, you can easily recognize and fix overexposed images in DaVinci Resolve.
Techniques to Correct Overexposure in DaVinci Resolve
Now that you can identify overexposure, it’s time to learn how to fix it using the various tools and features available in DaVinci Resolve. Here are some effective techniques you can use to correct overexposure in your images:
-
Adjusting Exposure Settings: One of the simplest ways to fix overexposure is by adjusting the exposure settings in DaVinci Resolve. This includes modifying the exposure, shadows, highlights, and mid-tones to restore the balance and bring back detail in the areas affected by overexposure. By carefully tweaking these settings, you can ensure your image looks natural and well-exposed.
-
Using Color Grading to Fix Overexposure: Color grading is a powerful tool in DaVinci Resolve that allows you to tweak the colors and tones in your image. To fix overexposure, you can adjust the highlights and mid-tones, reducing their intensity to bring back detail and tonal range. Additionally, you can use color grading techniques such as adding a graduated filter or applying a specific color scheme to further enhance the overall appearance of your image.
-
Utilizing the Highlight Recovery Feature: DaVinci Resolve also offers a highlight recovery feature that can help salvage blown-out areas in your image. This tool analyzes the image data and intelligently fills in the overexposed highlights with information from the surrounding areas. By using the highlight recovery feature, you can recover lost detail and ensure a more balanced exposure in your final image.
By combining these techniques and experimenting with different adjustments, you can effectively correct overexposure in your images and achieve the desired result in DaVinci Resolve.
Tips for Preventing Overexposure in Future Shoots
While it’s essential to know how to fix overexposure in post-processing, prevention is always better than correction. Here are some valuable tips to help you prevent overexposure in your future shoots:
-
Understanding Your Camera’s Exposure Settings: Familiarize yourself with your camera’s exposure settings, including aperture, shutter speed, and ISO. Learn how to adjust these settings to suit different lighting conditions and achieve a well-exposed image.
-
The Role of Lighting in Preventing Overexposure: Proper lighting is crucial in photography. Avoid shooting in harsh sunlight or direct light sources that can cause overexposure. Instead, opt for diffused lighting or use reflectors to control the amount of light reaching your subject.
-
Importance of Regularly Checking Your Histogram: Make it a habit to check the histogram on your camera’s display while shooting. This will help you identify any potential overexposure issues before capturing the image, allowing you to make adjustments and achieve a well-exposed photo.
By following these tips and being mindful of the exposure settings and lighting conditions, you can significantly reduce the chances of overexposure in your future shoots, resulting in better-quality images right from the start.
In conclusion, overexposure is a common issue faced by photographers, but with the right knowledge and tools, it can be easily fixed and prevented. DaVinci Resolve offers a wide range of features and techniques to correct overexposure, making it an excellent choice for photographers looking to enhance their images. By understanding the causes of overexposure, utilizing the histogram tool, and applying the various correction techniques in DaVinci Resolve, you can restore balance, detail, and naturalness to your overexposed images. Additionally, by following the prevention tips, you can minimize the occurrence of overexposure in your future shoots, ensuring better-quality images from the start. So, embrace the power of DaVinci Resolve and take control of overexposure in your photography journey.