Loose paver steps can be a safety hazard and an eyesore in any outdoor space. If you notice your paver steps moving or shifting, it’s important to address the issue promptly. In this step-by-step guide, we’ll walk you through the process of fixing loose paver steps, from understanding the problem to maintaining your steps for years to come.
Understanding the Problem: Loose Paver Steps
Before diving into the repair process, it’s crucial to understand what causes paver steps to become loose. One common reason is improper installation, where the base wasn’t adequately prepared or compacted. Over time, the pavers can settle or shift, leading to loose steps. This can be a result of poor workmanship or lack of experience on the part of the installer. When the base is not properly compacted, it can create voids beneath the pavers, causing them to become unstable and prone to movement.
Another reason for loose paver steps is the natural settling of the ground beneath the pavers. As the soil compacts or shifts over time, it can cause the pavers to become uneven and loose. This settling can be exacerbated by factors such as heavy rainfall, freeze-thaw cycles, or the presence of tree roots.
Understanding the underlying causes of loose paver steps is essential in order to address the issue effectively. By identifying the root cause, you can implement the appropriate repair techniques and prevent future problems.
Identifying Loose Paver Steps
The first step in fixing loose paver steps is identifying which specific steps are loose. Walk up and down your steps carefully, paying attention to any noticeable movement or shifting. Take note of any pavers that feel unstable or wobble when pressure is applied. Additionally, look out for any cracks or gaps between the pavers, as these can indicate loose or shifting steps.
Another way to identify loose paver steps is by inspecting the surrounding area. Look for signs of erosion or displacement of the base material beneath the pavers. If you notice any sinking or unevenness in the steps, it is likely that there are loose pavers that need to be addressed.
By thoroughly examining the steps and surrounding area, you can pinpoint the exact locations of the loose pavers and proceed with the necessary repairs.
Potential Risks of Loose Paver Steps
While loose paver steps may seem like a minor inconvenience, they can pose serious risks. Loose steps can lead to trips, falls, and injuries, especially for older adults and young children. The instability of the pavers can cause individuals to lose their balance and potentially suffer from severe accidents.
In addition to the immediate danger, loose pavers can cause further damage to the steps or surrounding areas if left unaddressed. As people continue to use the steps, the movement of the loose pavers can lead to the development of cracks or gaps, compromising the overall structural integrity. This can result in more extensive and costly repairs in the future.
Furthermore, loose pavers can create an unappealing aesthetic and diminish the overall curb appeal of your property. The unevenness and instability of the steps can detract from the beauty of your outdoor space and potentially affect its market value.
Given the potential risks and consequences associated with loose paver steps, it is essential to take prompt action to address the issue and ensure the safety and longevity of your outdoor steps.
Gathering the Necessary Tools and Materials
Before you start the repair process, gather all the necessary tools and materials to ensure a smooth and efficient repair. Here are a few essential items you’ll need:
Essential Tools for the Job
- Tape measure
- Chisel
- Hammer
- Masonry adhesive
- Rubber mallet
- Trowel
- Level
Now that you have your tools ready, let’s dive into the details of each item and understand their importance in the repair process.
The tape measure is an indispensable tool for any construction or repair project. It allows you to accurately measure the dimensions of the area you’re working on, ensuring precise cuts and placements.
A chisel is a sharp-edged tool used for cutting or shaping hard materials such as stone or metal. In the case of fixing loose paver steps, a chisel will help you remove any loose or damaged pavers, creating a clean and stable surface for the repair.
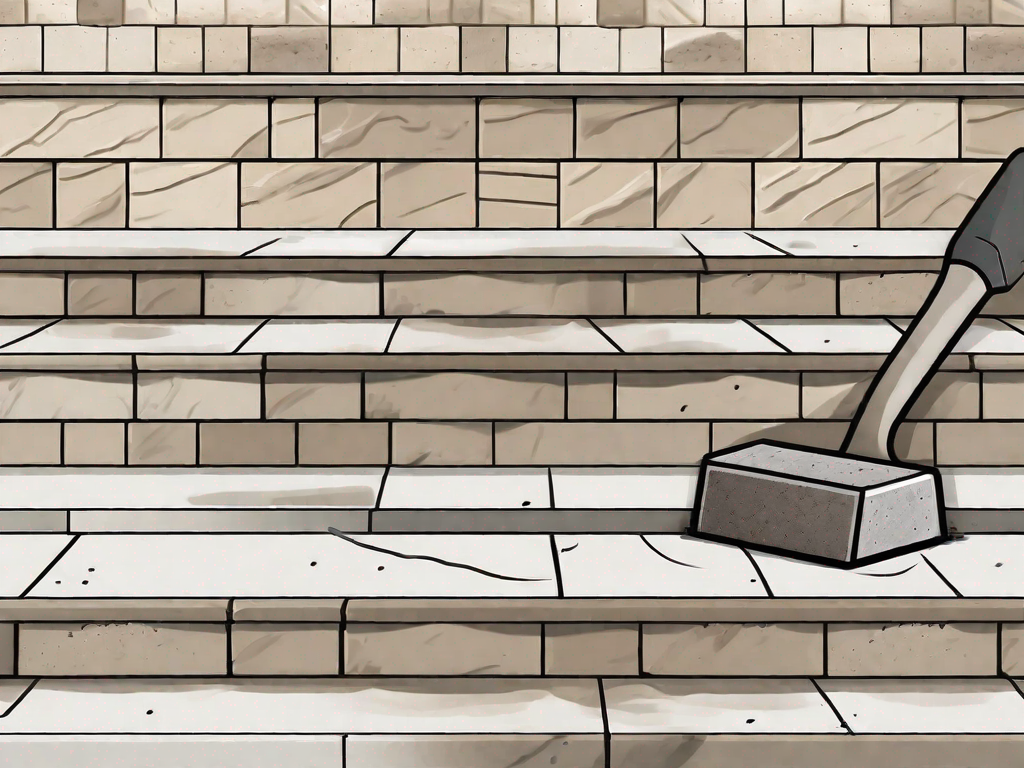
A hammer is a versatile tool that can be used for various tasks, including driving nails, breaking up materials, or tapping pavers into place. Make sure you have a sturdy hammer that fits comfortably in your hand, as it will be your trusty companion throughout the repair process.
Masonry adhesive is a specialized adhesive designed for bonding masonry materials, such as bricks or pavers. It provides a strong and durable bond, ensuring that the repaired steps will withstand the test of time and regular use.
A rubber mallet is a soft-faced hammer that is ideal for tapping pavers into place without damaging them. Its rubber head absorbs the impact, preventing any cracks or chips on the surface of the pavers. This tool is essential for achieving a seamless and professional-looking repair.
A trowel is a handheld tool with a flat, pointed blade used for spreading and shaping materials like mortar or adhesive. It allows you to apply the masonry adhesive evenly and smoothly, ensuring a secure bond between the pavers and the substrate.
A level is a tool used to determine if a surface is horizontal (level) or vertical (plumb). It is crucial for ensuring that your repaired steps are even and properly aligned. A level will help you achieve a visually pleasing and structurally sound result.
Choosing the Right Materials
When it comes to fixing loose paver steps, using the right materials is crucial for a long-lasting repair. Opt for a high-quality masonry adhesive that is specifically designed for outdoor use. This type of adhesive is formulated to withstand the elements, such as rain, heat, and freeze-thaw cycles, ensuring that your repair will hold up over time.
Additionally, consider using polymeric sand for a more secure bond between the pavers. Polymeric sand is a type of sand that contains additives that activate when exposed to moisture, creating a hardened joint. This helps prevent the pavers from shifting or becoming loose again, providing added stability to your repaired steps.
By choosing the right materials, you can ensure that your repair will not only look great but also stand the test of time. Investing in high-quality products will save you from future headaches and the need for frequent repairs.
Preparing for the Repair
Before you start the repair process, there are a few safety measures and preparations you should consider:
Safety Measures to Consider
Ensuring your safety should always be a top priority when undertaking any repair project. To protect yourself from potential hazards, it is crucial to wear proper protective gear. This includes safety glasses to shield your eyes from flying debris and gloves to safeguard your hands from sharp edges or chemicals.
Another important safety measure is to work during daylight hours or in well-lit areas. Adequate lighting will help you see clearly and avoid any potential accidents. Working in dimly lit conditions can lead to mistakes or injuries, so it’s best to have ample lighting to illuminate your work area.
Additionally, before you begin the repair, it is essential to clear the area around the paver steps. Remove any furniture or obstacles that might hinder your movement or pose a safety risk. By creating a clear and unobstructed workspace, you can work efficiently and minimize the chances of accidents.
Preparing the Work Area
Once you have taken the necessary safety precautions, it’s time to prepare the work area for the repair. Follow these steps to ensure a smooth and successful restoration:
1. Remove any loose debris or dirt from the steps using a broom or a brush. This will help create a clean surface for the repair and prevent any loose particles from interfering with the adhesive or sand.
2. Take a tape measure and carefully determine the width and length of the loose pavers. Accurately measuring the dimensions will aid in calculating the amount of adhesive and sand required for the repair. This step is crucial to ensure that you have enough materials to complete the restoration without any interruptions.
3. Clear any vegetation or weeds that may have grown between the pavers. Use a garden trowel or a small hand tool to gently remove any unwanted plants. Removing vegetation will not only enhance the aesthetic appeal of the paver steps but also prevent future damage caused by root growth.
By meticulously preparing the work area, you set the foundation for a successful repair. Taking the time to clean the steps, measure the pavers, and eliminate any vegetation will contribute to a more efficient and long-lasting restoration.
The Step-by-Step Repair Process
Removing the Loose Pavers
The first step in fixing loose paver steps is removing the loose or shifting pavers. To do this:
- Start by tapping the chisel gently along the joints surrounding the loose paver. This will help loosen any adhesive.
- Once the adhesive is loosened, carefully use the chisel and hammer to lift the paver from the step.
- Repeat this process for all the loose pavers.
Be cautious while removing the pavers to avoid damaging adjacent steps or the surrounding area.
Preparing the Base
With the loose pavers removed, it’s important to prepare the base before reinstalling them. Follow these steps:
- Clean the area thoroughly, removing any debris or dirt.
- Inspect the base and ensure it is properly compacted. If needed, add and compact additional base material to create a stable foundation.
- Use a level to check if the base is even.
- If necessary, make necessary adjustments by adding or removing base material until the base is level.
Setting the Pavers
Once the base is prepared, it’s time to reinstall the loose pavers. Follow these steps:
- Apply a generous amount of masonry adhesive to the back of each paver.
- Place the paver back in its original position, pressing firmly to ensure a secure bond with the adhesive and base.
- Repeat this process for all the loose pavers, ensuring an equal spacing between each one.
- Use a rubber mallet to gently tap each paver, ensuring they are level and firmly set in place.
Finishing Touches
Once all the loose pavers are set in place, allow the adhesive to cure according to the manufacturer’s instructions. After the adhesive has fully cured, fill the joints between the pavers with polymeric sand to provide additional stability and prevent weed growth. Brush off any excess sand and water the area lightly to activate the hardening process of the sand. Finally, inspect the repaired steps to ensure they are secure and level.
Maintaining Your Paver Steps
Regular Inspection and Maintenance
To ensure your paver steps remain in top condition, it’s essential to perform regular inspections and maintenance. Here are a few tips:
- Inspect your paver steps periodically for any signs of movement or shifting. If you notice any loose pavers, address the issue promptly.
- Remove any vegetation or weeds that may grow between the pavers to prevent them from causing damage or loosening the steps.
- Keep the steps clean by sweeping or washing away any debris, dirt, or stains.
Preventing Future Loose Pavers
To prevent future issues with loose pavers, consider taking these preventive measures:
- Ensure proper installation by hiring a professional or following recommended guidelines when installing new paver steps.
- Use high-quality materials, including adhesive and sand, that are designed for outdoor use and are capable of withstanding different weather conditions.
- Perform regular inspections and maintenance to catch any potential issues early on.
By following this step-by-step guide and implementing regular maintenance, you can fix loose paver steps and enjoy a safe and aesthetically pleasing outdoor space for years to come.