LEGO stickers are a great way to add a personal touch to your LEGO creations. However, over time, these stickers can start to peel or fade, diminishing the overall look of your favorite LEGO sets. The good news is that with a little bit of know-how and the right tools, you can easily fix LEGO stickers and bring back their original glory. In this step-by-step guide, we will walk you through the process of fixing LEGO stickers, including understanding common issues, gathering the necessary tools, preparing your LEGO pieces, and the actual removal and reapplication process.
Understanding the Problem with LEGO Stickers
Before diving into the fixing process, it is important to understand the common issues associated with LEGO stickers. These issues can range from peeling corners to color fading over time. By identifying these problems, you can better understand how to tackle them effectively.
LEGO stickers are an integral part of the building experience, adding intricate details and designs to enhance the overall aesthetic of the LEGO sets. However, despite their importance, these stickers are not immune to certain challenges that can arise during their lifespan.
Common Issues with LEGO Stickers
LEGO stickers may encounter various issues during their lifespan. Some of the most common issues include:
- Peeling corners or edges: One of the most frustrating problems with LEGO stickers is when the corners or edges start to peel off. This can happen due to frequent handling, exposure to moisture, or improper application. The peeling corners not only compromise the visual appeal of the LEGO set but also make it difficult to maintain the sticker’s integrity.
- Fading colors: Over time, LEGO stickers may experience color fading. This can be attributed to several factors, such as exposure to sunlight, temperature changes, or the quality of the sticker materials. The vibrant colors that once adorned the LEGO set may gradually lose their brilliance, diminishing the overall visual impact.
- Brittleness: Another issue that LEGO stickers may face is brittleness. As time goes by, the stickers can become brittle and prone to cracking or breaking. This can occur due to the natural aging process of the adhesive or exposure to extreme temperatures. The brittle stickers not only become visually unappealing but also lose their ability to adhere properly to the LEGO surface.
- Residue buildup: When LEGO stickers are removed or start to deteriorate, they can leave behind sticky residue on the surface. This residue can attract dust and dirt, making it challenging to clean and maintain the LEGO set’s pristine appearance. The residue buildup not only affects the aesthetics but also hampers the application of new stickers in the future.
Recognizing these issues will help you determine the appropriate action to take when fixing LEGO stickers. By understanding the root causes of these problems, you can implement preventive measures and effective solutions to ensure the longevity and visual appeal of your LEGO sets.
Why LEGO Stickers Peel or Fade
LEGO stickers can peel or fade due to a combination of factors, including exposure to sunlight, excessive handling, or poor initial application. Additionally, temperature changes and the presence of dust or oils on the surface can contribute to the deterioration of the stickers over time.
When LEGO stickers are exposed to direct sunlight for prolonged periods, the UV rays can cause the adhesive to weaken, leading to peeling corners or edges. Similarly, excessive handling of the stickers can gradually wear down the adhesive, making it more susceptible to peeling or fading.
Poor initial application of the stickers can also contribute to their eventual deterioration. If the stickers are not applied smoothly and evenly, air bubbles or creases may form, compromising the adhesive’s effectiveness. These imperfections can create weak points in the sticker, making it more prone to peeling or fading.
Temperature changes can also impact the longevity of LEGO stickers. Extreme heat or cold can cause the adhesive to expand or contract, leading to potential damage or weakening of the sticker’s bond with the LEGO surface.
Furthermore, the presence of dust or oils on the surface can create a barrier between the sticker and the LEGO set, hindering the adhesive’s ability to adhere properly. This can result in peeling or fading over time, as the sticker’s bond is compromised by the foreign substances.
By understanding the reasons behind the peeling and fading of LEGO stickers, you can take proactive measures to mitigate these issues and ensure the longevity of your beloved LEGO sets.
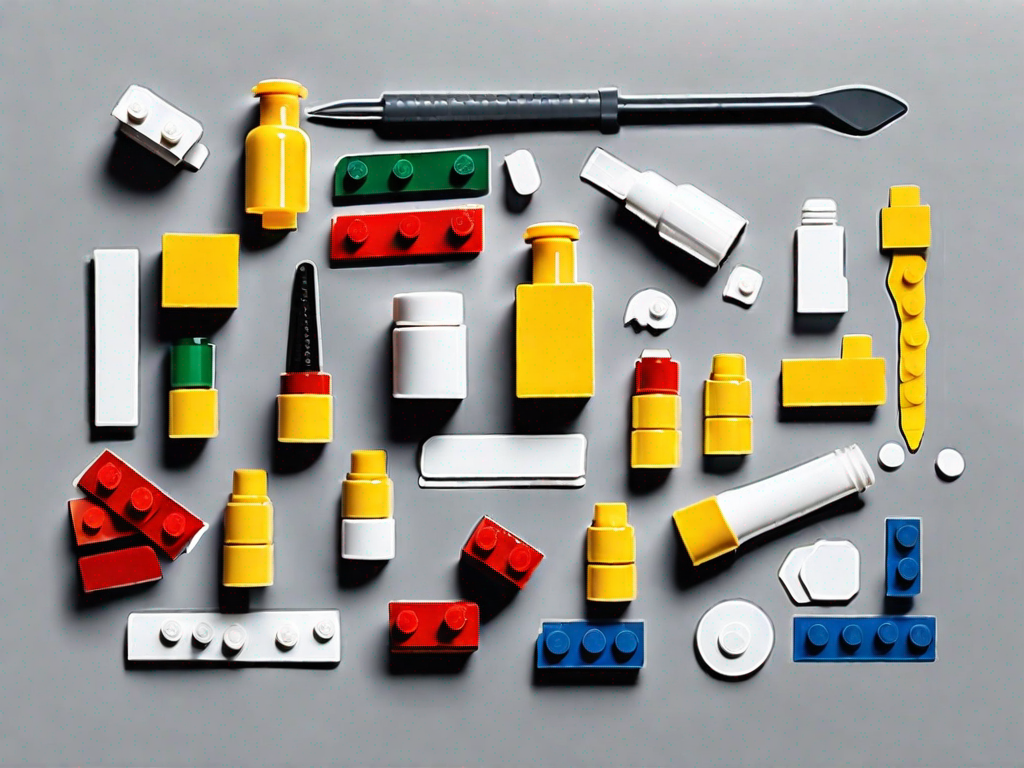
Gathering the Necessary Tools
Now that you have a good understanding of the common issues, it’s time to gather the necessary tools to fix your LEGO stickers. Here are the tools you will need:
Tools for Removing Stickers
- Heat source (hairdryer or heat gun)
- Scissors or precision knife
- Silicone-based adhesive remover
- Cotton swabs or soft cloth
Removing stickers from LEGO sets can be a delicate process, but with the right tools, it becomes much easier. The heat source, such as a hairdryer or heat gun, helps loosen the adhesive, making it easier to peel off the sticker without leaving any residue behind. Scissors or a precision knife can be used to carefully lift the edges of the sticker, allowing for a clean removal. The silicone-based adhesive remover is essential for tackling any stubborn residue that may be left behind. By applying the remover and gently rubbing it with a cotton swab or soft cloth, you can effectively dissolve the adhesive and ensure a clean surface for reapplication.
Tools for Reapplying Stickers
- Tweezers or toothpicks for precise handling
- Clear adhesive tape or sticker applicator
- Soft cloth or microfiber cloth
Once you have successfully removed the old stickers, it’s time to reapply them to their original positions. Tweezers or toothpicks can be incredibly helpful for precise handling, ensuring that you place the stickers exactly where you want them. Clear adhesive tape or a sticker applicator can be used to secure the stickers in place, providing a strong bond that will withstand playtime. After reapplying the stickers, it’s important to give them a final polish using a soft cloth or microfiber cloth. This will remove any fingerprints or smudges, leaving your LEGO set looking as good as new.
Having these tools ready will make the fixing process much smoother and more efficient. With the right tools and a little bit of patience, you’ll be able to restore your LEGO stickers to their former glory, enhancing the overall appearance of your LEGO sets and bringing them back to life.
Preparing Your LEGO Pieces
Before you can start fixing your LEGO stickers, it’s important to prepare the LEGO pieces properly. This involves cleaning and drying the pieces to ensure a clean surface for sticker application.
When it comes to LEGO, cleanliness is key. The first step in preparing your LEGO pieces is to give them a thorough cleaning. Over time, dust, oils, and residue can accumulate on the surface of your LEGO bricks, making it difficult for stickers to adhere properly. To clean your LEGO pieces, you’ll need warm soapy water and a soft cloth or sponge.
Fill a basin or sink with warm water and add a small amount of gentle dish soap. Gently place your LEGO pieces into the soapy water and let them soak for a few minutes. This will help loosen any dirt or grime that may be stuck to the surface. After soaking, take a soft cloth or sponge and gently scrub each piece, paying attention to any areas that may be particularly dirty.
Once you’ve cleaned all the LEGO pieces, it’s time to rinse them off. Hold each piece under running water, making sure to remove any soap residue. It’s important to rinse thoroughly to ensure that no soap is left behind, as this can interfere with the sticker adhesion.
After rinsing, it’s crucial to allow the LEGO pieces to air dry completely. Placing them on a clean towel or drying rack is a good idea to prevent any dust or debris from settling back onto the pieces. Depending on the size and thickness of the LEGO pieces, drying time may vary. It’s best to give them ample time to dry to avoid any moisture-related issues later on.
Cleaning Your LEGO Pieces
Start by gently washing your LEGO pieces with warm soapy water. Use a soft cloth or sponge to remove any dust, oils, or residue that might be present. Rinse the pieces thoroughly and allow them to air dry completely before moving on to the next step.
Now that your LEGO pieces are clean and dry, it’s time to prepare them for sticker application. Grab a soft cloth or microfiber cloth and give each piece a final wipe-down. This step is crucial to remove any remaining moisture that may be present on the surface. Moisture can prevent the stickers from adhering properly and may cause bubbling or lifting.
Take your time and ensure that each LEGO piece is completely dry before moving on to the next step. A thorough wipe-down will not only remove any moisture but also eliminate any dust or lint that may have settled on the surface during the drying process.
By following these steps to prepare your LEGO pieces, you’ll create the perfect canvas for your sticker application. Clean and dry LEGO pieces will ensure that your stickers adhere smoothly and securely, giving your LEGO creations that extra touch of customization.
The Removal Process
With the LEGO pieces cleaned and prepped, it’s time to start removing the old stickers. Follow these steps to safely remove old stickers without damaging the LEGO pieces:
How to Safely Remove Old Stickers
1. Begin by warming the sticker with a heat source, such as a hairdryer or heat gun, on low heat. This will soften the adhesive and make it easier to peel off.
2. Use a pair of scissors or a precision knife to gently lift the corners or edges of the sticker. Be careful not to scratch or damage the LEGO piece underneath.
3. Slowly peel off the sticker, applying gentle pressure as you go. If any residue remains, use a silicone-based adhesive remover and a cotton swab or soft cloth to remove it.
4. Once the old sticker is completely removed, clean the area with warm soapy water and dry it thoroughly before proceeding to the next step.
Dealing with Stubborn Stickers
In some cases, you may encounter stickers that are particularly stubborn to remove. If this happens, you can try using a bit more heat or adhesive remover to loosen the sticker’s grip. Be patient and take your time to avoid damaging the LEGO piece.
The Application Process
Now that you have successfully removed the old stickers, it’s time to apply the new ones. Follow these steps to ensure a proper and long-lasting application:
Applying New Stickers Correctly
1. Carefully place the new sticker on the desired area of the LEGO piece. Use tweezers or toothpicks to handle the sticker for precise placement.
2. Gently press down on the sticker, starting from the center and working your way outwards. This will help remove any air bubbles and ensure a smooth and even application.
3. If needed, use clear adhesive tape or a sticker applicator to help smooth out the sticker and ensure it adheres firmly.
4. Once the sticker is in place, use a soft cloth or your finger to apply light pressure and ensure proper adhesion.
Ensuring Longevity of Your LEGO Stickers
To enhance the longevity of your newly applied stickers, avoid excessive handling or exposure to direct sunlight. Additionally, periodically clean your LEGO pieces with a soft cloth to remove any dust or residue that might accumulate over time.
By following these steps, you can easily fix your LEGO stickers and restore them to their former glory. Remember to take your time, be patient, and enjoy the process. Happy LEGO building!