Have you noticed unsightly key marks on your car? Don’t worry, with the right tools and materials, you can fix them yourself and restore your car’s appearance. In this article, we will guide you through the process of repairing key marks on your car, from understanding the damage to preventing future marks. Whether you are a novice or have some experience in car repairs, this step-by-step guide will help you achieve professional-looking results.
Understanding the Damage: Key Marks on Cars
Before diving into the repair process, it’s important to understand the severity of the key marks on your car. Assessing the damage will help you determine the best approach for repairing it. Key marks can range from light scratches to deep gouges, and each requires a different level of attention.
Identifying the Severity of Key Marks
To identify the severity of the key marks, carefully run your fingers over them. Light scratches may just be superficial and can often be easily repaired. However, it’s important to note that even light scratches can be unsightly and may require attention to maintain the overall appearance of your car.
On the other hand, deep gouges will require more extensive repairs. These deep marks can expose the underlying layers of your car’s body, potentially leading to rust and further damage if not addressed promptly. It’s crucial to assess the depth of the gouges to determine the appropriate repair method.
Common Types of Key Marks
Key marks can be caused by intentional vandalism or accidental contact with sharp objects. Some common types of key marks include shallow scratches, deep gouges, and paint chips.
Shallow scratches are often the result of light contact with a sharp object, such as a key or a nail. While they may not penetrate the clear coat or the paint layer, they can still be noticeable and detract from the overall appearance of your car. These scratches can usually be buffed out or treated with specialized scratch removers.
Deep gouges, on the other hand, are more severe and can be caused by deliberate acts of vandalism or accidental contact with a sharp and forceful object. These marks can cut through the clear coat, paint layer, and even expose the metal body of your car. Repairing deep gouges may involve filling the damaged area, sanding it down, and repainting it to restore the original appearance.
Paint chips are another common type of key mark. They occur when the impact of a sharp object chips away the paint layer, leaving behind a small, exposed area. While paint chips may seem minor, they can lead to more significant damage if not addressed promptly. Moisture and dirt can seep into the exposed area, causing rust and further deterioration of the surrounding paint. Repairing paint chips often involves filling the chipped area with touch-up paint or seeking professional assistance for a seamless repair.
Understanding the different types of key marks and their severity is essential in determining the appropriate repair method. Whether it’s a light scratch, a deep gouge, or a paint chip, addressing the damage promptly will help maintain the overall appearance and value of your car.
Tools and Materials Needed for Repair
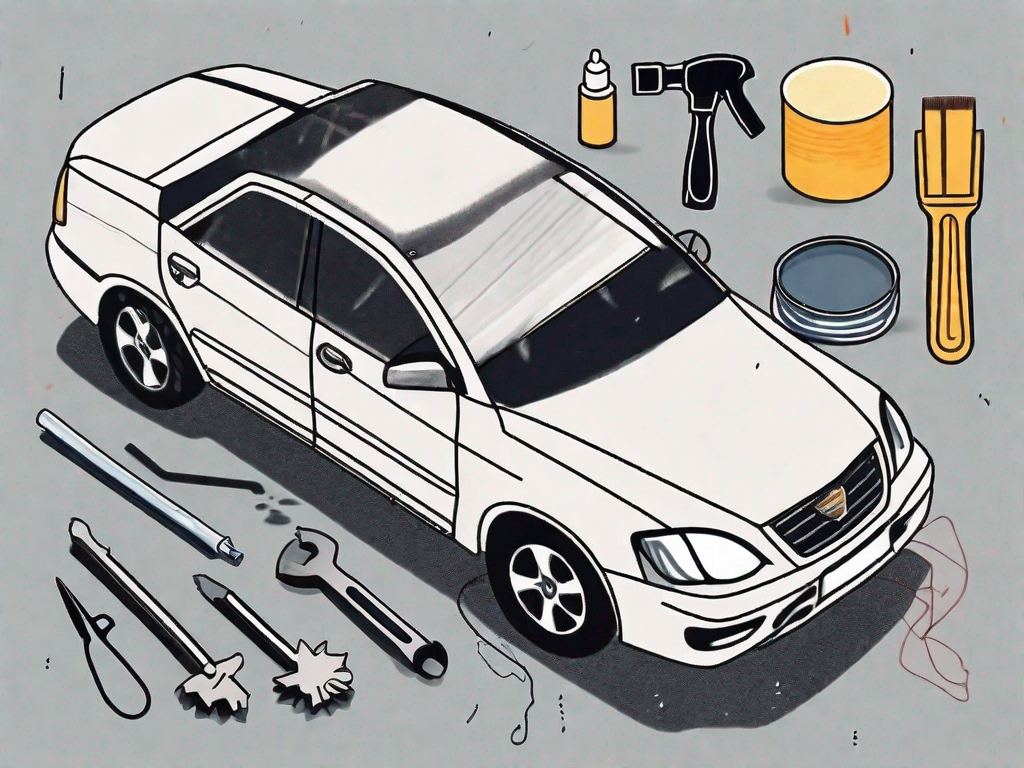
Before getting started, gather the necessary tools and materials for the repair. Having the right equipment will ensure a smooth and successful repair process. Here are some essential tools you’ll need:
Essential Car Repair Tools
- Microfiber cloths
- Sandpaper (varying grits)
- Automotive filler
- Putty knife
- Primer
- Paint matching your car’s color
- Clear coat
- Polishing compound
Choosing the Right Paint for Your Car
When it comes to selecting paint for your car, it’s crucial to choose a color that matches your car’s original shade. Visit your local auto parts store or consult your car’s manufacturer to find the right match.
Now that you have gathered all the necessary tools and materials, let’s delve deeper into each item on the list.
Microfiber cloths are an essential tool for any car repair project. These soft and lint-free cloths are perfect for cleaning and polishing surfaces without leaving any scratches or streaks. They are highly absorbent and can be used for wiping away excess paint or cleaning up spills.
Sandpaper comes in varying grits, ranging from coarse to fine. It is used to smooth out rough surfaces, remove old paint, and create a smooth and even surface for painting. Coarse grit sandpaper is ideal for removing paint and roughing up surfaces, while fine grit sandpaper is used for achieving a smooth finish.
Automotive filler, also known as body filler or bondo, is a putty-like substance that is used to fill in dents, scratches, and other imperfections on the car’s body. It is applied with a putty knife and sanded down to create a smooth surface before painting.
A putty knife is a versatile tool that is used for applying and spreading filler, scraping away old paint, and smoothing out surfaces. It has a flat, flexible blade that allows for precise application and easy removal of excess material.
Primer is a type of paint that is applied before the final coat of paint. It helps to create a smooth and even surface, improves paint adhesion, and enhances the durability of the paint job. It is available in different colors, but it is recommended to use a gray or white primer for most car repairs.
Paint matching your car’s color is crucial for achieving a seamless repair. It is important to find the exact shade and finish that matches your car’s original paint. This can be done by visiting your local auto parts store and using their color matching system or by consulting your car’s manufacturer for the correct paint code.
Clear coat is a transparent layer that is applied over the base coat of paint to protect it and give it a glossy finish. It provides added durability and UV protection, ensuring that your car’s paint job lasts longer and looks great.
Polishing compound is used to remove imperfections, such as swirl marks and light scratches, from the car’s painted surfaces. It is applied with a polishing pad or cloth and buffed to restore the shine and smoothness of the paint.
Remember, having the right tools and materials is essential for a successful car repair. Take the time to gather everything you need before starting the project, and don’t hesitate to seek professional advice if you’re unsure about any aspect of the repair process.
Step-by-Step Guide to Fixing Key Marks
Now that you have all the necessary tools and materials, let’s walk through the step-by-step process of fixing key marks on your car:
Preparing the Damaged Area
The first step is to prepare the damaged area for repair. Start by thoroughly cleaning the area around the key marks using a mild soap and water. This will help remove any dirt or debris that may interfere with the repair process. Use a soft cloth or sponge to gently scrub the area, ensuring that you reach every nook and cranny. Rinse the area with clean water and pat it dry with a lint-free cloth. It’s important to dry the area completely to ensure proper adhesion of the repair materials.
Once the area is clean and dry, you can move on to the next step.
Applying Filler and Sanding
If the key marks are deep gouges or paint chips, you’ll need to apply an automotive filler to level the surface. Automotive fillers are specially designed to fill in gaps and create a smooth surface for painting. Follow the instructions on the filler packaging to mix it properly and then apply a thin layer over the damaged area. Use a putty knife or a plastic spreader to spread the filler evenly, ensuring that it covers the entire damaged area.
Once the filler has hardened, use sandpaper of varying grits to smooth the area, blending it with the rest of the car’s surface. Start with a coarse-grit sandpaper to remove any excess filler and rough edges. Gradually move to finer-grit sandpapers to achieve a smooth and seamless finish. Be sure to sand in a circular motion, applying even pressure to avoid creating any uneven spots. Take your time during this step to ensure that the repaired area matches the surrounding paint perfectly.
After sanding, wipe away any dust or debris with a clean cloth. It’s important to have a clean surface before moving on to the next step.
Painting and Polishing the Repaired Area
After preparing the damaged area, it’s time to paint and polish it to achieve a professional-looking finish.
Start by applying a coat of primer to ensure the paint adheres properly. Primer acts as a base layer, providing a smooth surface for the paint to adhere to. Shake the primer can well and hold it about 6-8 inches away from the repaired area. Apply a thin and even coat of primer, making sure to cover the entire damaged area. Allow the primer to dry completely before moving on to the next step.
Once the primer is dry, it’s time to apply the paint. Choose a paint color that matches your car’s original color. Shake the paint can well and hold it at the same distance as before. Apply thin and even coats of paint, allowing each layer to dry before applying the next. This will help you achieve a smooth and seamless finish. It’s important to be patient during this step, as rushing can lead to uneven or blotchy results.
After the paint has dried, apply a clear coat to protect the newly painted area. Clear coat acts as a protective layer, shielding the paint from UV rays, dirt, and other environmental factors. Shake the clear coat can well and apply a thin and even layer over the repaired area. Allow the clear coat to dry completely.
Finally, use a polishing compound to buff the repaired area and blend it with the surrounding paint. Apply a small amount of polishing compound to a clean, soft cloth and gently rub it onto the repaired area in circular motions. This will help remove any imperfections and bring out the shine of the paint. Continue buffing until the repaired area is smooth and glossy.
And there you have it! By following these step-by-step instructions, you can effectively fix key marks on your car and restore its appearance to its former glory.
Preventing Future Key Marks
Having invested time and effort into repairing the key marks on your car, it’s essential to take preventive measures to avoid future damage. Here are some protective measures you can take:
Protective Measures for Your Car
- Park in well-lit areas
- Install security cameras
- Use anti-theft devices
- Cover your car with a car cover
Dealing with Vandalism
In the unfortunate event that your car falls victim to vandalism again, it’s important to know how to handle the situation. Report the incident to the authorities and contact your insurance company to explore your options for repairing the damage.
When to Seek Professional Help
While repairing key marks on your car can be a rewarding DIY project, sometimes it’s best to seek professional help. Here are some factors to consider:
Assessing the Damage: DIY or Professional Repair?
If the key marks are extensive, require major repainting, or if you lack the necessary skills and tools, it’s advisable to seek professional assistance. They have the expertise and experience to fix the damage effectively.
Finding a Reliable Car Repair Service
When choosing a car repair service, look for established businesses with positive reviews. Ask for recommendations from friends, family, or fellow car enthusiasts to ensure you select a reliable service provider.
By following this step-by-step guide and implementing preventive measures, you can fix key marks on your car and enjoy a restored appearance. Remember, patience and attention to detail are key to achieving professional-quality results. Happy repairing!