The Elite Series 2 Bumper is an essential component of the popular Xbox Elite Series 2 Controller. It allows players to easily activate certain functions in their games. However, like any electronic device, the bumper can sometimes encounter issues. In this comprehensive guide, we will walk you through the step-by-step process of fixing the Elite Series 2 Bumper, ensuring that you can get back to gaming without any interruptions.
Understanding the Elite Series 2 Bumper
Before diving into the repair process, it’s important to have a clear understanding of the Elite Series 2 Bumper and its key components. The bumper is made up of several elements that work together to provide a seamless gaming experience.
The Elite Series 2 Bumper is a crucial part of the Xbox controller, designed to enhance your gaming performance and provide a comfortable grip. It is strategically positioned on the top of the controller, easily accessible to your fingers during intense gameplay sessions. The bumper allows you to execute various actions, such as shooting, reloading, or interacting with in-game objects, with just a simple press.
Key Components of the Elite Series 2 Bumper
The Elite Series 2 Bumper consists of two main components – the bumper button and the underlying mechanism. The bumper button is the part that you press to activate the desired function, while the mechanism is responsible for translating your button press into an electronic signal that the controller can understand.
The bumper button is designed with precision and durability in mind. It is made from high-quality materials, ensuring a responsive and tactile feel every time you press it. The button is carefully positioned to provide optimal feedback and minimize accidental presses during intense gaming sessions.
The underlying mechanism is a complex system of springs, sensors, and circuitry that work together to convert your physical input into a digital command. When you press the bumper button, the mechanism detects the pressure and sends an electrical signal to the controller, triggering the desired action in your game.
Common Issues with the Elite Series 2 Bumper
Despite its sturdy build quality, the Elite Series 2 Bumper can sometimes encounter problems that affect its performance. One common issue is the bumper button becoming unresponsive or sticking in place, making it difficult to activate functions in your games. This can be frustrating, especially during crucial moments when split-second reactions are necessary for success.
Another common problem is the bumper developing excessive play or looseness, causing it to lose its tactile feedback. This can make it challenging to gauge the amount of pressure needed to activate the bumper button, resulting in inconsistent gameplay experiences. It can also lead to accidental button presses, disrupting your gameplay flow and potentially costing you precious in-game resources or objectives.
It’s important to address these issues promptly to ensure your gaming experience remains uninterrupted. Fortunately, there are various troubleshooting steps and repair techniques available to fix these problems and restore your Elite Series 2 Bumper to its optimal functionality.
Preparing for the Repair
Before you begin the repair process, it’s crucial to gather the necessary tools. These tools will enable you to disassemble the controller and access the faulty bumper effectively.
When it comes to repairing your controller, having the right tools is essential. Not only will they make the process smoother, but they will also help you avoid any unnecessary damage. So, let’s take a closer look at the necessary tools for the job.
Necessary Tools for the Job
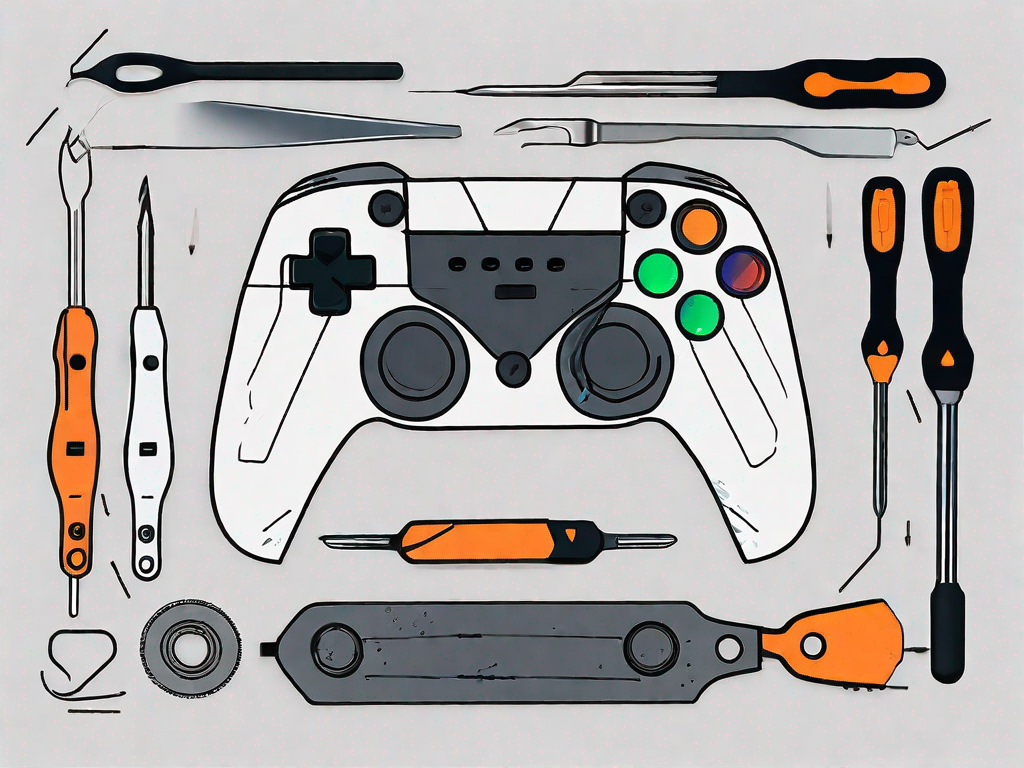
- Torx screwdriver set
- Small flathead screwdriver
- Plastic spudger
- Tweezers
- Cotton swabs
- Isopropyl alcohol
- Microfiber cloth
1. Torx screwdriver set: This set of screwdrivers is specifically designed for Torx screws, which are commonly used in electronic devices. Having a variety of sizes will ensure that you can tackle any screw you encounter during the repair process.
2. Small flathead screwdriver: This tool is useful for prying open the controller and removing any small components. It’s important to choose a screwdriver with a comfortable grip to avoid slipping and causing damage.
3. Plastic spudger: A plastic spudger is a handy tool for safely prying apart delicate parts without scratching or damaging them. It’s especially useful for separating the controller’s casing and accessing the internal components.
4. Tweezers: Tweezers are essential for handling small screws, springs, or other tiny components. They provide precision and control, making it easier to maneuver and place these delicate parts during the repair process.
5. Cotton swabs: Cotton swabs, also known as Q-tips, are excellent for applying isopropyl alcohol to clean the controller’s internal parts. They help remove any dirt, dust, or residue that may be affecting the bumper’s functionality.
6. Isopropyl alcohol: Isopropyl alcohol is a cleaning agent that evaporates quickly without leaving any residue. It’s perfect for cleaning electronic components, as it effectively removes dirt, grease, and other contaminants.
7. Microfiber cloth: A microfiber cloth is ideal for wiping down the controller’s exterior and removing any fingerprints, smudges, or dust particles. It’s a soft and non-abrasive cloth that won’t scratch or damage the surface.
Safety Precautions to Consider
Before you start working on the controller, it’s important to take some safety precautions. Make sure to disconnect the controller from the gaming console and remove any batteries. This will prevent any accidental power surges or short circuits that could potentially harm you or the controller.
In addition to disconnecting the controller, working on a clean, static-free surface is also crucial. Static electricity can damage sensitive electronic components, so it’s best to work on an anti-static mat or use an anti-static wrist strap to ground yourself. This will minimize the risk of damaging your controller and ensure a safer repair process.
Remember, taking the time to gather the necessary tools and follow safety precautions will make your repair journey smoother and more successful. So, let’s get ready to fix that faulty bumper and get back to gaming!
Detailed Step-by-Step Repair Guide
Now that you have all the necessary tools and safety precautions in place, let’s dive into the step-by-step repair process for the Elite Series 2 Bumper. Follow these instructions carefully to ensure a successful repair.
Disassembling the Elite Series 2 Controller
The first step is to disassemble the controller to access the bumper for repair. To do this, use a suitable Torx screwdriver to remove the screws on the back of the controller. Once the screws are removed, carefully pry open the controller using a small flathead screwdriver or plastic spudger.
As you remove the screws, take note of their placement and size. It’s important to keep track of these details to ensure proper reassembly later on. Place the screws in a secure container or magnetic tray to prevent them from getting lost.
Once the controller is opened up, take a moment to appreciate the intricate design and engineering that went into creating this gaming accessory. Marvel at the precision and attention to detail that allows gamers to have a seamless and immersive gaming experience.
Identifying the Problem
Once you have the controller opened up, take a closer look at the bumper mechanism. Check for any visible signs of damage or misalignment. Examine the buttons and their surrounding components to determine the root cause of the issue.
Take a moment to reflect on the importance of the bumper in enhancing gameplay. The bumper buttons are crucial for executing various in-game actions, such as shooting, jumping, or interacting with the game environment. Without a properly functioning bumper, the gaming experience may be compromised.
If the bumper button appears to be sticking or unresponsive, it may need cleaning or replacement. If the underlying mechanism is loose or broken, it might require repairs or replacement as well.
Repairing or Replacing the Bumper
If the bumper button is sticking or unresponsive, you can try cleaning it first. Dampen a cotton swab with isopropyl alcohol and gently clean the area around the button. Be sure not to apply excessive pressure to avoid damaging the delicate components. Cleaning the button can often resolve minor issues caused by dirt or debris buildup.
While cleaning the bumper, take a moment to appreciate the importance of proper maintenance in prolonging the lifespan of electronic devices. Regular cleaning and upkeep can prevent issues and ensure optimal performance.
If cleaning doesn’t resolve the issue, you may need to replace the bumper button entirely. Refer to the controller’s manual or consult an authorized service center for guidance on obtaining the correct replacement parts.
Replacing the bumper button requires a steady hand and attention to detail. Take your time to carefully remove the old button and install the new one. Ensure that all connections are secure and aligned properly before proceeding.
If the underlying mechanism is loose or broken, it’s recommended to replace it with a new one. This will ensure that the bumper functions properly and provides the necessary tactile feedback. Again, consult the controller’s manual or reach out to a professional for the appropriate replacement part.
When replacing the underlying mechanism, take a moment to appreciate the complexity of the controller’s internal components. The precise engineering and intricate design allow for seamless interaction between the player’s inputs and the game.
Reassembling the Controller
Once you have repaired or replaced the bumper, it’s time to reassemble the controller. Carefully align the controller’s front and back halves and secure them with the screws you removed earlier. Be cautious not to overtighten the screws as it may damage the controller’s housing.
As you reassemble the controller, reflect on the importance of attention to detail and precision in the repair process. Every screw, every connection, and every component plays a vital role in ensuring the controller’s functionality.
Finally, insert the batteries (if applicable) and reconnect the controller to the gaming console. Take a moment to appreciate the anticipation and excitement that comes with the completion of the repair. You are now ready to resume your gaming adventures with a fully functional Elite Series 2 Controller.
Troubleshooting Post-Repair Issues
After completing the repair process, it’s possible to encounter some post-repair issues. The two most common issues are unresponsive buttons and stick drift.
Dealing with Unresponsive Buttons
If you notice any buttons on your controller becoming unresponsive after the repair, double-check the connections between the controller’s components. Ensure that all cables and connectors are securely attached. If the issue persists, it may be necessary to redo the repair process and check for any mistakes or damages.
Addressing Stick Drift Issues
If you experience stick drift, where your controller’s thumbsticks move on their own, it may not be directly related to the bumper repair. Stick drift can have multiple causes, including dirt or debris build-up around the thumbsticks. Cleaning the thumbstick mechanism with isopropyl alcohol and a cotton swab may help alleviate the issue. If cleaning doesn’t work, consider reaching out to Microsoft’s support for further assistance.
Maintaining Your Elite Series 2 Controller
Once you have successfully repaired the bumper, it’s essential to maintain your Elite Series 2 Controller to prevent future issues. Regular cleaning and care will ensure that your controller remains in optimal condition for a prolonged period.
Regular Cleaning and Care
Periodically clean your controller to remove any dirt, dust, or grime build-up. Use a soft, slightly damp cloth or microfiber cloth to wipe the surface of the controller. Avoid using harsh chemicals or excessive moisture, as they may damage the controller’s components. Additionally, store your controller in a clean, dust-free environment to minimize the risk of encountering issues in the future.
Preventing Future Bumper Issues
To prevent future bumper issues, avoid applying excessive force or rough handling to the controller. Gentle and precise button presses will prolong the life of the bumper. If you notice any signs of wear or damage, address them promptly to prevent further complications. Regularly inspect the bumper and surrounding components to catch potential issues early on.
By following this comprehensive step-by-step guide, you can easily fix the Elite Series 2 Bumper and maintain your beloved Xbox Elite Series 2 Controller. Remember to exercise caution during the repair process and seek professional assistance if needed. Happy gaming!