Do you find yourself disappointed each holiday season when your once bright and beautiful LED Christmas lights now appear dim and lackluster? Don’t fret! This article will guide you through the process of fixing those dim LED Christmas lights, helping you bring back the magical glow to your holiday decorations. With some understanding of the problem, the right tools, and proper safety precautions, you’ll be able to tackle this issue with ease.
Understanding the Problem: Dim LED Christmas Lights
Before diving into the solution, it’s important to understand the common causes of dim LED Christmas lights. One of the primary culprits is worn-out LED bulbs. Over time, these bulbs can lose their brightness or even stop working altogether. This can happen due to various factors such as manufacturing defects, excessive usage, or exposure to harsh weather conditions. When an LED bulb starts to wear out, it may emit a significantly lower amount of light, resulting in dim Christmas lights that don’t create the desired festive ambiance.
Another potential cause of dim LED Christmas lights is faulty wiring. The wiring system in LED light strands is responsible for carrying electricity from the power source to the individual bulbs. If there is a problem with the wiring, such as loose connections, damaged wires, or poor insulation, it can hinder the flow of electricity and result in dim lights. Additionally, if the wiring is not properly designed to handle the power requirements of the LED bulbs, it can lead to voltage drops and reduced brightness.
To further comprehend the issue, let’s take a closer look at how LED Christmas lights work. Unlike traditional incandescent lights, LED lights use a semiconductor to emit light. The semiconductor material, typically made of gallium arsenide or gallium phosphide, is doped with impurities to create a p-n junction. When an electric current passes through this junction, it excites the electrons in the material, causing them to release energy in the form of photons, which we perceive as light.
This approach of using semiconductors to generate light is more energy-efficient compared to incandescent lights. LED lights convert a higher percentage of electrical energy into light, while only a small portion is wasted as heat. This energy efficiency not only reduces electricity consumption but also helps in prolonging the lifespan of the LED bulbs. As a result, LED Christmas lights are an ideal choice for long-lasting holiday lighting, providing bright and vibrant illumination while keeping energy costs low.
Now that we have a better understanding of the common causes of dim LED Christmas lights and how these lights work, we can explore the possible solutions to restore their brightness and ensure a delightful holiday season.
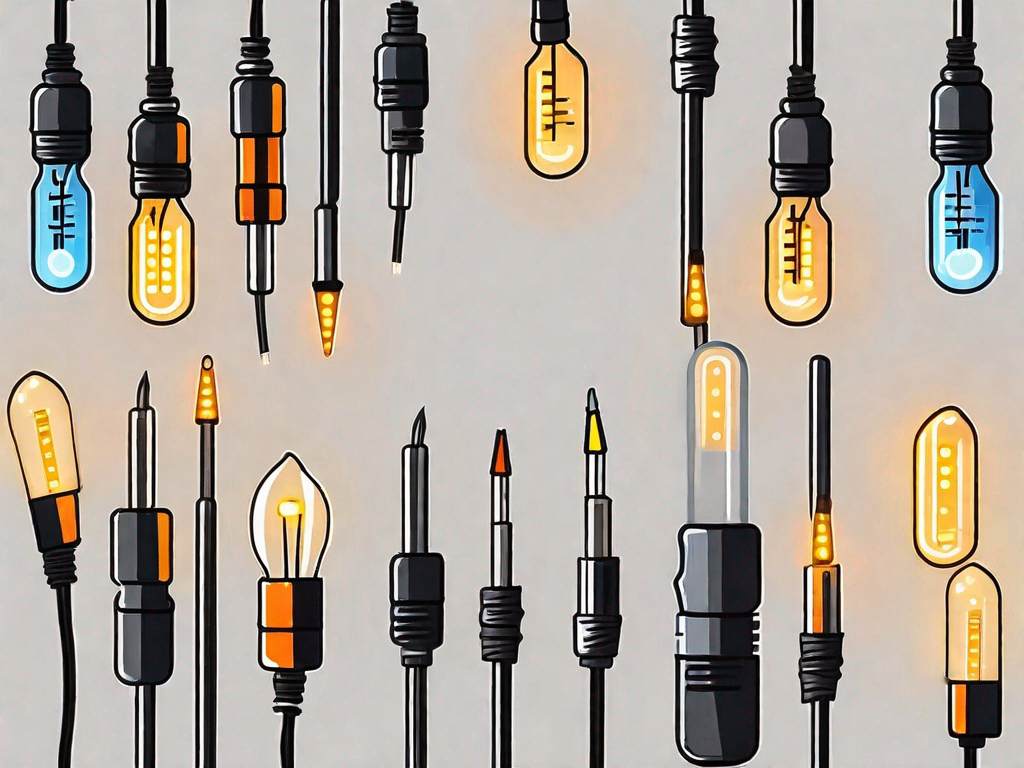
Tools Needed for Fixing Dim LED Christmas Lights
Now that you have an understanding of the problem, it’s time to gather the necessary tools for the job. Don’t worry; you won’t need any specialized equipment. Basic household tools such as a screwdriver and wire cutters will suffice. However, it’s always handy to have specialized electrical tools like a voltage tester or a wire stripper if you happen to own them.
Before we dive into the tools needed, let’s take a moment to understand why LED Christmas lights may become dim over time. LED lights are known for their energy efficiency and long lifespan. However, like any other electronic device, they can experience issues over time. One common reason for dim LED lights is a loose connection. When the connection between the LED bulb and the wire is loose, it can result in a decrease in brightness. Another possible cause is a faulty power supply. If the power supply is not providing enough voltage, the LED lights may appear dim. Understanding these potential causes will help us in our troubleshooting process.
Now, let’s get back to the tools needed for fixing dim LED Christmas lights. In addition to a screwdriver and wire cutters, it’s a good idea to have a multimeter on hand. A multimeter is a versatile tool that can measure voltage, current, and resistance. It will come in handy when testing the power supply and checking for any loose connections. Another useful tool to have is a soldering iron. If you come across any loose connections, soldering them back in place can help restore the brightness of the LED lights. Additionally, having a small flashlight can be helpful when working in dark areas or trying to locate specific components.
While not essential, having a set of spare LED bulbs can be beneficial. If you find that some of the bulbs are not working or are significantly dimmer than others, replacing them with new ones can solve the problem. It’s always a good idea to have a few extra bulbs on hand, just in case.
Lastly, it’s important to ensure your safety while working with electrical components. Make sure to wear insulated gloves and safety goggles to protect yourself from any potential hazards. Additionally, always work in a well-ventilated area to avoid inhaling any fumes that may be produced during the repair process.
By gathering these tools and taking the necessary safety precautions, you’ll be well-equipped to tackle the task of fixing dim LED Christmas lights. Remember to approach the troubleshooting process methodically and be patient. With the right tools and a little bit of know-how, you’ll have those lights shining brightly in no time!
Safety Precautions Before You Begin
Before you dive into any electrical work, it’s crucial to prioritize your safety above all else. Working with electricity can be dangerous, so it’s essential to take the necessary precautions to prevent any accidents or injuries.
First and foremost, never underestimate the power of electricity. Even a seemingly harmless electrical component can deliver a lethal shock if mishandled. Therefore, always treat electrical equipment with the utmost respect and caution.
One of the most critical safety measures is to disconnect the lights from any power source before you start working on them. This step is crucial to ensure that you won’t accidentally come into contact with live wires or experience an electric shock. Double-check that the power source is completely turned off and that there is no residual electrical charge before proceeding.
In addition to disconnecting the lights, it’s also essential to prepare your work area properly. Clear any clutter or potential hazards that may obstruct your workspace or pose a risk during the repair process. This includes removing any loose wires, tools, or other objects that could cause you to trip or accidentally come into contact with live electrical components.
Creating a safe environment to carry out the repairs is crucial. Make sure the area is well-lit, allowing you to see clearly and avoid any potential mishaps. If necessary, use additional lighting sources, such as a portable work light or a headlamp, to ensure optimal visibility.
Furthermore, it’s always a good idea to wear personal protective equipment (PPE) when working with electricity. This includes safety goggles to protect your eyes from any flying debris or sparks, as well as insulated gloves to minimize the risk of electric shock. Don’t forget to wear appropriate clothing, such as long sleeves and pants, to provide an extra layer of protection.
Lastly, it’s crucial to have a basic understanding of electrical safety practices and procedures. Familiarize yourself with the specific safety guidelines outlined by your local electrical code or regulatory authority. This knowledge will help you identify potential hazards and take the necessary precautions to mitigate them.
Remember, electrical safety should never be taken lightly. By following these safety precautions and being vigilant throughout the repair process, you can ensure a safe and successful electrical repair experience.
Step-by-Step Guide to Fixing Dim LED Christmas Lights
Now that we’ve covered the necessary groundwork, let’s dive into the step-by-step process of fixing your dim LED Christmas lights. The following guide will help you identify the problem area, repair or replace LED bulbs, and check and repair wiring.
Identifying the Problem Area
The first step is to locate the problem area in your Christmas lights. Start by inspecting each bulb individually to identify any that are dim or not lit at all. Pay special attention to any flickering bulbs, as this can indicate a loose connection. Make note of the problematic bulbs, as these will need to be addressed individually.
As you inspect each bulb, take a moment to appreciate the intricate designs and vibrant colors that LED Christmas lights bring to your holiday decorations. These lights are not only energy-efficient but also offer a longer lifespan compared to traditional incandescent lights. The soft glow they emit creates a warm and cozy ambiance, adding to the festive spirit of the season.
While examining the bulbs, you might find yourself reminiscing about past holiday seasons and the joyous memories associated with decorating your home. From untangling the lights to carefully placing them on the tree, the process of adorning your surroundings with twinkling lights is a cherished tradition for many.
Repairing or Replacing LED Bulbs
Once you’ve identified the problematic bulbs, you can begin the repair process. Some bulbs may simply need a slight adjustment to make a proper connection, so try gently wiggling them to see if that resolves the issue. If the problem persists, you can replace the defective bulbs with new ones of the same type and wattage. It’s important to ensure that the replacement bulbs are compatible with your existing light string.
As you replace the bulbs, take a moment to appreciate the engineering behind these tiny yet powerful sources of light. LED bulbs are designed to convert electrical energy into light efficiently, using semiconductor materials that emit photons when an electric current passes through them. The technology behind LED lights has revolutionized the lighting industry, offering a more sustainable and eco-friendly alternative to traditional incandescent bulbs.
While replacing the bulbs, you might find yourself marveling at the variety of shapes and colors available. LED Christmas lights come in a wide range of options, from classic white to vibrant multicolor strands. Each bulb adds its own unique touch to your holiday decorations, creating a mesmerizing display that captivates both young and old.
Checking and Repairing Wiring
If the dimness persists even after replacing bulbs, the issue may lie within the wiring of your Christmas lights. Start by carefully examining the wire connections. Check for loose, frayed, or damaged wires and make the necessary repairs. If you find any damaged sections of wiring, consider using electrical tape to securely cover or replace those areas.
As you inspect the wiring, take a moment to appreciate the intricate network of connections that bring the magic of Christmas lights to life. The wires, carefully designed and insulated, carry the electrical current from the power source to each individual bulb, ensuring that every corner of your holiday display is illuminated.
While checking and repairing the wiring, you might find yourself fascinated by the craftsmanship that goes into creating these light strings. The wires are meticulously woven together, creating a durable and flexible structure that can withstand the rigors of installation and storage. The attention to detail in the design and construction of these wires ensures that your Christmas lights will shine brightly for years to come.
Maintenance Tips to Prevent Dim LED Christmas Lights
Now that you’ve successfully restored your dim LED Christmas lights to their former brightness, it’s important to maintain them properly to prevent future issues. Take note of these maintenance tips to ensure many more seasons of vibrant holiday lighting.
Proper Storage of LED Christmas Lights
When the holiday season comes to an end and it’s time to pack away your Christmas lights, it’s crucial to store them properly. Avoid tangling or tightly wrapping the lights, as this can cause damage to the wires and bulbs. Consider using dedicated storage reels or containers specifically designed for light strings to keep them organized and protected.
Regular Cleaning and Inspection
Regularly inspecting your LED Christmas lights before each season is key to catching any potential problems early on. Inspect the bulbs, wires, and connections for any signs of damage or wear. Additionally, cleaning the lights can help to remove dust and dirt that may impact their brightness. Use a soft cloth or a gentle cleaning solution to wipe down the bulbs and wires, being careful not to damage them.
By following this comprehensive guide, you can conquer the challenge of fixing dim LED Christmas lights. With a little effort and the right tools, you’ll have your holiday decorations shining brightly in no time. Remember to prioritize safety and take proper maintenance measures to ensure long-lasting and dazzling LED Christmas lights for many joyous seasons to come!