If you’ve ever dropped your iPhone, you know the sinking feeling that comes with seeing a deep scratch on your screen. These unsightly blemishes can not only affect the functionality of your device but also diminish its aesthetic appeal. However, before you panic and consider replacing your iPhone, there are ways to fix deep scratches and restore your screen to its former glory.
In this article, we’ll explore the severity of screen scratches, the tools needed for repair, how to prepare your iPhone for scratch removal, a step-by-step guide to fixing deep scratches, and post-repair care tips to ensure your screen remains protected.
Understanding the Severity of Screen Scratches
Before attempting to fix deep scratches on an iPhone screen, it’s important to assess the severity of the damage. Deep scratches are typically more noticeable and require additional steps for repair compared to surface scratches. Surface scratches are minor blemishes that don’t penetrate the glass, while deep scratches are more significant and may affect the functionality of your phone.
Identifying Deep Scratches
Deep scratches are characterized by their visibility and the ability to feel them with your fingernail. They are often accompanied by a noticeable dip or indentation in the screen. If you’re unsure whether a scratch is deep or surface-level, inspect it under different lighting conditions and angles to get a better understanding of its depth.
When examining the scratch, pay attention to the length and width. Deep scratches tend to be longer and wider compared to surface scratches. Additionally, deep scratches may have a rough texture, making them more noticeable to the touch. It’s important to thoroughly examine the scratch to accurately determine its severity.
Another way to identify deep scratches is by looking at the reflection on the screen. Deep scratches can cause distortions in the reflection, making it appear blurry or fragmented. This distortion is a clear indication of a deeper scratch that requires more attention during the repair process.
Differentiating Between Surface and Deep Scratches
Surface scratches can often be buffed out with gentle cleaning techniques or home remedies. However, deep scratches require more intensive repair methods. It’s crucial to correctly identify the severity of the scratch before proceeding with the repair process.
One way to differentiate between surface and deep scratches is by using a microfiber cloth. Gently clean the screen with the cloth, paying close attention to the scratch. If the scratch disappears or becomes significantly less visible, it is likely a surface scratch that can be easily fixed. However, if the scratch remains prominent even after cleaning, it is most likely a deep scratch that requires further repair.
Additionally, you can use a screen protector to test the scratch. Apply a thin, transparent screen protector over the scratched area. If the scratch is still visible through the screen protector, it is likely a deep scratch. However, if the scratch becomes less noticeable or disappears, it is most likely a surface scratch that can be easily addressed.
Understanding the severity of screen scratches is essential to determine the appropriate repair method. By accurately identifying whether a scratch is deep or surface-level, you can ensure that you take the necessary steps to restore your iPhone screen to its optimal condition.
Tools Needed for iPhone Screen Repair
When it comes to repairing your iPhone screen, the tools you need will depend on the severity of the scratch. Whether you’re dealing with minor scratches or more severe blemishes, having the right tools can make all the difference in achieving an effective repair.
Basic Household Items for Screen Repair
If you’re dealing with minor scratches or surface blemishes, you can start by gathering some common household items. These items are readily available and can be used to clean the screen before attempting any DIY repair.
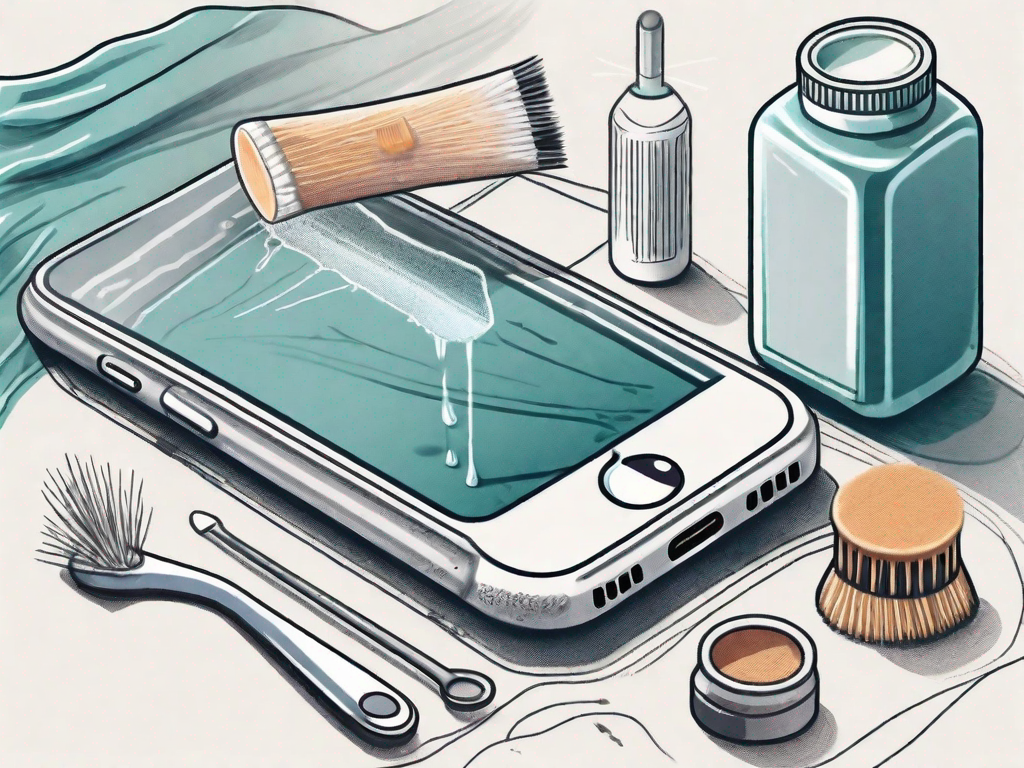
A microfiber cloth is an essential tool for screen repair. Its soft and gentle fibers are perfect for removing dust, fingerprints, and smudges without scratching the screen. Pair it with distilled water, which is free from impurities, to ensure a streak-free clean. For more stubborn dirt or grime, a mild soap can be used in combination with the cloth.
Another handy tool to have is a soft-bristled toothbrush. This can be used to gently scrub away any dirt or debris that may have accumulated in the scratches. The soft bristles ensure that the screen is not further damaged during the cleaning process.
Professional Tools for More Severe Scratches
For those deep scratches that require more advanced repair techniques, investing in professional tools may be necessary. These tools are specifically designed to tackle more severe damage and can help restore your iPhone screen to its former glory.
One option is to use specialized scratch removal solutions. These solutions are formulated to effectively minimize the appearance of scratches and can be applied directly to the affected areas. They work by filling in the scratches and creating a smooth surface, making them less noticeable.
Rotary tools with polishing attachments are another tool to consider. These tools allow you to buff out scratches and restore the shine to your iPhone screen. By using the appropriate polishing attachment and following the manufacturer’s instructions, you can achieve professional-grade results.
To protect your newly repaired screen and prevent future scratches, consider investing in a screen protector. These thin, transparent films adhere to the surface of your iPhone screen and provide an additional layer of protection against scratches, fingerprints, and smudges. They are easy to apply and can significantly prolong the lifespan of your screen.
Remember, when it comes to iPhone screen repair, having the right tools is essential. Whether you opt for basic household items or invest in professional tools, taking the time to properly repair your screen can save you from costly replacements and ensure a clear and pristine display.
Preparing Your iPhone for Scratch Repair
Before diving into the actual repair process, it’s essential to properly prepare your iPhone to ensure you achieve the best results.
When it comes to repairing scratches on your iPhone, taking the time to prepare your device can make all the difference. By following a few simple steps, you can ensure that your repair goes smoothly and that your iPhone looks as good as new.
Cleaning the Screen
Begin by cleaning the screen using a microfiber cloth and mild soap diluted in distilled water. This step is crucial because any dirt or debris on the screen can interfere with the repair process and affect the final results.
Take the microfiber cloth and dampen it with the diluted soap mixture. Gently wipe the screen in circular motions, avoiding excessive pressure. This will help remove any fingerprints, smudges, or dirt that may have accumulated on the screen.
After cleaning, rinse the cloth thoroughly and remove any soap residue. It’s important to ensure that no soap is left on the cloth, as this can leave streaks or residue on the screen.
Backing Up Your iPhone
Prior to any repair attempt, it’s crucial to back up your iPhone to prevent data loss. This step is often overlooked, but it can save you from losing important photos, contacts, messages, and other valuable data.
To back up your iPhone, connect it to a computer using a USB cable. Launch iTunes or Finder, depending on your operating system, and select your device. From there, you can choose to create a backup of your iPhone.
Creating a backup ensures that even if something goes wrong during the repair process, you won’t lose any valuable data or personal settings. It provides you with peace of mind, knowing that your information is safely stored and can be easily restored.
Remember to regularly back up your iPhone, even when you’re not planning to repair it. This practice is essential for safeguarding your data and ensuring that you always have a recent backup to rely on.
Step-by-Step Guide to Fixing Deep Scratches
Once your iPhone is cleaned and backed up, you’re ready to start the deep scratch repair process. Follow these steps carefully:
Applying the Scratch Remover
Using a specialized scratch removal solution, apply a small amount to a clean microfiber cloth. Gently rub the solution onto the scratched area in a circular motion. Be patient and follow the manufacturer’s instructions for the best results. Allow the solution to dry before proceeding to the next step.
Deep scratches on your iPhone’s screen can be unsightly and may affect the functionality of your device. However, with the right tools and techniques, you can effectively repair these scratches and restore your screen to its original condition. The first step in this process is applying a scratch remover solution.
The scratch remover solution is specifically designed to fill in the deep scratches on your iPhone’s screen. It contains special compounds that help to smooth out the surface and reduce the visibility of the scratches. By applying the solution in a circular motion, you ensure that it is evenly distributed and covers the entire scratched area.
It is important to be patient during this step, as the scratch remover solution may take some time to work its magic. Follow the manufacturer’s instructions carefully to achieve the best results. Once you have applied the solution, allow it to dry completely before moving on to the next step.
Buffing the Screen
After the scratch remover has dried, take a clean microfiber cloth and buff the screen in circular motions. Apply light pressure and continue until the scratch is no longer visible. Be cautious not to apply excessive force as it can cause further damage to your screen.
Buffing the screen is the next crucial step in the deep scratch repair process. This step helps to further smooth out the surface and blend the scratch remover solution with the rest of the screen. By using a clean microfiber cloth and applying light pressure, you can gently buff the screen in circular motions.
It is important to note that excessive force should be avoided during this step, as it can potentially cause more harm than good. Applying too much pressure can lead to further damage to your screen, such as creating new scratches or even cracking the display. Therefore, it is essential to be cautious and gentle while buffing the screen.
Continue buffing the screen until the deep scratch is no longer visible. This may take some time and effort, depending on the severity of the scratch. Remember to be patient and take breaks if needed. It is better to take your time and achieve a satisfactory result rather than rushing through the process and potentially causing more damage.
Post-Repair Care for Your iPhone Screen
Now that you’ve successfully fixed the deep scratches on your iPhone screen, it’s important to implement post-repair care practices to keep it protected from future damage.
Screen Protection Tips
To prevent new scratches, consider using a screen protector. These adhesive films provide an additional layer of protection and are available in various materials and thicknesses. Additionally, avoid placing your iPhone in a pocket or purse with sharp objects that could potentially scratch the screen.
Maintenance and Regular Cleaning
Maintaining a clean screen can help reduce the chances of new scratches. Use the microfiber cloth and mild detergent mentioned earlier for regular cleaning. Avoid using abrasive materials or harsh chemicals that could damage the screen or its oleophobic coating.
By following these steps, you can effectively fix deep scratches on your iPhone screen and restore its original appearance. Remember to assess the severity of the scratch before proceeding, gather the necessary tools, and take the time to properly prepare your device. With a little patience and care, your iPhone will once again be free from unsightly blemishes and ready to tackle your day-to-day tasks.