Have you noticed unsightly holes in your wall left behind by curtain rod installations? Don’t worry, fixing curtain rod holes can be quick and easy with the right tools and techniques. In this article, we will walk you through the basics of curtain rod holes, the tools needed for the job, a step-by-step guide to fixing the holes, tips for preventing future damage, and answers to frequently asked questions. So, let’s dive in and learn how to restore your walls to perfection!
Understanding the Basics of Curtain Rod Holes
Before we get into the nitty-gritty of fixing curtain rod holes, let’s take a moment to understand what causes these holes and why they can have an impact on your wall. By having a clear understanding of the issue, you’ll be better equipped to solve it effectively.
When it comes to hanging curtains, the most common method is to drill into the wall to install brackets and supports for the curtain rod. This process can result in small or large holes, depending on the size of the brackets and the installation method used. It’s important to note that the size of the holes can vary depending on the type of wall you have. For example, drilling into drywall may result in smaller holes compared to drilling into plaster or concrete walls.
Now, you might be wondering why these holes can have an impact on your wall. Well, let’s dive into that. While curtain rod holes may seem like minor blemishes, they can actually have a noticeable impact on the appearance of your wall. Not only do they disrupt the smooth surface, but they can also allow dust and debris to accumulate over time. This can make your wall look dirty and unkempt, which is not ideal for maintaining the aesthetics of your room.
Furthermore, if you decide to change your curtains or remove the curtain rod altogether, you’ll be left with unsightly holes in your wall. These holes can be a hassle to deal with, especially if you’re planning on repainting or redecorating your room. So, it’s important to address these holes promptly to avoid any future headaches.
Now that we understand the causes and impact of curtain rod holes, let’s move on to the different methods you can use to fix them. Whether you’re a DIY enthusiast or prefer to hire a professional, there are various options available to suit your needs and skill level. From simple patching techniques to more advanced wall repair methods, we’ll explore the best ways to restore your wall to its former glory.
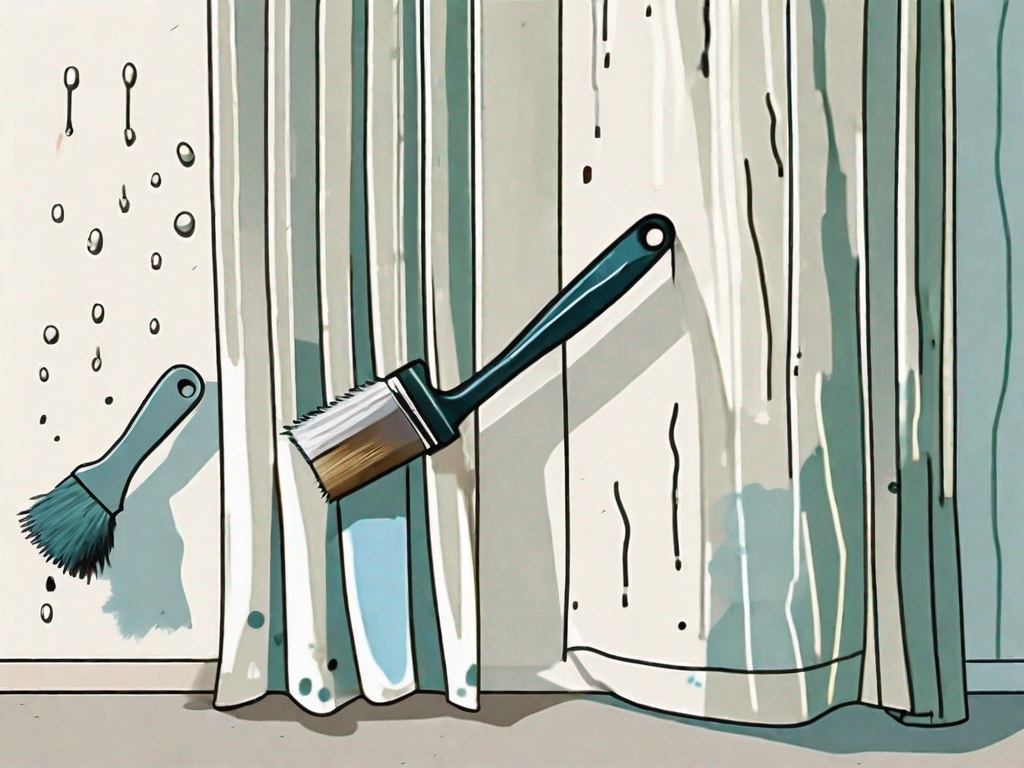
Tools Needed for Fixing Curtain Rod Holes
Now that we understand the problem, let’s gather the necessary tools to fix the curtain rod holes. By having these tools at hand, you’ll be well-prepared for the repair process.
Essential Tools for the Job
- Putty knife or scraper
- Spackle or wall filler
- Sanding block or sandpaper
- Paintbrush
- Matching paint or touch-up paint
- Cloth or sponge
Optional Tools for Better Results
While the essential tools are sufficient for most curtain rod hole repairs, you may consider the following optional tools to achieve even better results:
- Electric sander for faster sanding
- Primer for improved paint adhesion
- Paint roller for smoother finishes
Now, let’s dive deeper into the essential tools you’ll need for fixing curtain rod holes. The putty knife or scraper is an indispensable tool that will help you remove any loose or damaged material around the holes. It’s important to have a sturdy and reliable putty knife or scraper to ensure efficient and effective removal.
Once you have cleaned the area around the holes, you’ll need spackle or wall filler to fill in the gaps. Spackle is a versatile material that can be easily applied and smoothed out with the putty knife or scraper. Make sure to choose a spackle or wall filler that matches the color and texture of your wall for a seamless repair.
After the spackle has dried, you’ll need a sanding block or sandpaper to smooth out the patched areas. This step is crucial for achieving a professional-looking finish. The sanding block or sandpaper will help you level the repaired surface and blend it with the surrounding wall. Take your time and sand gently to avoid damaging the wall.
Once the patched areas are smooth and even, it’s time to prepare for painting. Grab a paintbrush and have matching paint or touch-up paint ready. The paintbrush will allow you to carefully apply the paint to the repaired areas, ensuring a seamless integration with the rest of the wall. Make sure to use long and even strokes to achieve a consistent finish.
Lastly, keep a cloth or sponge nearby to clean up any spills or excess paint. It’s important to maintain a clean and tidy workspace throughout the repair process. A cloth or sponge will come in handy for wiping away any accidental drips or smudges, ensuring a professional-looking result.
While the essential tools mentioned above are sufficient for most curtain rod hole repairs, there are optional tools that can further enhance your results. An electric sander can be a time-saving tool for larger repairs, as it quickly smooths out the patched areas with minimal effort. Consider using an electric sander if you have multiple holes to fix or if you’re working on a larger wall surface.
Another optional tool to consider is primer. Applying a coat of primer before painting can improve paint adhesion and ensure a more durable and long-lasting finish. Primer creates a smooth and even surface, allowing the paint to adhere better and preventing it from peeling or chipping over time.
Lastly, a paint roller can be a great addition to your toolkit for achieving smoother finishes. While a paintbrush is suitable for small repairs, a paint roller can cover larger areas in less time and create a more uniform texture. If you’re working on a larger wall surface or want to achieve a consistent finish throughout the room, a paint roller can be a valuable tool to have.
Step-by-Step Guide to Fixing Curtain Rod Holes
Preparing the Wall for Repair
The first step in fixing curtain rod holes is preparing the wall for repair. It’s important to take the time to properly clean and prepare the area to ensure a successful repair. Here’s how:
- Start by removing any loose debris or paint chips around the hole using a putty knife or scraper. This will create a clean surface for the repair.
- Clean the area around the hole with a cloth or sponge to remove dust and grease. This step is crucial as it helps the filler adhere better to the wall.
- If the hole is large, you may need to widen it slightly with a scraper to ensure better adhesion of the filler. This will create a more stable base for the repair.
- Once the wall is prepared, make sure to protect the surrounding area by covering nearby furniture or floors with a drop cloth or newspaper.
Applying the Filler
Once the wall is prepared, it’s time to apply the filler to the hole. This step will help to fill in the hole and create a smooth surface for painting. Follow these steps:
- Take a small amount of spackle or wall filler on the putty knife and press it into the hole until it is level with the surrounding wall. Make sure to apply enough filler to completely fill the hole.
- Smooth the filler using the putty knife, ensuring a seamless transition between the hole and the wall. This will help to create a professional-looking repair.
- Allow the filler to dry as per the manufacturer’s instructions. This is an important step as it ensures that the filler sets properly and provides a solid foundation for the next steps.
- Once the filler is completely dry, lightly sand the repaired area with fine-grit sandpaper to create a smooth finish. This will help to blend the repair with the surrounding wall.
Sanding and Painting the Repaired Area
With the filler dried and sanded, it’s time to give the repaired area a polished finish. This step will help to make the repair virtually invisible. Here’s how:
- Use a sanding block or sandpaper to gently sand the filled hole until it is smooth and level with the surrounding wall. Take your time and be careful not to sand too much, as this can damage the surrounding wall.
- Wipe away any dust with a cloth or sponge. This will ensure a clean surface for painting and help the paint adhere better to the repaired area.
- If needed, apply a primer to the repaired area to ensure better adhesion of the paint. Priming the area will also help to prevent any color bleeding or unevenness in the final coat of paint.
- Finally, use a paintbrush or paint roller to apply matching paint or touch-up paint to the repaired area, blending it with the surrounding wall for a seamless finish. Apply multiple thin coats of paint, allowing each coat to dry completely before applying the next.
- Once the paint is dry, step back and admire your handiwork. The curtain rod hole is now repaired, and your wall looks as good as new!
Tips for Preventing Future Curtain Rod Holes
Now that your curtain rod holes are fixed, it’s important to prevent them from happening again in the future. Consider the following tips to protect your walls:
Choosing the Right Curtain Rods and Hardware
Opt for curtain rods and hardware that are suitable for your wall type and weight of your curtains. Choosing high-quality products and following the manufacturer’s guidelines will help minimize the risk of damage.
Proper Installation Techniques
When installing your curtain rods, ensure you use appropriate tools and techniques. Avoid excessive force or overtightening, as this can lead to larger holes or wall damage. If unsure, consult a professional for guidance.
Frequently Asked Questions About Curtain Rod Hole Repair
Can I Fix a Curtain Rod Hole Without Professional Help?
Yes, you can fix curtain rod holes without professional help by following the step-by-step guide provided in this article. However, if you’re uncertain about performing the repair yourself or the damage is extensive, it’s always best to seek professional assistance.
How Long Does the Repair Process Take?
The repair process duration depends on several factors, such as the size of the hole, the drying time of the filler, and the complexity of the paint touch-up. On average, repairing a curtain rod hole can take anywhere from a few hours to a day. Patience and attention to detail will ensure a satisfactory outcome.
In conclusion, fixing curtain rod holes doesn’t have to be a daunting task. By understanding the basics, using the right tools, following the step-by-step guide, and employing preventive measures, you can quickly and easily restore your wall to its former glory. So, roll up your sleeves, gather your tools, and let’s get those curtain rod holes fixed!