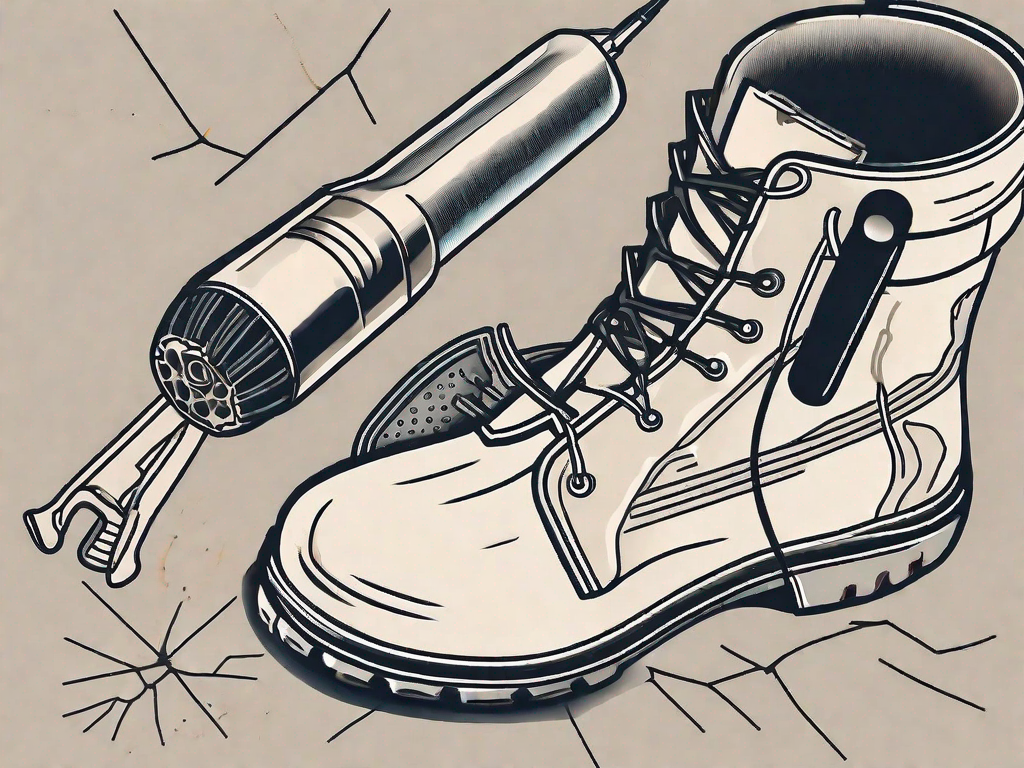
If you have cracked rubber items around your home or workplace, don’t fret! With a few simple steps, you can easily fix them and save yourself the cost of replacement. In this comprehensive guide, we will walk you through the process of repairing cracked rubber, from understanding the basics to post-repair care and maintenance. So let’s dive in and get started!
Understanding the Basics of Rubber
If you want to fix cracked rubber effectively, it’s important to understand what rubber is and how it works. Rubber is a versatile material that offers excellent elasticity and durability. It is commonly used in various applications, including automotive parts, household items, and industrial equipment. Its unique properties make it highly suitable for withstanding stress and strain.
But what exactly is rubber? Rubber is a natural or synthetic material that is derived from the sap of rubber trees or produced through a chemical process. It consists of long-chain polymers that give it its elastic properties. Natural rubber is obtained from the Hevea brasiliensis tree, while synthetic rubber is made from petroleum by-products.
Now that we have a basic understanding of what rubber is, let’s explore the common causes of rubber cracking. Cracks in rubber can occur due to various reasons, including:
- Age and weathering: Over time, exposure to sunlight, extreme temperatures, and harsh weather conditions can cause rubber to deteriorate and crack.
- Chemical exposure: Certain chemicals, such as oils, solvents, and acids, can degrade rubber and lead to cracking.
- Mechanical stress: Excessive stretching, bending, or impact can weaken the rubber and make it prone to cracking.
Age and weathering can have a significant impact on the condition of rubber. When rubber is exposed to sunlight, the ultraviolet (UV) rays can break down the polymer chains, causing the rubber to become brittle and crack. Extreme temperatures, both hot and cold, can also affect the elasticity of rubber. In freezing temperatures, rubber can become stiff and lose its flexibility, making it more susceptible to cracking under stress.
Chemical exposure is another common cause of rubber cracking. Certain chemicals, such as oils, solvents, and acids, can react with the rubber and break down its molecular structure. This chemical degradation weakens the rubber, making it more prone to cracking. It’s important to be mindful of the chemicals that come into contact with rubber to prevent damage.
Mechanical stress is a significant factor in rubber cracking. Excessive stretching, bending, or impact can cause the rubber to deform and weaken. When the rubber is subjected to repeated stress or strain, it can develop small cracks that gradually grow over time. This is particularly common in applications where rubber is constantly flexed or stretched, such as in automotive belts or seals.
Understanding the causes of rubber cracking is essential for effective repair and maintenance. By addressing these underlying issues, you can prolong the lifespan of rubber products and ensure their optimal performance.
Preparing for the Repair Process
Before you start repairing cracked rubber, it’s important to gather the necessary tools and materials. Here’s what you’ll need:
Necessary Tools and Materials
- Safety gloves
- Protective eyewear
- Rubber cleaner or mild soap
- Scraper or sandpaper
- Rubber repair compound
- Putty knife or spatula
- A clean cloth
When it comes to repairing cracked rubber, having the right tools and materials is essential. Safety gloves and protective eyewear are important to protect your hands and eyes from any potential injuries. Rubber cleaner or mild soap will help you clean the surface of the rubber, ensuring a smooth repair process. A scraper or sandpaper can be used to remove any loose or damaged rubber, creating a clean surface for the repair. The rubber repair compound is the key component in fixing the cracks, and a putty knife or spatula will help you apply it evenly. Finally, a clean cloth will be useful for wiping away any excess compound and ensuring a neat finish.
Safety Precautions to Consider
Before you proceed with the repair, it’s important to take some safety precautions to protect yourself and ensure a smooth process:
- Wear safety gloves and protective eyewear to avoid any potential injuries. Rubber repair compounds can contain chemicals that may be harmful if they come into contact with your skin or eyes.
- Work in a well-ventilated area to prevent the inhalation of fumes. Some rubber repair compounds may emit fumes that can be harmful if inhaled for an extended period of time.
- Read and follow the instructions provided by the manufacturer of the rubber repair compound. Each product may have specific guidelines and recommendations for application, drying time, and curing process. Following these instructions will ensure the best results and longevity of the repair.
By taking these safety precautions, you can confidently proceed with the repair process, knowing that you have minimized the risks and set yourself up for success. Remember, safety should always be a priority when working with any repair materials or tools.
Step-by-Step Guide to Fixing Cracked Rubber
Now that you’re fully prepared, let’s dive into the step-by-step process of fixing cracked rubber:
Cleaning the Cracked Area
The first step is to clean the cracked area to ensure proper adhesion of the repair compound. Here’s what you need to do:
- Gently scrub the cracked area with a rubber cleaner or mild soap and warm water.
- Rinse the area thoroughly and dry it with a clean cloth.
- If there is any loose or peeling rubber, carefully scrape it off using a scraper or sandpaper.
Now that the cracked area is clean, let’s move on to the next step.
Applying the Rubber Repair Compound
Once the cracked area is clean and dry, it’s time to apply the rubber repair compound:
- Using a putty knife or spatula, apply a thin layer of the repair compound over the cracked area.
- Make sure to spread the compound evenly and fill in any gaps or grooves.
- Allow the compound to dry for the recommended duration specified by the manufacturer.
While the repair compound is drying, let’s talk about some additional tips to ensure a successful repair.
It’s important to note that different types of rubber repair compounds have different curing times. Some may require a few hours, while others may need several days. Be sure to read and follow the instructions provided by the manufacturer to ensure proper curing and drying.
During the drying process, it’s crucial to avoid touching or putting any pressure on the repaired area. This can disrupt the curing process and compromise the effectiveness of the repair. It’s best to keep the area undisturbed until the repair compound is fully cured.
Once the repair compound is fully dried, it’s time to inspect the repaired area for any imperfections.
Curing and Drying Process
After applying the repair compound, you need to give it sufficient time to cure and dry completely:
- Follow the instructions provided by the manufacturer to ensure proper curing and drying.
- Avoid touching or putting any pressure on the repaired area until it is fully cured.
- Once the repair compound is fully dried, inspect the repaired area for any imperfections.
During the curing and drying process, it’s important to maintain the proper environmental conditions. Extreme temperatures or high humidity can affect the curing time and overall quality of the repair. Make sure to keep the repaired area in a controlled environment to ensure the best results.
Inspect the repaired area carefully, looking for any signs of unevenness or incomplete adhesion. If you notice any imperfections, you may need to reapply the repair compound and repeat the curing process.
Remember, fixing cracked rubber requires patience and attention to detail. By following these step-by-step instructions and additional tips, you can restore the integrity of your rubber items and prolong their lifespan.
Post-Repair Care and Maintenance
Congratulations! You have successfully repaired your cracked rubber. This accomplishment not only saved you money but also helped reduce waste by extending the life of your rubber item. To ensure the longevity of the repair and maximize the benefits of your efforts, here are some post-repair care and maintenance tips to keep in mind:
First and foremost, it is essential to allow the repaired rubber item sufficient time to fully cure. This curing process can vary depending on the type of adhesive or sealant used, so be sure to follow the manufacturer’s instructions. Rushing the curing process may compromise the effectiveness of the repair and lead to future cracks.
Tips to Prevent Future Cracks
To prevent your rubber items from cracking again in the future, consider taking the following precautions:
- Keep rubber items away from direct sunlight or extreme temperature conditions. Prolonged exposure to sunlight’s UV rays can cause rubber to deteriorate and become more susceptible to cracking. Similarly, extreme heat or cold can weaken the rubber’s structure, making it more prone to damage.
- Avoid exposing rubber to harsh chemicals or solvents. Certain chemicals can react with rubber, causing it to degrade and crack. When using cleaning products or other substances around rubber items, make sure they are compatible and won’t harm the material.
- Regularly clean and maintain your rubber items to remove any dirt or debris. Over time, dirt, dust, and other particles can accumulate on the surface of rubber, creating friction and stress points that may lead to cracks. By keeping your rubber items clean, you reduce the risk of damage and prolong their lifespan.
Additionally, it is worth noting that different types of rubber may have specific care requirements. For example, natural rubber, synthetic rubber, and silicone rubber may each require different cleaning agents or methods. Consult the manufacturer’s guidelines or seek expert advice to ensure you are properly caring for your specific rubber item.
When to Seek Professional Help
While repairing cracked rubber can be a relatively simple process, there may be instances where seeking professional help is the best option:
- If the crack is extensive or the rubber item is valuable, consulting a professional can ensure a high-quality repair. They have the expertise and specialized tools to handle complex repairs and ensure the longevity of the item.
- If you are unsure about the type of rubber or the appropriate repair method, it’s better to seek expert advice. Using the wrong adhesive or technique may not only be ineffective but could also further damage the rubber, making it irreparable.
Remember, prevention is key when it comes to maintaining the integrity of your rubber items. By implementing these post-repair care and maintenance tips, you can enjoy your repaired rubber items for an extended period, saving both money and resources in the long run.
Frequently Asked Questions about Rubber Repair
Can All Types of Rubber be Repaired?
While many types of rubber can be repaired using the steps outlined in this guide, it’s important to note that not all types of rubber may be suitable for repair. The success of the repair will depend on factors such as the extent of the damage and the compatibility of the repair compound with the rubber material. It’s always best to test the repair compound on a small inconspicuous area before proceeding with the repair.
How Long Does the Repair Last?
The longevity of the repair will depend on various factors, including the quality of the repair compound, the skill of the person performing the repair, and the conditions in which the repaired rubber item is used. With proper care and maintenance, a well-executed repair can last for a significant period of time and extend the lifespan of the rubber item.
With this step-by-step guide, you now have all the knowledge you need to successfully repair cracked rubber. By following the outlined process and taking proper care of your rubber items, you can save money and prolong the life of your cherished possessions. So go ahead and give it a try – you’ll be amazed at the results!