Bumper clips play a crucial role in securing the bumper of your vehicle. Unfortunately, these clips can break over time due to various factors such as age, wear and tear, or impact. When this happens, it’s important to act quickly to prevent further damage and ensure the proper functioning of your bumper. In this step-by-step guide, we will walk you through the process of fixing broken bumper clips, allowing you to restore your vehicle’s appearance and functionality.
Understanding Bumper Clips
Before diving into the repair process, let’s first understand what bumper clips are and why they are important. Bumper clips are small plastic or metal fasteners that hold the bumper in place. They are designed to provide stability and secure the bumper firmly to the body of the vehicle. Without these clips, the bumper would be prone to loosening or falling off altogether, compromising the safety and aesthetics of your car.
What are Bumper Clips?
Bumper clips are typically made of durable materials like plastic or metal. They come in various shapes and sizes, depending on the make and model of your vehicle. These clips have hooks or tabs that fit into corresponding slots or holes on the bumper and the body of the vehicle, holding everything securely in place.
Plastic bumper clips are commonly used in modern vehicles due to their lightweight nature and ease of installation. They are often made from high-quality polymers that offer excellent strength and resistance to impact. On the other hand, metal bumper clips, such as those made from steel or aluminum, are known for their exceptional durability and ability to withstand heavy loads.
When it comes to choosing the right bumper clips for your car, it is crucial to consider factors such as the type of bumper material, the weight of the bumper, and the specific requirements of your vehicle’s make and model. Using the wrong type of bumper clips may result in a weak attachment, leading to potential damage or detachment of the bumper.
Why are Bumper Clips Important?
The importance of bumper clips cannot be overstated. These small yet essential components ensure that your bumper remains firmly attached to your vehicle. They help absorb impact during minor collisions, protecting the structural integrity of your car. Without functional bumper clips, your bumper could detach easily, leading to potential safety hazards and costly repairs.
In addition to providing stability, bumper clips also play a crucial role in maintaining the aesthetic appeal of your vehicle. They help align the bumper with the body of the car, ensuring a seamless and visually pleasing appearance. Properly installed and functioning bumper clips contribute to the overall sleek and polished look of your vehicle.
Furthermore, bumper clips are designed to withstand various environmental conditions and temperature fluctuations. They are engineered to resist corrosion, ensuring long-lasting performance and preventing the clips from deteriorating over time. This durability is especially important considering that the bumper is exposed to harsh weather elements, road debris, and other external factors.
Regular inspection and maintenance of bumper clips are essential to ensure their effectiveness. Over time, these clips may become worn out or damaged due to continuous exposure to vibrations, impacts, and other external forces. If you notice any signs of looseness or damage, it is crucial to replace the bumper clips promptly to maintain the safety and integrity of your vehicle.
In conclusion, bumper clips are vital components that provide stability, safety, and aesthetic appeal to your vehicle. Understanding their purpose and importance can help you appreciate the role they play in keeping your bumper securely attached. By choosing the right type of bumper clips and regularly inspecting them, you can ensure that your car remains protected and visually appealing for years to come.
Identifying the Problem
Now that you understand the significance of bumper clips, it’s essential to identify whether your bumper clips are broken or in need of replacement.
But why are bumper clips so important? Well, bumper clips play a crucial role in keeping your bumper securely attached to your vehicle. They provide stability and ensure that your bumper stays in place, even during bumpy rides. Without functioning bumper clips, your bumper could become loose, misaligned, or even fall off, posing a safety risk to you and other drivers on the road.
Signs of Broken Bumper Clips
There are several telltale signs that your bumper clips may be broken or damaged. These include:
- Loose or wobbly bumper: If you notice that your bumper moves or wobbles excessively when you touch it, it could indicate that the bumper clips are no longer holding it securely.
- Bumper misalignment: A misaligned bumper, where one side is higher or lower than the other, is another sign of potential bumper clip damage. This misalignment can occur if one or more clips have broken or become loose.
- Rattling noises when driving over bumps: If you hear rattling or clunking noises coming from your bumper when you drive over bumps or uneven surfaces, it could be a result of damaged or missing bumper clips. The lack of proper attachment can cause the bumper to shake and make noise.
- Visible cracks or breakages in the clips: Inspect the bumper clips closely for any visible cracks, breakages, or signs of wear and tear. If you notice any damage, it’s a clear indication that the clips need attention.
If you notice any of these signs, it’s time to assess the damage and take appropriate action.
Assessing the Damage
Take a closer look at your bumper clips to determine the extent of the damage. Inspect each clip closely for any signs of cracks or breakages. It’s important to note that bumper clips can be made of various materials, such as plastic or metal, and the level of damage may vary depending on the material.
Gently try to move the bumper to check if there is excessive play or misalignment. If the bumper moves easily or feels unstable, it’s a clear indication that the clips are not functioning properly. However, if the movement is minimal and the bumper remains relatively stable, you may be able to salvage the existing clips through repair.
When assessing the damage, consider the age and condition of your vehicle. If your car is older and the bumper clips have already endured years of wear and tear, it might be more practical to replace them entirely rather than attempting repairs.
Based on your assessment, you can decide whether it’s necessary to replace the clips entirely or repair them. Remember, ensuring the proper functioning of your bumper clips is crucial for the safety and stability of your vehicle’s bumper.
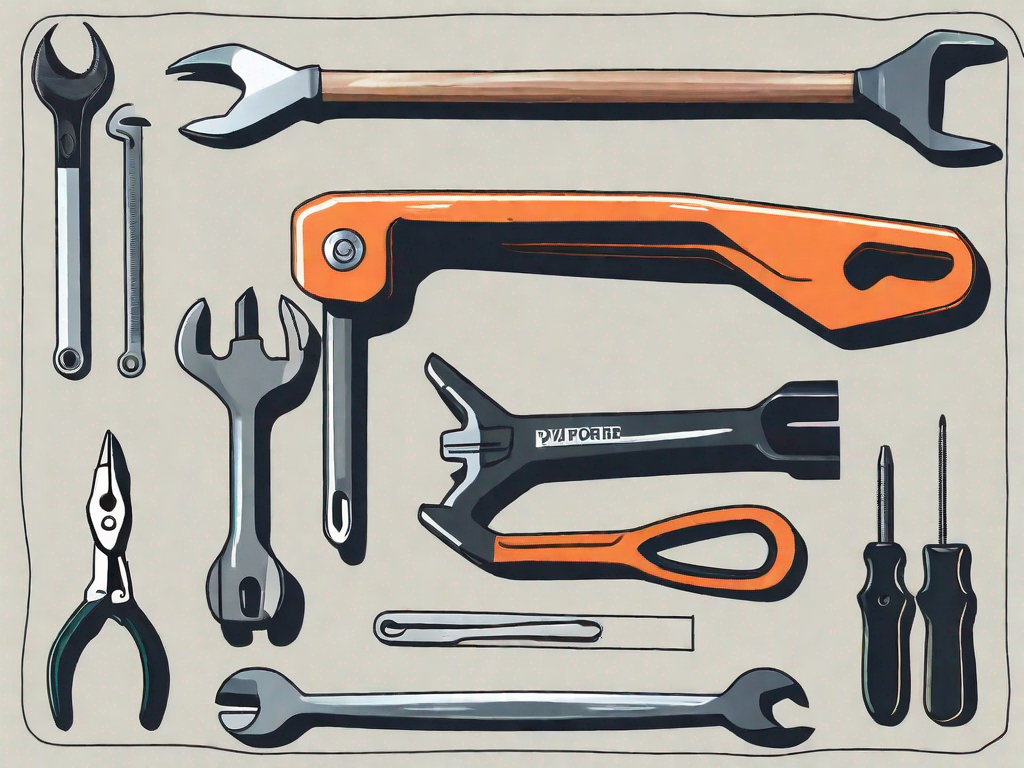
Gathering the Necessary Tools
Before you begin the repair process, it is essential to gather all the tools you will need to remove the broken bumper clips and install the new ones. Having the right tools on hand will ensure a smooth and efficient repair process.
Tools for Removing Bumper Clips
When it comes to removing the broken bumper clips, you will need a specific set of tools to get the job done effectively. Here are the tools you should have:
- Flathead screwdriver: A flathead screwdriver is a versatile tool that can be used for various purposes, including prying and removing the broken bumper clips.
- Trim panel removal tool: This specialized tool is designed to safely remove trim panels without causing any damage. It will come in handy when removing the bumper clips.
- Pliers: Pliers are essential for gripping and pulling out the broken bumper clips. Make sure you have a sturdy pair of pliers that can handle the task.
- Torch or flashlight: Adequate lighting is crucial when working on car repairs. A torch or flashlight will help you see the bumper clips clearly, especially if the area is poorly lit.
Tools for Installing New Bumper Clips
Once you have successfully removed the broken bumper clips, it’s time to install the new ones. To ensure a secure and proper installation, you will need the following tools:
- Replacement bumper clips: Of course, you will need the new bumper clips themselves. Make sure you have the correct size and type of clips for your specific vehicle model.
- Socket wrench set: A socket wrench set will be necessary to tighten the bolts or screws that secure the new bumper clips in place. Ensure you have the appropriate socket size for the job.
- Trim panel removal tool: This tool will come in handy again during the installation process. It will help you position and secure the new bumper clips without causing any damage to the surrounding trim panels.
- Torch or flashlight: As mentioned earlier, proper lighting is essential for a successful repair. Having a torch or flashlight on hand will allow you to see the installation area clearly and ensure accurate placement of the new bumper clips.
By gathering all the necessary tools beforehand, you will be well-prepared to tackle the task of removing the broken bumper clips and installing the new ones. Remember to work carefully and patiently, following any additional instructions provided by your vehicle’s manufacturer or repair manual.
Removing the Broken Bumper Clips
Before starting the removal process, it’s crucial to take necessary safety precautions to protect yourself and prevent any damage to the surrounding areas of your vehicle.
Safety Precautions
Before removing the broken bumper clips, follow these safety precautions:
- Ensure your vehicle is parked on a flat surface
- Engage the parking brake
- Wear gloves and safety goggles
By taking these precautions, you can minimize the risk of accidents or injuries during the process.
Step-by-Step Removal Process
Follow these steps to remove the broken bumper clips:
- Use a flathead screwdriver or a trim panel removal tool to gently pry open the clip. Be careful not to damage the surrounding areas.
- Once the clip is partially open, use pliers to pull it out completely.
- Repeat this process for all the broken or damaged clips.
- Inspect the surrounding areas for any debris or fragments leftover from the broken clips. Clean them thoroughly before proceeding with the installation of the new clips.
Installing the New Bumper Clips
Now that you have successfully removed the broken bumper clips, it’s time to install the new ones and restore your bumper’s functionality.
Preparing the Bumper
Before installing the new clips, prepare the bumper by following these steps:
- Clean the bumper surface using a mild detergent and water to remove any dirt, dust, or debris.
- Inspect the bumper for any damage or cracks. If you notice any, it’s advisable to repair them before proceeding with the installation.
- Ensure that the mounting holes on the bumper align perfectly with the slots or tabs on the body of the vehicle.
Step-by-Step Installation Process
Follow these steps to install the new bumper clips:
- Align the new clips with the corresponding mounting holes on the bumper.
- Gently push each clip into place until you hear a clicking sound, indicating that it is securely fastened.
- Repeat this process for all the new clips.
- Once all the clips are installed, give the bumper a slight tug to ensure they are firmly in place.
Congratulations! You have successfully fixed your broken bumper clips. Your bumper is now securely fastened, ensuring the safety and stability of your vehicle.
Remember to periodically check your bumper clips for any signs of damage and replace them promptly if needed. By doing so, you can maintain your vehicle’s overall appearance and safety for years to come.