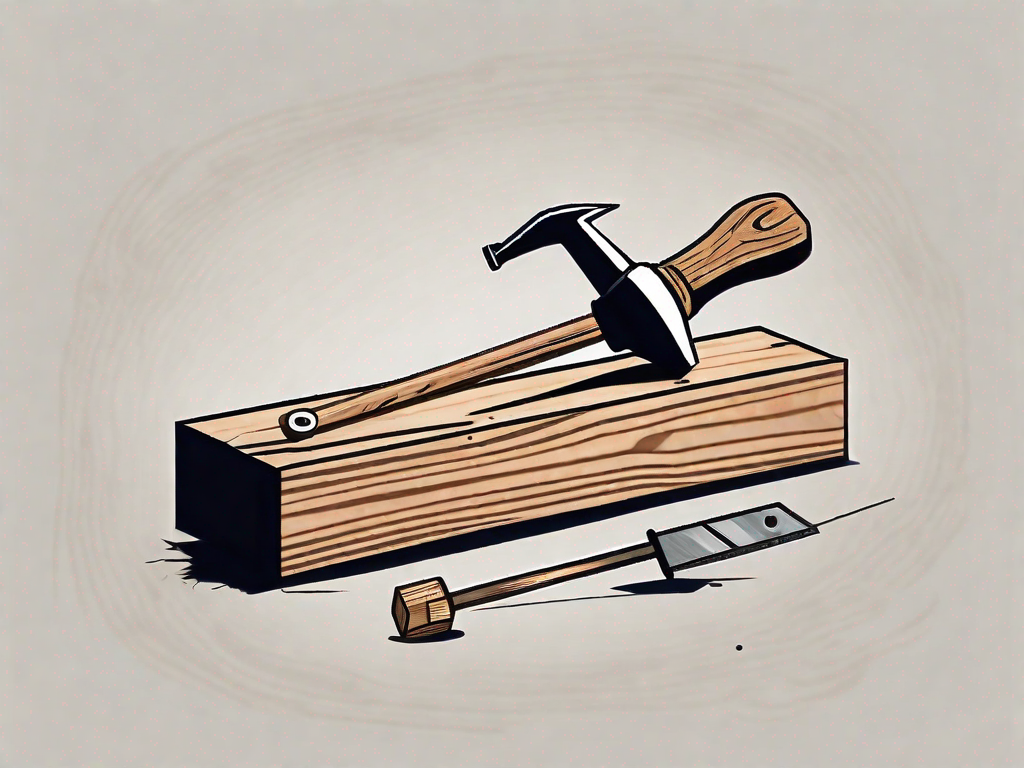
Have you ever encountered the frustrating issue of brad nails sticking out of your project? Don’t worry, you’re not alone. This common problem can be easily fixed with a few simple steps and the right tools.
In this article, we will guide you through the process of fixing brad nails sticking out, from understanding the problem to preventing it in the future.
Understanding the Problem: Brad Nails Sticking Out
Before we delve into the solution, let’s take a closer look at why brad nails stick out in the first place. There are several factors that contribute to this issue:
- Incorrect nail size or length
- Improper technique when hammering the nails
- Wood movement or splitting
When it comes to brad nails sticking out, one of the main culprits is using the wrong nail size or length. If the nails are too short, they may not penetrate the wood enough to hold securely, resulting in them sticking out. On the other hand, if the nails are too long, they can go through the wood and protrude on the other side, causing an unsightly appearance.
Another factor that contributes to brad nails sticking out is improper technique when hammering the nails. If you don’t apply enough force or use the wrong angle, the nails may not go in straight and end up sticking out. It’s important to ensure that you are using the correct hammering technique to drive the nails flush with the surface of the wood.
Wood movement or splitting can also lead to brad nails sticking out. As wood expands and contracts with changes in humidity and temperature, it can put pressure on the nails, causing them to loosen or pop out. Additionally, if the wood splits due to internal stresses or improper handling, the nails may not have a solid surface to hold onto, resulting in them sticking out.
The Impact of Brad Nails Sticking Out on Your Project
Having brad nails sticking out not only affects the aesthetic appeal of your project but also poses potential safety hazards. Sharp exposed nails can cause injury or snag clothing, resulting in frustration and potential damage to the workpiece. Imagine spending hours meticulously crafting a beautiful piece of furniture, only to have it marred by unsightly nails sticking out.
Furthermore, brad nails sticking out can compromise the structural integrity of your project. When nails are not properly driven flush with the surface, they may not provide the necessary support and stability. This can lead to weakened joints and overall instability, jeopardizing the durability and longevity of your work.
It’s crucial to address the issue of brad nails sticking out to ensure the success and quality of your woodworking projects. By understanding the reasons behind this problem and implementing the appropriate solutions, you can achieve professional-looking results that are both visually pleasing and structurally sound.
Tools Needed to Fix Brad Nails Sticking Out
Before we begin the nail correction process, it’s important to gather the necessary tools. Here are the essential tools you’ll need:
Essential Tools for Nail Correction
- Pliers
- Hammer
- Nail set
- Wood putty
Now that you have gathered the essential tools, let’s delve into the nail correction process. Brad nails are commonly used in woodworking projects, but sometimes they can stick out and create an unsightly appearance. This can happen due to various reasons such as improper nail placement, wood shrinkage, or even humidity changes. Whatever the cause may be, it’s important to address this issue to ensure a smooth and professional finish.
Firstly, assess the extent of the problem by examining the brad nails sticking out. Determine if they are slightly protruding or significantly raised. This will help you decide the best approach for correction.
If the nails are only slightly sticking out, you can use pliers to carefully grip the nail head and gently tap it back into place with a hammer. Be cautious not to damage the surrounding wood while doing this. Once the nail is flush with the surface, you can use a nail set to countersink it slightly below the wood’s surface. This will allow you to fill the hole with wood putty later on, ensuring a seamless finish.
However, if the nails are significantly raised, it might be necessary to remove them completely and replace them with new ones. To do this, use pliers to grip the nail head firmly and pull it out. Take care not to damage the wood while doing so. Once the old nail is removed, you can insert a new brad nail in the same location. Use a hammer to gently tap it in until it is flush with the surface. Again, make sure to countersink the nail slightly below the wood’s surface using a nail set.
Safety Equipment for Handling Brad Nails
Remember to prioritize safety when working with brad nails. Equip yourself with the following safety equipment:
- Safety goggles
- Protective gloves
Brad nails can be sharp and may cause injury if not handled with care. Safety goggles will protect your eyes from any flying debris or accidental nail slippage. Additionally, wearing protective gloves will safeguard your hands from potential injuries while handling the tools or nails.
Now that you have gathered the necessary tools and safety equipment, you are ready to fix those brad nails sticking out. Take your time, work carefully, and ensure a professional finish. Remember, attention to detail is key in woodworking projects.
Step-by-Step Guide to Fixing Brad Nails Sticking Out
Assessing the Severity of the Problem
The first step in fixing brad nails sticking out is to assess the severity of the issue. Inspect your project carefully, looking for nails that are protruding. Determine if the nails are slightly raised or significantly sticking out.
When assessing the severity of the problem, it’s important to consider the potential risks and consequences of leaving the nails as they are. If the nails are only slightly raised, they may not pose a significant threat to the overall integrity of your project. However, if the nails are sticking out significantly, they could not only affect the aesthetics but also pose a safety hazard, especially if they are in an area where they could cause injury.
Take your time during this assessment process, ensuring that you thoroughly examine each nail and make note of any that require attention. By doing so, you’ll be able to prioritize your efforts and address the most problematic nails first.
Preparing Your Work Area
Once you’ve assessed the problem, it’s time to prepare your work area. Clear any debris or obstructions that could hinder the nail correction process. This ensures a clean and safe workspace.
Before you start working on fixing the brad nails, it’s essential to create an environment that promotes efficiency and safety. Remove any tools, materials, or objects that may be in the way, as they can impede your ability to maneuver and work effectively. Additionally, make sure you have adequate lighting in your work area to ensure that you can see the nails clearly and perform the necessary corrections with precision.
By taking the time to prepare your work area, you’ll minimize the risk of accidents and create an organized space that allows you to focus solely on the task at hand.
Correcting the Position of Brad Nails
Now it’s time to fix those pesky brad nails! Follow these steps:
-
- Step 1: Use pliers to grip the protruding nail head. Be careful not to damage your workpiece while gripping the nail tightly.
When using pliers to grip the nail head, it’s important to exercise caution and apply just the right amount of pressure. Too much force could cause the nail to bend or break, making it even more challenging to correct its position. Take your time and ensure that you have a firm grip on the nail before proceeding to the next step.
-
- Step 2: Gently tap the nail head with a hammer to drive it below the surface of the wood without causing any surface damage.
When tapping the nail head with a hammer, it’s crucial to strike it gently and evenly. The goal is to drive the nail below the surface of the wood without causing any additional damage. If you strike the nail too forcefully, you risk creating dents or marks on the surface, which may require additional repair work.
-
- Step 3: Use a nail set to set the nail slightly below the wood surface. This will ensure a flush finish.
A nail set is a handy tool that allows you to set the nail slightly below the wood surface, ensuring a flush and seamless finish. Place the nail set on the nail head and gently tap it with a hammer until the nail is set at the desired depth. Take your time during this step to ensure that the nail is properly set and aligned with the surrounding surface.
-
- Step 4: Fill the small hole left by the nail with wood putty and smooth it with a putty knife. Allow it to dry before sanding and finishing the surface.
After setting the nail, you may notice a small hole left behind. To achieve a flawless finish, fill this hole with wood putty that matches the color of your project. Use a putty knife to apply the putty, ensuring that it fills the hole completely. Once applied, smooth the surface of the putty with the putty knife, removing any excess material.
Allow the wood putty to dry according to the manufacturer’s instructions. Once dry, you can proceed to sand the surface gently, ensuring that it blends seamlessly with the surrounding area. Finally, apply the appropriate finish to match the rest of your project, whether it be paint, stain, or varnish.
By following these steps carefully, you’ll be able to fix brad nails sticking out and achieve a professional-looking result. Remember to take your time, exercise caution, and pay attention to detail throughout the process to ensure the best outcome.
Tips for Preventing Brad Nails from Sticking Out
Choosing the Right Brad Nails for Your Project
One way to avoid the problem of brad nails sticking out is to choose the right nails for your project. Consider the thickness of the wood and the depth of penetration required when selecting nail sizes and lengths.
Proper Technique for Hammering Brad Nails
Another key factor in preventing brad nails from sticking out is to use proper hammering technique. Ensure that the nail is driven straight into the wood, avoiding any angling or excessive force that may cause the nail to protrude.
Maintaining Your Tools to Avoid Future Issues
Regular Maintenance of Your Hammer
Keeping your tools in optimal condition is vital for preventing future problems. Regularly clean and lubricate your hammer to ensure smooth hammering action. Additionally, inspect the hammerhead for any signs of damage or wear.
Proper Storage of Brad Nails
Lastly, store your brad nails in a dry environment to prevent rust. Organization and proper storage will ensure that your nails remain in top-notch condition and reduce the likelihood of any issues in the future.
By following these steps and incorporating these tips into your woodworking routine, you’ll be able to fix brad nails sticking out and prevent this problem from reoccurring. Now, armed with the knowledge and the right tools, you can confidently tackle any project without the worry of protruding nails. Happy woodworking!