Are your black rims looking worn and scratched? Don’t worry, you can restore them to their former glory with a few simple steps. In this comprehensive guide, we will walk you through the process of fixing black scratched rims, from understanding the basics of rim damage to maintaining your rims post-repair. So, let’s get started!
Understanding the Basics of Rim Damage
Before diving into the repair process, it’s essential to understand the different types of rim scratches that you may encounter.
When it comes to rim damage, there are various types of scratches that can occur, each with its own characteristics and severity. By understanding these different types, you can better assess the damage and determine the appropriate course of action for repair.
Types of Rim Scratches:
- Surface Scratches: These scratches are shallow and affect only the clear coat or paint layer of the rim. They are often the most common type of damage and can occur from everyday driving or parking mishaps. Surface scratches are generally less severe and can be easier to repair compared to deeper scratches.
- Deep Scratches: These penetrative scratches reach the metal or alloy base of the rim. They are more severe and can significantly impact the structural integrity and appearance of the rim. Deep scratches may occur from more forceful impacts, such as hitting a curb or encountering road debris at high speeds.
Causes of Rim Scratches:
- Curbside Contact: Accidental bumps against curbs or parking blocks can lead to unsightly scratches. Whether it’s misjudging a turn or parking too close to the curb, curbside contact is a common cause of rim damage. Even a minor scrape against a curb can leave behind noticeable scratches on the rim’s surface.
- Road Debris: Rocks, gravel, and other debris on the road can cause scratches when they come into contact with your rims. As you drive, these objects can be kicked up by other vehicles or simply be present on the road surface. Even small pebbles or bits of gravel can leave behind deep scratches if they hit the rim with enough force.
- Improper Cleaning: Using abrasive cleaning tools or harsh chemicals can damage the finish of your rims over time. While it may seem counterintuitive, cleaning your rims with the wrong tools or products can actually cause scratches. Scrubbing with abrasive brushes or using corrosive chemicals can strip away the protective clear coat and leave the rim vulnerable to scratches.
By understanding the different types of rim scratches and their causes, you can take proactive measures to prevent damage and address any issues promptly. Regularly inspecting your rims for scratches, practicing cautious driving near curbs, and using gentle cleaning methods can help maintain the appearance and longevity of your rims.
Preparing for the Repair Process
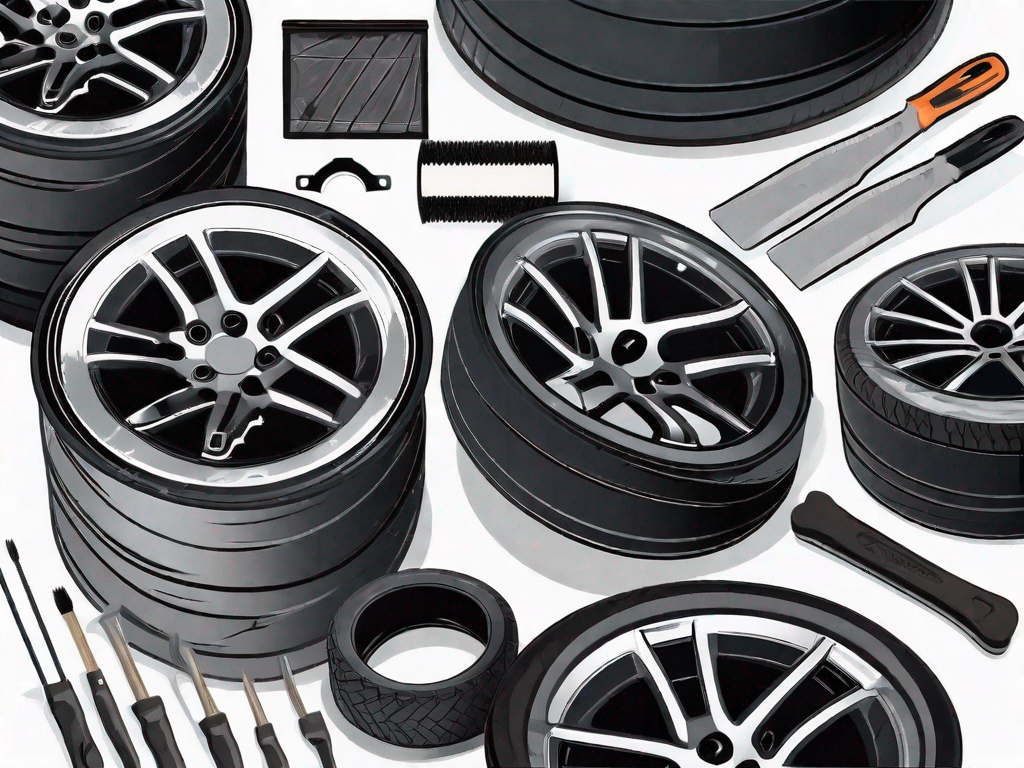
Before starting the repair, make sure you have all the necessary tools and materials on hand. It’s important to gather everything you need to ensure a smooth and efficient repair.
Gathering Necessary Tools and Materials
When it comes to repairing, having the right tools and materials is essential. Here are some items you’ll need:
- Microfiber cloths: These soft and lint-free cloths are perfect for cleaning and prepping the surface.
- Water and mild soap: A mixture of water and mild soap will help you clean the area before starting the repair.
- Sanding paper (various grits): Depending on the severity of the damage, you’ll need sanding paper of different grits to smooth out the surface.
- Primer: Applying a primer is crucial as it helps the paint adhere better to the surface and provides a smooth base for the color coat.
- Matching black paint: To achieve a seamless repair, make sure to have the exact color match for your vehicle’s black paint.
- Clear coat: Applying a clear coat will protect the repaired area and give it a glossy finish.
- Painters tape: Use painters tape to mask off any areas you don’t want to be painted.
- Masking paper: Masking paper is useful for covering larger areas and protecting them from overspray.
- Safety goggles: Protect your eyes from any debris or chemicals by wearing safety goggles throughout the repair process.
- Protective gloves: Keep your hands safe and clean by wearing protective gloves. They will also prevent any oils from your skin from contaminating the repaired area.
- Dust mask: To avoid inhaling harmful particles or fumes, wear a dust mask during the repair process.
Safety Precautions to Consider
Remember to follow safety precautions throughout the repair process to protect yourself from any harm. Your safety should always be a top priority. Here are some safety measures to consider:
- Wear safety goggles: Protect your eyes from any flying debris, dust, or chemicals by wearing safety goggles.
- Wear protective gloves: Keep your hands safe from any sharp edges or harmful substances by wearing protective gloves.
- Use a dust mask: To avoid inhaling any harmful particles or fumes, wear a dust mask that provides adequate protection.
By taking these safety precautions, you can ensure a safe and successful repair process. Remember, it’s better to be safe than sorry!
Step-by-Step Guide to Fixing Black Scratched Rims
Now that you’re well-prepared, let’s dive into the step-by-step process of fixing your black scratched rims.
Cleaning the Damaged Area
Start by thoroughly cleaning the damaged area using a microfiber cloth, water, and mild soap. This will remove any dirt, grime, or debris that could interfere with the repair process.
Take your time to ensure that every nook and cranny of the rims is free from any contaminants. This will provide a clean surface for the subsequent steps and allow for a more seamless repair.
Sanding the Scratches
Using sanding paper with gradually increasing grits, gently sand the scratched area. Start with a lower grit to smooth out the imperfections and gradually move to higher grits for a finer finish.
As you sand, pay close attention to the depth of the scratches. Be careful not to sand too aggressively, as this can further damage the rims. Instead, use a light touch and let the sandpaper do the work.
Remember to clean the surface with a damp cloth between each sanding step. This will remove any residual dust and allow you to assess the progress of the repair.
Applying Filler and Primer
If the scratches are deep, you will need to apply a suitable filler to level the surface. Choose a filler that matches the color of your rims to ensure a seamless blend.
Once the filler is dry, sand it down to match the surrounding area. Use a fine-grit sandpaper and take your time to achieve a smooth and even surface. This step is crucial in achieving a professional-looking repair.
Next, apply a layer of primer to ensure proper adhesion of the paint. The primer will also help to seal the repaired area and prevent any further damage.
Painting and Finishing Touches
Using a high-quality matching black paint, carefully apply thin coats to the repaired area. Start with a light layer and gradually build up the paint, allowing each coat to dry before applying the next.
Take your time during the painting process to ensure an even and consistent coverage. This will help to blend the repaired area seamlessly with the rest of the rims.
Once the paint is dry, apply a clear coat for added protection and shine. The clear coat will act as a barrier against future scratches and provide a glossy finish to your rims.
Remember to follow the manufacturer’s instructions for drying times and any additional steps that may be required for the specific products you are using.
By following these step-by-step instructions, you can effectively fix black scratched rims and restore them to their former glory. Take pride in your work and enjoy the satisfaction of a job well done!
Maintaining Your Rims Post-Repair
Congratulations, your black scratched rims are now as good as new! To keep them looking their best, implement regular cleaning and care.
Now that your rims have been repaired, it’s important to establish a routine for their maintenance. Regular cleaning and care will not only keep them looking shiny and new, but also help to prevent any further damage.
Regular Cleaning and Care
When it comes to cleaning your rims, it’s essential to use the right products and techniques. Start by washing them with gentle soap and water regularly. This will help remove any dirt, grime, or brake dust that may have accumulated over time.
However, it’s important to avoid using abrasive cleaning tools or harsh chemicals that could damage the finish of your rims. Instead, opt for a soft cloth or sponge to gently scrub away any stubborn dirt. Additionally, using a non-abrasive wheel cleaner specifically designed for your rim material can help maintain their shine without causing any harm.
After cleaning, make sure to thoroughly rinse off any soap residue to prevent it from drying and leaving unsightly streaks or marks. You can use a hose or a bucket of clean water for this purpose.
Preventing Future Scratches
While regular cleaning is crucial, preventing future scratches is equally important. After all, you wouldn’t want your newly repaired rims to get damaged again.
One of the main causes of rim scratches is curbside contact. To avoid this, it’s essential to practice caution while parking. Take your time and ensure that you are parking at a safe distance from the curb. If you’re unsure about the clearance, consider parking further away from potential hazards.
Another option to protect your rims is to use rim guards. These are specially designed rubber or plastic strips that can be attached to the edge of your rims. They act as a barrier between the rim and the curb, reducing the risk of scratches and damage.
Furthermore, being mindful of your driving habits can also help prevent future scratches. Avoid hitting potholes or driving over rough terrain whenever possible. By doing so, you can minimize the chances of your rims coming into contact with any sharp objects or debris that could cause scratches.
Remember, prevention is always better than cure. By taking these precautions and implementing regular cleaning and care, you can ensure that your rims stay in pristine condition for a long time to come.
When to Seek Professional Help
While DIY repairs are effective for minor scratches, severe damage may require professional intervention.
Assessing the Severity of Damage
If the scratches are too deep, extensive, or affect multiple areas of the rim, it’s best to seek professional advice.
Understanding the Limitations of DIY Repair
DIY repairs have their limitations, especially when dealing with complex damage or specialized finishes. Consulting a professional will ensure the best results.
By following this step-by-step guide, you can fix your black scratched rims and restore their original beauty. Remember to take safety precautions and maintain your rims to prevent future damage. Enjoy the satisfaction of a job well done and admire your newly revived rims!