A bent pin on your CPU can be a frustrating and alarming situation. However, with the right tools and knowledge, you can fix the issue yourself and save money on professional repairs. In this article, we will guide you step-by-step on how to fix bent pins on your CPU, as well as provide tips on preventing future damage and knowing when to seek professional help.
Understanding the Structure of a CPU
Before diving into the process of fixing bent pins, it’s essential to understand the structure of a CPU. A Central Processing Unit (CPU) is the brain of your computer, responsible for executing instructions and performing calculations. The CPU consists of various components, one of which is the pins.
The CPU is a complex piece of technology that houses multiple components working together to ensure the smooth operation of your computer. These components include the arithmetic logic unit (ALU), control unit, cache memory, and registers. Each component plays a vital role in processing data and carrying out instructions.
One of the critical components of a CPU is the pins. CPU pins are tiny, delicate metal contacts that connect the CPU to the motherboard. These pins transmit electrical signals and provide a secure connection between the CPU and other hardware components. They play a crucial role in ensuring the proper functioning of your computer.
The Role of CPU Pins
CPU pins serve as the communication bridge between the CPU and the motherboard. They establish a connection that allows data and instructions to flow between the two components. Without these pins, the CPU would not be able to communicate with other hardware, rendering the computer useless.
Each pin on the CPU has a specific function and purpose. Some pins are responsible for transmitting power to the CPU, while others handle data input and output. The pins are carefully designed and positioned to ensure efficient data transfer and minimize the risk of signal interference.
Identifying Bent Pins on Your CPU
When facing potential issues with your CPU, it’s essential to verify if the problem lies in bent pins. Bent pins can disrupt the flow of data and cause various problems, such as system instability, crashes, or even complete failure. To identify bent pins, you need to carefully examine the pins on the underside of the CPU.
Inspecting the pins requires a keen eye and attention to detail. Look for any pins that appear out of place, crooked, or misaligned. Bent pins can occur due to mishandling during CPU installation or removal. It’s crucial to exercise caution when handling the CPU to avoid any accidental damage to the pins.
If you discover bent pins, it’s important not to panic. While it may seem like a daunting task, fixing bent pins is possible with the right tools and techniques. However, it’s essential to approach the process with care to avoid causing further damage to the CPU or other components.
Before attempting to fix bent pins, it’s advisable to consult the CPU manufacturer’s guidelines or seek professional assistance. They can provide specific instructions tailored to your CPU model and guide you through the process to ensure a successful repair.
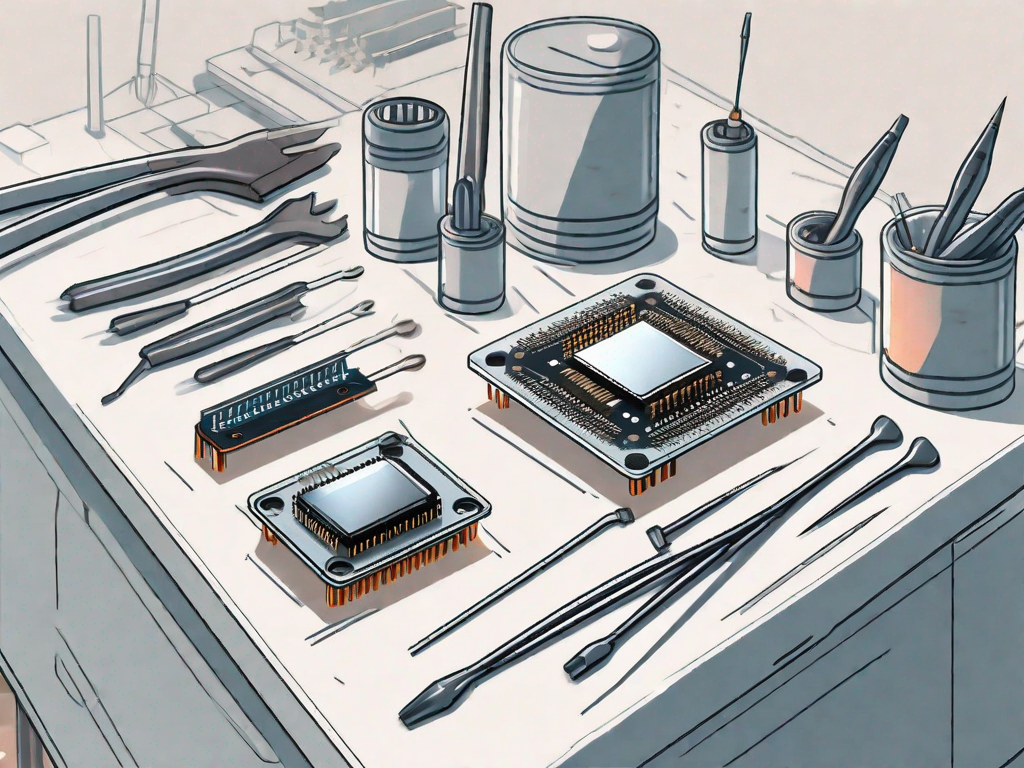
Necessary Tools for Fixing Bent CPU Pins
Before attempting to fix bent pins on your CPU, gather the necessary tools:
- Tweezers
- Microfiber cloth
- Isopropyl alcohol
- Antistatic wristband
Safety Precautions When Handling CPU Pins
When working with CPU pins, it’s crucial to take specific safety precautions to avoid damage. Wear an antistatic wristband to prevent electrostatic discharge, which could harm the delicate components of your CPU. Ensure that you are working in a clean, well-lit area and use proper lighting to inspect the pins.
Now that you have gathered all the necessary tools, let’s dive into the process of fixing bent CPU pins. It’s important to note that this task requires patience and a steady hand. So, take your time and follow the steps carefully.
Step 1: Prepare the Workstation
Before you start fixing the bent CPU pins, make sure you have a clean and organized workstation. Clear any clutter and ensure that you have enough space to work comfortably. It’s also a good idea to ground yourself by touching a metal object or using an antistatic mat to prevent any static electricity buildup.
Step 2: Inspect the Pins
Once you have set up your workstation, carefully remove the CPU from its socket. Take a close look at the pins and identify any that are bent or misaligned. It’s essential to inspect each pin individually to ensure that you don’t miss any damaged ones.
Step 3: Straighten the Pins
Using a pair of tweezers, gently straighten the bent pins. Take your time and apply minimal force to avoid breaking or further damaging the pins. It’s best to work on one pin at a time, ensuring that you align it properly with the rest of the pins.
Step 4: Clean the Pins
After straightening the pins, it’s important to clean them to remove any dirt or debris that may have accumulated. Dip a microfiber cloth in isopropyl alcohol and gently wipe the pins to ensure they are free from any contaminants. Allow the pins to dry completely before reinserting the CPU into its socket.
Step 5: Reinstall the CPU
Once the pins are straightened and cleaned, carefully place the CPU back into its socket. Make sure it is properly aligned and gently press it down until it is securely in place. Take your time and avoid applying excessive force, as this could cause damage to the pins or the CPU socket.
Step 6: Test the CPU
After reinstalling the CPU, it’s important to test it to ensure that it is functioning correctly. Power on your computer and check if the CPU is being recognized by the system. Monitor the CPU temperature and performance to ensure that it is functioning optimally.
Remember, fixing bent CPU pins requires precision and caution. If you are unsure or uncomfortable with the process, it’s always best to seek professional help. Attempting to fix the pins without proper knowledge or experience may result in further damage to your CPU.
Step-by-Step Guide to Fixing Bent CPU Pins
Now that you have all the necessary tools and safety precautions in place, let’s proceed with the step-by-step guide to fix bent CPU pins:
Preparing Your Workstation
Start by turning off your computer and disconnecting all power sources. This is an important safety measure to avoid any electrical accidents. Once the computer is powered down, you can proceed with the repair process.
Place the antistatic wristband around your wrist and connect the other end to a grounded object. This will protect your CPU from electrostatic discharge, which can cause damage to sensitive electronic components. It’s crucial to take this precaution to ensure the safety of your CPU during the repair.
Next, remove the CPU from the motherboard. Carefully lift the CPU socket lever and gently lift the CPU out of its socket. Place it on a clean, non-conductive surface, such as an antistatic mat or a piece of cardboard. This will provide a stable and safe working area for the repair.
Straightening Bent Pins
Now comes the delicate part of the process – straightening the bent pins. Take a close look at the pins using a magnifying glass if necessary. It’s essential to have a clear view of the pins to avoid any mistakes during the repair.
Using a pair of tweezers, carefully straighten each bent pin. Apply gentle pressure and adjust the position of the pin until it is aligned with the others. Take your time and be patient during this process. Rushing can lead to more severe problems, such as breaking or damaging the pins further.
If you encounter a severely bent pin that is difficult to straighten, you can use a mechanical pencil or a credit card to assist you. Insert the lead of the mechanical pencil or the edge of the credit card between the pins and gently push them back into place. However, exercise caution not to apply too much force, as it can cause damage.
Testing the CPU After Repair
Once you have straightened all the bent pins, it’s time to test the CPU to ensure it is functioning properly. Carefully reinstall the CPU into the motherboard socket, making sure it is correctly aligned. Gently lower the socket lever to secure the CPU in place.
Reconnect all the power sources, including the CPU fan, motherboard power cables, and any other peripherals you had disconnected earlier. Double-check all the connections to ensure they are secure.
Now, power on your computer and observe if it boots up correctly. Listen for any unusual noises or beeps that could indicate a problem. If the computer starts up without any issues, proceed to run some tests and benchmarks to ensure the CPU is performing as expected.
You can use various software tools to stress test the CPU and monitor its temperature. This will help you determine if the CPU is functioning optimally after the repair. If everything appears to be working fine, congratulations! You have successfully fixed the bent pins on your CPU.
Remember to handle your CPU with care in the future to prevent any accidental damage. Regularly clean the CPU and ensure proper cooling to maintain its performance and longevity.
Preventing Future Damage to CPU Pins
Now that you have repaired your CPU, it’s important to take measures to prevent future damage to the pins:
Proper Handling and Storage of CPUs
Always handle CPUs with care and avoid touching the pins directly. When removing or installing a CPU, hold it by the edges to minimize the risk of bending the pins. Additionally, store CPUs in their original packaging or in an antistatic container to prevent dust, debris, and accidental damage.
Regular Maintenance and Cleaning of CPUs
To prevent issues caused by dust and debris, regularly clean your CPU and its surroundings. Use a microfiber cloth to gently remove any dirt or buildup. If necessary, use isopropyl alcohol to clean stubborn stains. However, exercise caution and avoid wetting the pins directly.
When to Seek Professional Help
In some cases, the damage to the CPU pins may be beyond repair or require specialized equipment. It’s essential to recognize when it’s time to seek professional help:
Recognizing Unfixable Damage
If the pins are severely bent, broken, or missing, attempting to fix them yourself may cause further damage. In such cases, it’s best to consult a professional technician who has the expertise and tools to handle complex repairs.
Finding a Reliable CPU Repair Service
Research and select a reputable CPU repair service in your area. Look for reviews and recommendations to ensure their expertise and reliability. Reach out to them and explain the issue with your CPU pins. They will guide you on the next steps, whether it’s sending the CPU for repair or scheduling an appointment for further assessment.
By following the steps outlined in this article, you can fix bent pins on your CPU and get your computer running smoothly again. Remember to take proper safety precautions and handle the CPU with care. With regular maintenance and cautious handling, you can prevent future damage to the pins and extend the lifespan of your CPU.