Baseboards can add a finishing touch to any room, but over time, they may start to separate from the wall. This can be an unsightly issue that not only affects the appearance of your space but also compromises the functionality of the baseboards.
However, there is no need to panic. By understanding the causes of baseboard separation and following a few simple steps, you can easily fix this problem yourself.
Understanding the Causes of Baseboard Separation
Effects of Temperature and Humidity
One of the main reasons why baseboards may separate from the wall is the constant fluctuations in temperature and humidity levels within your home. These changes cause the baseboards to expand and contract, creating stress on the adhesive or nails holding them in place.
During the summer months, when the air is more humid, the moisture in the air can penetrate the walls and affect the baseboards. This moisture weakens the adhesive, making it easier for the baseboards to separate from the wall. On the other hand, during the winter months, when the air is drier, the baseboards may shrink slightly, causing gaps to form between the baseboards and the wall.
It is important to note that certain areas of your home may be more prone to temperature and humidity fluctuations, such as bathrooms and kitchens. These areas typically have higher levels of moisture, which can accelerate the separation of baseboards.
Impact of Poor Installation
In some cases, improper installation can be the root cause of baseboard separation. If the baseboards were not securely attached during the initial installation process, they are more likely to come loose over time and separate from the wall.
When baseboards are installed, it is essential to ensure that they are properly aligned and firmly attached to the wall. Using a level and measuring tape can help ensure accurate installation. Additionally, using high-quality adhesive or nails specifically designed for baseboards can provide better long-term stability.
Furthermore, the type of wall surface can also impact the installation process. Different wall materials require different installation techniques and tools. For example, installing baseboards on drywall may require different methods compared to installing them on plaster walls.
The Role of House Settling
As your house settles over time, it undergoes slight shifts and movements. These movements can put stress on the baseboards, causing them to separate from the wall.
House settling is a natural process that occurs as the foundation adjusts to the weight and environmental conditions. These adjustments can cause the walls to shift slightly, which in turn affects the baseboards. The settling process is more common in older homes or in areas with unstable soil conditions.
Regular maintenance and inspection of your home’s foundation can help identify any potential issues that may contribute to baseboard separation. Addressing these issues promptly can prevent further damage and ensure the stability of your baseboards.
Understanding the underlying causes of baseboard separation is crucial as it helps you tackle the problem effectively and prevent it from recurring in the future. Now that you know why baseboards separate from the wall, let’s dive into the tools and materials you’ll need to fix them.
Tools and Materials Needed for Baseboard Repair
Essential Tools for the Job
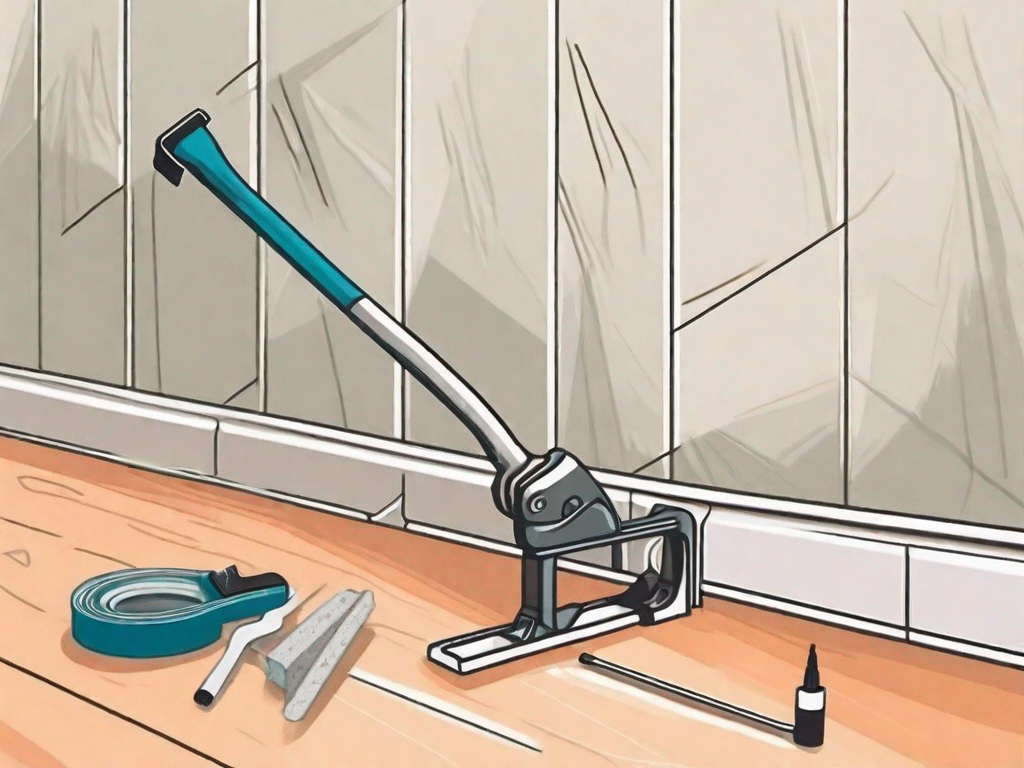
Before you get started, gather the necessary tools for the repair. You will need a pry bar, a putty knife, a caulk gun, a hammer, a pair of safety goggles, and a dust mask.
These tools will help you remove the separated baseboards, clean the area, and reattach them securely.
A pry bar is an essential tool for baseboard repair as it allows you to gently lift and remove the separated baseboards without causing any damage to the surrounding walls. A putty knife is useful for scraping away any old adhesive or caulk from the wall and baseboard surfaces.
A caulk gun is necessary for applying the construction adhesive to the baseboard and wall surfaces. Make sure to choose a caulk gun that is comfortable to hold and easy to control.
A hammer is needed to gently tap the baseboards back into place once the adhesive has been applied. It is important to use a hammer with a rubber mallet or a block of wood to prevent any damage to the baseboards.
Don’t forget to prioritize your safety by wearing a pair of safety goggles to protect your eyes from any debris or flying particles. Additionally, a dust mask will help you breathe easily and protect your lungs from any dust or fumes that may be generated during the repair process.
Choosing the Right Adhesive
When it comes to fixing separated baseboards, the adhesive you choose is crucial for a long-lasting repair. Opt for a strong construction adhesive that is specifically designed for bonding wood to walls.
Take your time to research different adhesives available in the market and choose one that has excellent bonding properties and is suitable for your specific baseboard material.
Consider the type of baseboard material you are working with. If you have wooden baseboards, ensure that the adhesive you choose is compatible with wood and provides a strong bond. For baseboards made of other materials such as PVC or MDF, make sure the adhesive is suitable for those materials.
It is also important to consider the climate and environment in which the baseboards are located. If they are exposed to moisture or high humidity, choose an adhesive that is resistant to water and can withstand such conditions.
Read reviews and seek recommendations from professionals or experienced DIYers to ensure you select an adhesive that will provide a durable and long-lasting repair. Remember, the right adhesive can make all the difference in the success of your baseboard repair project.
Preparing for the Repair
Safety Measures to Consider
Before you start any repair work, it is essential to prioritize safety. Put on your safety goggles and dust mask to protect your eyes and respiratory system from potential dust and debris.
It’s important to note that safety should always be the top priority when undertaking any repair project. By wearing safety goggles, you ensure that your eyes are shielded from any flying debris or particles that may be released during the repair process. Similarly, a dust mask will protect your respiratory system from inhaling any harmful dust or fumes that may be present.
Additionally, ensure that you have a well-ventilated area to work in to minimize the inhalation of fumes from the adhesive. Adequate ventilation is crucial as it helps to dissipate any potentially harmful fumes that may be emitted during the repair process. This will not only protect your health but also create a more comfortable working environment.
Cleaning and Prepping the Area
Begin by clearing the area around the separated baseboards. Remove any furniture or objects that may hinder your repair process.
Clearing the area around the separated baseboards is an important step to ensure that you have enough space to work comfortably. By removing any furniture or objects that may obstruct your access to the baseboards, you create a safer and more efficient working environment.
Next, using a damp cloth, clean the baseboards and the wall surface to remove any dust, dirt, or loose paint. This will ensure a clean and smooth bonding surface.
Cleaning the baseboards and the wall surface is crucial for a successful repair. By removing any dust, dirt, or loose paint, you create a clean and smooth bonding surface. This will enhance the adhesive’s ability to bond effectively and ensure a long-lasting repair.
Now that you have prepared the area, it’s time to move on to the step-by-step guide for fixing separated baseboards.
Before diving into the step-by-step guide, it’s important to note that proper preparation is key to a successful repair. By following these safety measures and cleaning the area thoroughly, you set yourself up for a smooth and efficient repair process. So, let’s get started!
Step-by-Step Guide to Fixing Separated Baseboards
Removing the Baseboard
To reattach the separated baseboards, you first need to remove them from the wall. Start by inserting a pry bar between the baseboard and the wall at one end of the separation.
Gently pry the baseboard away from the wall, working your way along the entire length of the separation. Be cautious not to damage the baseboard or the wall during this process.
Once the baseboard is completely separated, set it aside for now and proceed to the next step.
Did you know that baseboards are not only decorative but also serve a functional purpose? They help protect the wall from furniture, vacuum cleaners, and other potential sources of damage. By properly reattaching the baseboard, you are ensuring the longevity and aesthetics of your walls.
Applying the Adhesive
With the baseboard removed, it’s time to apply the adhesive. Load the construction adhesive into a caulk gun according to the manufacturer’s instructions.
Apply a generous amount of adhesive in a zigzag pattern on the back of the baseboard, ensuring that the adhesive is evenly distributed.
Work quickly but carefully, as some adhesives bond rapidly. Avoid applying excessive adhesive, as it may ooze out when you reattach the baseboard.
Choosing the right adhesive is crucial for a successful repair. Make sure to select an adhesive that is specifically designed for baseboards and has a strong bonding capability. This will ensure that the baseboard remains securely attached to the wall for years to come.
Reattaching and Securing the Baseboard
With the adhesive applied, carefully align the baseboard with the separation on the wall. Gently press the baseboard against the wall, ensuring that it adheres firmly.
To reinforce the bond, use a hammer to lightly tap the baseboard along its length. Be cautious not to dent or damage the baseboard.
Did you know that baseboards come in various styles and materials? From simple and sleek designs to ornate and intricate patterns, baseboards can add a touch of elegance to any room. By properly securing the baseboard, you are not only fixing a separation but also preserving the overall aesthetic appeal of your space.
Finally, use a putty knife to remove any excess adhesive that may have oozed out during the reattachment process. Smooth the surface to create a seamless look.
Now that the baseboard is securely reattached, let’s move on to the finishing touches to ensure a flawless repair.
Remember, attention to detail is key when it comes to repairing baseboards. Taking the time to properly align, secure, and clean up the adhesive will result in a professional-looking finish that will make your walls proud.
Finishing Touches for a Seamless Look
Filling in Gaps and Cracks
Inspect the baseboard to identify any remaining gaps or cracks. Use wood filler or caulk to fill these imperfections for a smooth and seamless appearance.
Follow the manufacturer’s instructions for the chosen filler or caulk and apply it carefully, ensuring that it blends well with the baseboard material.
Painting and Finishing the Baseboard
Once the gaps and cracks are filled, it’s time to paint or stain the baseboard to match the surrounding wall. Choose a paint color or stain that complements your room’s aesthetic.
Apply the paint or stain evenly, following the manufacturer’s instructions. Allow sufficient drying time before moving furniture or objects back into place.
By following these step-by-step instructions and taking the time to complete the finishing touches, you can fix baseboards separating from the wall and restore the beauty of your space.
Remember, regular maintenance and prompt repairs are essential to prevent future baseboard separation issues. So, be sure to keep an eye on your baseboards and address any signs of separation promptly.