In today’s digital age, HDMI ports have become an essential component of our devices. They allow us to connect our TVs, computers, and gaming consoles to external displays, ensuring a seamless viewing or gaming experience. However, just like any other hardware, HDMI ports can sometimes encounter problems.
In this comprehensive guide, we will walk you through the process of fixing an HDMI port step-by-step. Whether you’re a tech-savvy individual or a DIY enthusiast, this guide will equip you with the knowledge and skills needed to tackle HDMI port issues effectively.
Understanding HDMI Ports and Common Issues
Before we dive into the repair process, it’s crucial to have a solid understanding of what HDMI ports are and the common problems associated with them. HDMI stands for High-Definition Multimedia Interface, and it is a digital interface for transmitting audio and video signals between devices. HDMI ports are typically found on TVs, monitors, projectors, gaming consoles, and laptops.
What is an HDMI Port?
An HDMI port is a compact, rectangular-shaped connector that enables the transfer of high-quality audio and video signals. It allows you to connect your devices to external displays, such as TVs or monitors, providing a crisp and vibrant viewing experience. HDMI ports are commonly found on electronic devices manufactured in recent years, as they have replaced older analog connection types, such as VGA or component video.
Common HDMI Port Problems
Despite their convenience and efficiency, HDMI ports can sometimes encounter issues that prevent them from functioning correctly. Some common problems include:
-
- No signal or intermittent signal.
One of the most frustrating issues that users may encounter with HDMI ports is the absence of a signal or an intermittent signal. This problem can be caused by various factors, such as loose connections, faulty cables, or incompatible devices. Troubleshooting this problem often involves checking the cable connections, testing different HDMI cables, or updating the device’s firmware.
-
- Poor video quality, such as flickering or distorted images.
Another common problem with HDMI ports is poor video quality. This can manifest as flickering or distorted images on the display. The root causes of this issue can vary, including incompatible resolutions between the source device and the display, outdated drivers, or faulty HDMI cables. Resolving this problem may involve adjusting the display settings, updating drivers, or replacing the HDMI cable.
-
- No audio or low-quality audio.
Users may also encounter issues with audio when using HDMI ports. This can range from no audio output at all to low-quality audio. The problem can be attributed to incorrect audio settings, outdated drivers, or faulty HDMI cables. Troubleshooting steps for this problem may include checking the audio settings, updating drivers, or trying a different HDMI cable.
-
- Loose or damaged HDMI port.
A physical issue that can affect HDMI ports is when they become loose or damaged. This can happen due to frequent plugging and unplugging of HDMI cables or accidental mishandling. When the port becomes loose or damaged, it can result in a poor connection or no connection at all. Fixing this problem may require repairing or replacing the HDMI port, depending on the extent of the damage.
-
- HDMI port not recognizing the connected device.
In some cases, HDMI ports may fail to recognize the connected device. This can occur due to compatibility issues, outdated firmware, or a faulty HDMI port. Troubleshooting this problem may involve updating the device’s firmware, checking for compatibility with the connected device, or seeking professional assistance for repairing or replacing the HDMI port.
Now that we have a better understanding of HDMI ports and the problems that can arise, let’s move on to the tools needed for the repair process.
Tools Needed for HDMI Port Repair
To effectively repair an HDMI port, it’s important to have the right tools at your disposal. Here are the essential tools you’ll need:
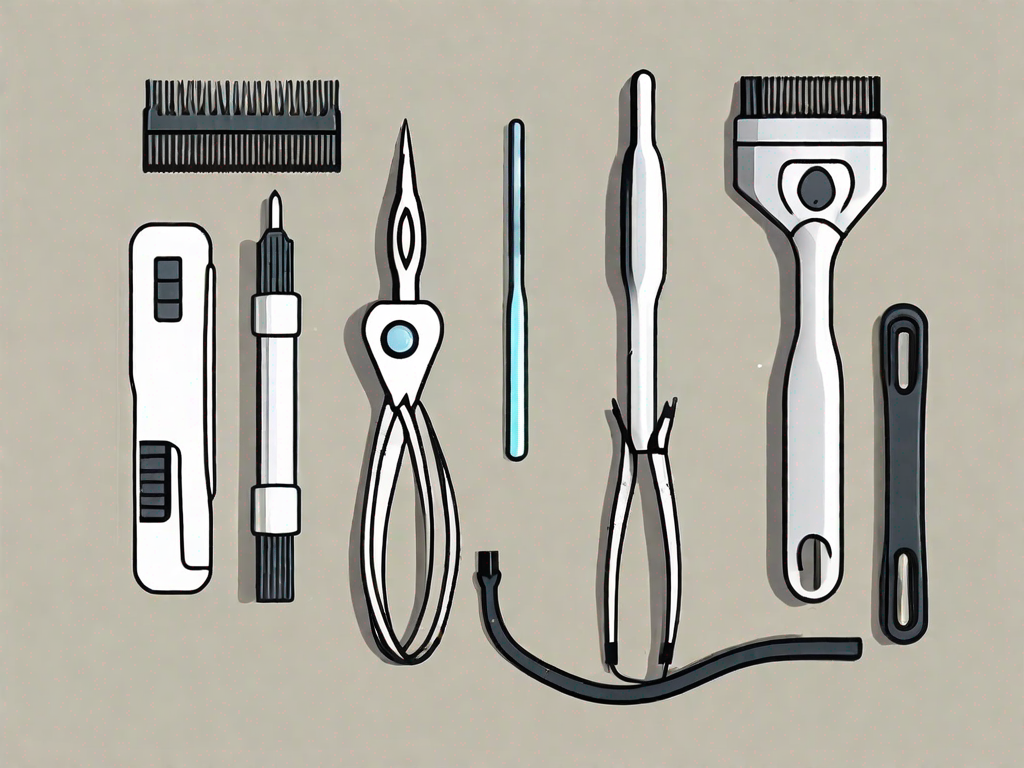
Essential Tools for the Job
- Screwdriver set (including Phillips and flathead screwdrivers)
- Tweezers
- Soldering iron
- Heat shrink tubing
- Wire strippers
- Multimeter
Repairing an HDMI port requires precision and attention to detail. The first tool you’ll need is a screwdriver set that includes both Phillips and flathead screwdrivers. These will be used to remove any screws or fasteners holding the device together.
Once the device is opened up, you’ll need a pair of tweezers to carefully handle small components and make precise adjustments. Tweezers with a fine tip are recommended for this task.
A soldering iron is an essential tool for repairing an HDMI port. It allows you to remove and replace damaged or faulty solder joints. Make sure to choose a soldering iron with adjustable temperature settings to ensure proper heat control during the repair process.
Heat shrink tubing is used to insulate and protect soldered connections. It provides a clean and professional finish to the repair job. Choose heat shrink tubing with a diameter that fits snugly over the wires you’ll be working with.
Wire strippers are necessary for removing the insulation from the wires in order to make proper connections. Look for wire strippers that have multiple gauge options to accommodate different wire sizes.
A multimeter is a versatile tool that allows you to measure voltage, current, and resistance. It is essential for troubleshooting and diagnosing issues with the HDMI port. Make sure to choose a multimeter that is capable of measuring both AC and DC voltage.
Safety Equipment for HDMI Port Repair
When working with electronic devices, it is crucial to prioritize safety. Here are some safety equipment items you should consider having:
- Anti-static wrist strap
- Safety goggles
- Gloves
- Heat-resistant mat
An anti-static wrist strap is important to prevent electrostatic discharge (ESD) from damaging sensitive electronic components. It ensures that any static electricity is safely discharged to the ground.
Safety goggles protect your eyes from any potential hazards such as flying debris or solder splatters. It’s important to wear them throughout the repair process to avoid any eye injuries.
Gloves provide an extra layer of protection for your hands. They can protect against burns from the soldering iron and also prevent any contamination from oils or dirt on your hands that could damage the delicate components.
A heat-resistant mat is useful for providing a safe and stable work surface. It protects your work area from heat damage and provides a non-slip surface for your tools and components.
With your toolbox prepared and safety equipment in place, it’s time to get ready for the HDMI port repair process. Remember to work in a well-ventilated area and take breaks if needed to avoid fatigue. Good luck with your repair!
Preparing for the Repair
Safety Precautions Before Starting
Prior to beginning the repair, it is vital to take some safety precautions to avoid injury or damage to your devices:
- Disconnect the device from the power source.
- Remove any batteries or power supply cables.
- Wear an anti-static wrist strap to prevent electrostatic discharge.
- Work in a well-ventilated area to prevent the buildup of hazardous fumes.
Setting Up Your Workspace
Creating a suitable workspace can greatly contribute to the efficiency and success of your HDMI port repair. Here are some steps to follow:
- Choose a clean and well-lit area to work in.
- Clear the workspace of any clutter or unnecessary items.
- Organize your tools and equipment for easy access.
- Place your device on a heat-resistant mat to protect the surface.
- Keep a notebook and pen handy to jot down any important steps or observations.
Now that you’ve prepared yourself and your workspace, let’s delve into the step-by-step process of HDMI port repair.
Step-by-Step HDMI Port Repair
Diagnosing the HDMI Port Issue
The first step in fixing an HDMI port is to identify the specific problem. Here’s how:
- Inspect the HDMI cable for any visible damage or fraying.
- Try using a different HDMI cable to see if the problem persists.
- Connect the device to another display to determine if the issue lies with the HDMI port or the device itself.
If none of these steps solve the problem, it’s likely that the HDMI port itself needs repair or replacement. Continue to the next step.
Removing the Damaged HDMI Port
Before replacing the HDMI port, you’ll need to carefully remove the damaged one. Here’s how:
- Power off the device and disconnect all cables.
- Open the device casing, using the appropriate screwdrivers and techniques for your particular device.
- Locate the HDMI port on the circuit board.
- Using a soldering iron and tweezers, desolder the connections between the HDMI port and the circuit board.
- Gently remove the old HDMI port from the circuit board.
With the damaged HDMI port removed, it’s time to install the new one.
Installing the New HDMI Port
Now that you have a new HDMI port ready, follow these steps to install it correctly:
- Clean the area on the circuit board where the old port was located to ensure proper contact.
- Position the new HDMI port in place, aligning the pins with the corresponding holes on the circuit board.
- Using the soldering iron, solder the pins of the new HDMI port to the circuit board, ensuring a secure connection.
- Inspect the soldering joints to ensure they are clean and free of excess solder.
- Reassemble the device, following the reverse order of disassembly.
Once the new HDMI port is installed, it’s time to troubleshoot and ensure its proper functionality.
Troubleshooting HDMI Port Repair
What to Do If the HDMI Port Still Doesn’t Work
If your HDMI port is still experiencing issues after the repair, try the following troubleshooting steps:
- Check that all cables are securely connected and undamaged.
- Test the HDMI port with different devices to narrow down the problem.
- Update the device’s firmware or graphics drivers, as outdated software can sometimes cause compatibility issues.
- Consult the device’s user manual or manufacturer’s website for specific troubleshooting steps.
When to Seek Professional Help
While repairing an HDMI port can be a rewarding DIY project, some situations may require professional assistance. Consider seeking professional help if:
- The repair process seems too complex or beyond your technical expertise.
- The device is still under warranty, as attempting repairs yourself may void the warranty.
- You are unsure about the source or extent of the problem.
Remember, safety and caution should always be a priority when working with electronic devices. If in doubt, consult a professional technician who can offer expert advice and assistance.
In conclusion, fixing an HDMI port is a process that can be successfully accomplished with the right tools, knowledge, and patience. By understanding the common issues associated with HDMI ports, preparing adequately for the repair, and following the step-by-step guide, you’ll be well-equipped to resolve HDMI port problems and enjoy uninterrupted audio and video connectivity. So, roll up your sleeves, gather your tools, and embark on the journey of HDMI port repair, confident in your ability to conquer any challenges that come your way.