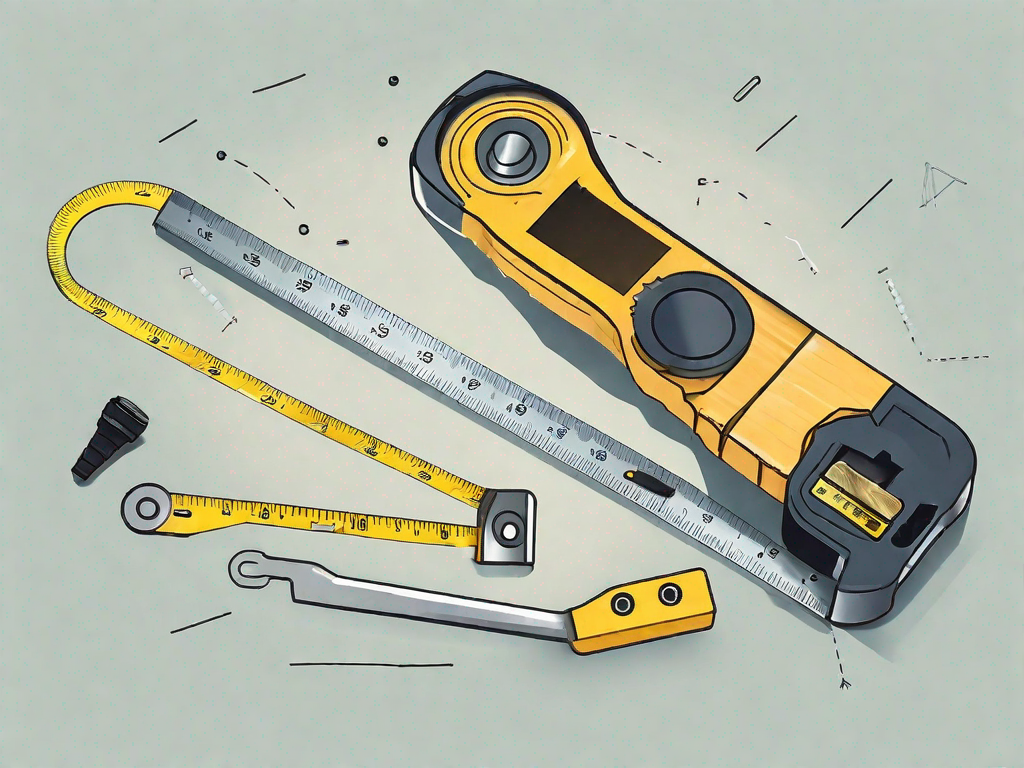
Tape measures are essential tools for measuring objects accurately and efficiently. However, sometimes accidents happen, and the tape measure can get pulled out too far, causing it to malfunction. In this article, we will explore the mechanism of a tape measure, common issues that can occur, the tools needed for repair, and a step-by-step guide on how to fix an overextended tape measure. We will also provide troubleshooting tips for other tape measure problems. So, let’s dive in and learn how to fix a tape measure that has been pulled out too far.
Understanding the Mechanism of a Tape Measure
A tape measure is a retractable ruler housed in a compact case. It consists of two main mechanisms: the internal spring that allows it to retract, and the locking mechanism that holds the tape in place when extended.
The Internal Spring Mechanism
The internal spring mechanism is responsible for retracting the tape back into the case smoothly. It consists of a coiled spring that tightens when the tape is extended and releases tension when it needs to retract. A properly functioning spring is crucial for the tape measure’s overall functionality.
When the tape measure is extended, the internal spring is under tension. This tension is what allows the tape to remain in its extended position until it is manually retracted. The spring is carefully calibrated to provide just the right amount of tension, ensuring that the tape measure can be easily extended and retracted without any issues.
Inside the tape measure’s case, the coiled spring is carefully wound to provide the necessary tension. The spring is made from a durable material, such as stainless steel, to ensure its longevity and reliability. The coiled design of the spring allows it to store potential energy, which is released when the tape measure is retracted.
When the user is finished with their measurements and wants to retract the tape, they simply press the button or lever that activates the spring mechanism. This releases the tension in the spring, causing it to contract and pull the tape back into the case. The tape measure’s internal spring is designed to retract the tape smoothly and without any sudden jerks or movements.
The Locking Mechanism
The locking mechanism is designed to keep the tape extended until it is manually released. It prevents accidental retractions while taking measurements. When the locking mechanism fails, it can lead to the tape measure being extended beyond its intended length, causing issues that need to be addressed.
The locking mechanism is typically located near the end of the tape measure, where the tape is extended from the case. It consists of a small lever or button that, when engaged, prevents the tape from retracting. When the user wants to lock the tape in place, they simply press the lever or button, which engages a small mechanism inside the case.
Inside the case, there is a small metal or plastic piece that is designed to hold the tape in place. When the lever or button is pressed, this piece moves into position and locks the tape in place. This ensures that the tape remains extended until the user manually releases the lock.
The locking mechanism is designed to be easy to engage and disengage, allowing the user to quickly lock and unlock the tape as needed. It is important for the locking mechanism to be reliable and secure, as any failure in the mechanism can result in inaccurate measurements or potential safety hazards.
Some tape measures also feature additional locking mechanisms, such as a friction brake or a magnetic lock. These mechanisms provide extra stability and security when measuring on vertical or overhead surfaces, ensuring that the tape remains in place even when there is no tension on the tape itself.
In conclusion, the internal spring mechanism and the locking mechanism are two essential components of a tape measure. The internal spring allows for smooth retraction of the tape, while the locking mechanism ensures that the tape remains extended until manually released. Understanding these mechanisms helps users appreciate the engineering and design that goes into creating a reliable and accurate tape measure.
Common Issues with Tape Measures
Tape measures can experience a variety of issues, especially when they are pulled out too far. Here are some common problems:
Overextension Problems
When a tape measure is extended beyond its designed length, it can lead to issues. The tape may become loose, making accurate measurements difficult. Additionally, the internal spring may lose tension, resulting in a faulty retracting mechanism.
Overextension can occur due to various reasons. One common cause is when users forcefully pull the tape measure without considering its limitations. This can put unnecessary strain on the tape, causing it to stretch or even snap in extreme cases. Another factor that contributes to overextension is improper storage. If the tape measure is not properly coiled and secured after use, it can become tangled or twisted, leading to problems when extending or retracting the tape.
It is important to note that overextension not only affects the accuracy of measurements but also compromises the overall durability of the tape measure. When the tape becomes loose or stretched, it may not provide consistent results, making it unreliable for precise tasks. Therefore, it is crucial to handle tape measures with care and be mindful of their limitations.
Locking Mechanism Failures
If the locking mechanism fails, the tape measure will not stay in place when extended. This can be frustrating, as it requires constant manual effort to hold the tape in position. Addressing the locking mechanism is crucial to restore the functionality of the tape measure.
The locking mechanism is an essential component of a tape measure, responsible for keeping the tape extended at a desired length. However, it is susceptible to wear and tear over time, especially if the tape measure is frequently used or subjected to harsh conditions. Common issues with the locking mechanism include jamming, failure to engage, or unintentional release of the tape.
To prevent locking mechanism failures, regular maintenance is necessary. This includes cleaning the mechanism to remove any debris or dirt that may hinder its proper functioning. Lubrication of the moving parts can also help ensure smooth operation. In some cases, the locking mechanism may need to be replaced if it is severely damaged or worn out.
It is worth noting that tape measure manufacturers are continuously improving the design and functionality of their products to address common issues such as locking mechanism failures. Some modern tape measures feature advanced locking mechanisms that provide enhanced durability and reliability. However, it is still important to handle the tape measure with care and avoid excessive force when extending or retracting the tape to minimize the risk of locking mechanism failures.
Tools Needed for Tape Measure Repair
Before attempting to fix a tape measure that has been pulled out too far, gather the necessary tools. Here is a list of essential tools:
- Small screwdrivers (both flathead and Phillips-head)
- Needle-nose pliers
- Lubricant (such as silicone spray)
- Replacement parts (if needed)
In addition to these tools, it is important to have safety equipment for your repair endeavor. Remember to wear safety goggles and, if applicable, gloves to protect yourself from any potential hazards.
Now that you have gathered the necessary tools and safety equipment, let’s delve into the process of tape measure repair. It is essential to understand the inner workings of a tape measure before attempting any repairs. A tape measure consists of a coiled metal strip, a locking mechanism, and a retracting spring. When the tape measure is pulled out too far, the spring can become dislodged or damaged, causing the tape to no longer retract properly.
Begin by carefully examining the tape measure to identify any visible damage or loose parts. Use your small screwdrivers to remove the screws holding the casing together. Take caution not to lose any screws during this process. Once the casing is opened, you will have a clearer view of the internal components.
If you notice any loose or disconnected parts, use your needle-nose pliers to reattach them securely. It is important to handle the delicate components with care to avoid causing further damage. In some cases, you may need to replace certain parts that are beyond repair. This is where having replacement parts on hand becomes crucial.
Before reassembling the tape measure, it is recommended to lubricate the internal components with silicone spray or a similar lubricant. Apply a small amount of lubricant to the coiled metal strip and the retracting spring. This will help ensure smooth and effortless retraction of the tape measure.
Once you have completed the necessary repairs and lubrication, carefully reassemble the casing, making sure all screws are tightened securely. Double-check that all components are in their proper place and functioning correctly. This step is crucial to ensure the tape measure’s longevity and accuracy.
After reassembling the tape measure, give it a test run. Pull the tape out and check if it retracts smoothly and locks in place when needed. If everything is working as expected, congratulations! You have successfully repaired your tape measure.
Remember, tape measure repair requires patience, attention to detail, and the right tools. It is essential to follow safety precautions and take your time during the repair process. With proper care and maintenance, your tape measure can continue to serve you reliably for years to come.
Step-by-Step Guide to Fixing an Overextended Tape Measure
Preparing Your Work Area
Before you begin fixing the tape measure, find a clean, well-lit area to work in. Using a clean workspace will help prevent small parts from getting lost and ensure that you have enough room to handle the repair process comfortably.
Disassembling the Tape Measure
To access the internal components of the tape measure, carefully remove the screws that hold the case together using the appropriate screwdrivers. Take note of the screw sizes, as they may vary depending on the tape measure model.
Adjusting the Spring Mechanism
Inspect the spring mechanism for any damage or signs of wear. If necessary, lubricate the spring with silicone spray to restore its tension. Additionally, realign any components that may have shifted during the overextension process. Ensure that the spring is tightly wound and functions smoothly.
Reassembling the Tape Measure
Once you have successfully adjusted the spring mechanism, carefully reassemble the tape measure. Place the components back in their respective positions and secure the case by tightening the screws. Be cautious not to overtighten, as it may cause damage to the case or strip the threads.
Troubleshooting Other Tape Measure Problems
Dealing with a Stuck Lock Mechanism
If your tape measure has a sticking or malfunctioning lock mechanism, try cleaning it with a cloth and a small amount of rubbing alcohol. Gently wipe away any dirt or debris that may be causing the issue. If cleaning does not resolve the problem, consider replacing the locking mechanism following the manufacturer’s instructions.
Fixing a Bent or Twisted Tape
If your tape measure has a bent or twisted tape, carefully straighten it using your hands. Apply even pressure along the length of the tape to avoid any further damage. If the bend or twist is severe, you may need to replace the tape entirely. Consult the manufacturer’s guidelines for tape replacement instructions.
Now that you have a comprehensive guide to fixing a tape measure that has been pulled out too far, you can confidently address any issues that may arise. Remember to take proper safety precautions, gather the necessary tools, and approach the repair process patiently. By following these steps, you’ll have your tape measure functioning like new again in no time.