Spray cans are a popular and convenient tool for a variety of tasks, from painting to lubricating. However, there may come a time when the nozzle of your trusty spray can gets clogged or damaged. Rather than tossing it aside and buying a new one, why not learn how to fix it yourself? In this article, we will guide you through the process of fixing a spray can nozzle, ensuring that you can continue using your spray can effectively and efficiently.
Understanding the Mechanics of a Spray Can Nozzle
Before diving into the repair process, it’s important to have a basic understanding of how spray can nozzles work. The nozzle is a crucial component that controls the flow and dispersion of the substance inside the can.
When you press down on the nozzle, it acts as a valve, allowing the substance to be released from the can. The nozzle is designed to create a fine mist or spray, ensuring an even distribution of the substance onto the desired surface.
The nozzle is equipped with a small opening or orifice, which plays a vital role in determining the size and shape of the spray pattern. The size of the orifice can vary depending on the intended use of the spray can. For example, a nozzle with a smaller orifice may be used for precise applications, while a nozzle with a larger orifice may be used for broader coverage.
The Role of the Nozzle in Spray Cans
The nozzle not only controls the release of the substance, but it also helps to create the desired spray pattern. By adjusting the angle and distance at which you hold the can, you can further manipulate the spray pattern to suit your needs.
Additionally, some spray can nozzles come with adjustable settings, allowing you to change the flow rate or the width of the spray pattern. This versatility can be particularly useful when working on different projects that require varying levels of precision and coverage.
Common Issues with Spray Can Nozzles
While spray can nozzles are designed to be reliable, there are some common issues you may encounter during their use.
Clogging is one of the most prevalent problems with spray can nozzles. Over time, residue from the substance being sprayed can accumulate in the orifice, obstructing the flow and resulting in an uneven spray pattern or a complete lack of spray. This can be especially frustrating when you’re in the middle of a project and the nozzle suddenly stops working.
Improper storage can also contribute to nozzle issues. If a spray can is not stored upright or if the cap is not securely fastened, the substance inside the can may leak and dry around the nozzle, leading to clogs or other performance problems.
Extreme temperatures can also affect the functionality of spray can nozzles. Freezing temperatures, for example, can cause the substance inside the can to thicken or solidify, making it difficult for the nozzle to dispense the spray effectively.
Furthermore, debris such as dust or dirt can find its way into the nozzle, impairing its performance. This can happen if the spray can is stored in a dusty environment or if it is used in areas where there is a high concentration of airborne particles.
Regular maintenance and proper care can help prevent these issues and ensure that your spray can nozzle continues to work smoothly. Cleaning the nozzle regularly, storing the can upright and in a cool, dry place, and avoiding exposure to extreme temperatures are some simple steps you can take to prolong the life of your spray can nozzle.
Safety Measures Before Starting the Repair
Before you begin repairing your spray can nozzle, it’s essential to prioritize safety. Here are a few safety measures you should consider:
Necessary Protective Gear
When it comes to repairing a spray can nozzle, taking the necessary precautions is crucial. To protect yourself from any potential harm, make sure to wear the appropriate protective gear. Start by putting on a pair of sturdy gloves that will shield your hands from any chemicals or sharp edges. Safety goggles are also a must-have item to protect your eyes from any debris or splatters that may occur during the repair process. Lastly, don’t forget to wear a mask to safeguard your respiratory system from inhaling any harmful fumes that may be emitted from the spray can.
Furthermore, it’s important to consider the environment in which you’ll be working. Ensure that you are in a well-ventilated area to minimize the risk of inhaling any toxic substances. Adequate ventilation will help dissipate any fumes or vapors that may be released during the repair process, keeping you safe and healthy.
Preparing Your Work Area
Before you dive into repairing your spray can nozzle, it’s essential to create a conducive work area. Start by clearing your workspace of any flammable materials or objects that may pose a fire hazard. Removing any potential sources of ignition will greatly reduce the risk of accidents or mishaps.
Additionally, it’s a good idea to lay down a protective sheet or newspaper to catch any spills or overspray that may occur during the repair process. This will not only help keep your work area clean but also prevent any damage to the surrounding surfaces. By taking this simple step, you can avoid any unnecessary mess and make your cleanup process much easier.
Remember, a well-prepared work area is essential for a smooth and safe repair process. By following these safety measures, you can minimize the risk of accidents and ensure a successful outcome for your spray can nozzle repair.
Tools Needed for Spray Can Nozzle Repair
Now that you have taken the necessary safety precautions, let’s move on to the tools you will need for the repair:
Everyday Household Items
For basic nozzle repairs, you may only need some warm water, mild detergent, a small brush or toothpick for cleaning purposes, and a clean cloth or paper towel.
When it comes to warm water, it is important to use water that is not too hot or too cold. Lukewarm water is ideal as it helps to loosen any dried paint or debris inside the nozzle without causing any damage to the spray can or its components.
As for mild detergent, you can use dish soap or any other gentle cleaning agent that does not contain harsh chemicals. This will ensure that the nozzle is thoroughly cleaned without causing any corrosion or damage.
A small brush or toothpick can be used to carefully remove any paint or residue that may be blocking the nozzle. Be gentle when using these tools to avoid damaging the delicate parts of the spray can.
Lastly, a clean cloth or paper towel is essential for drying the nozzle after cleaning. This will prevent any moisture from causing further clogs or issues when you start using the spray can again.
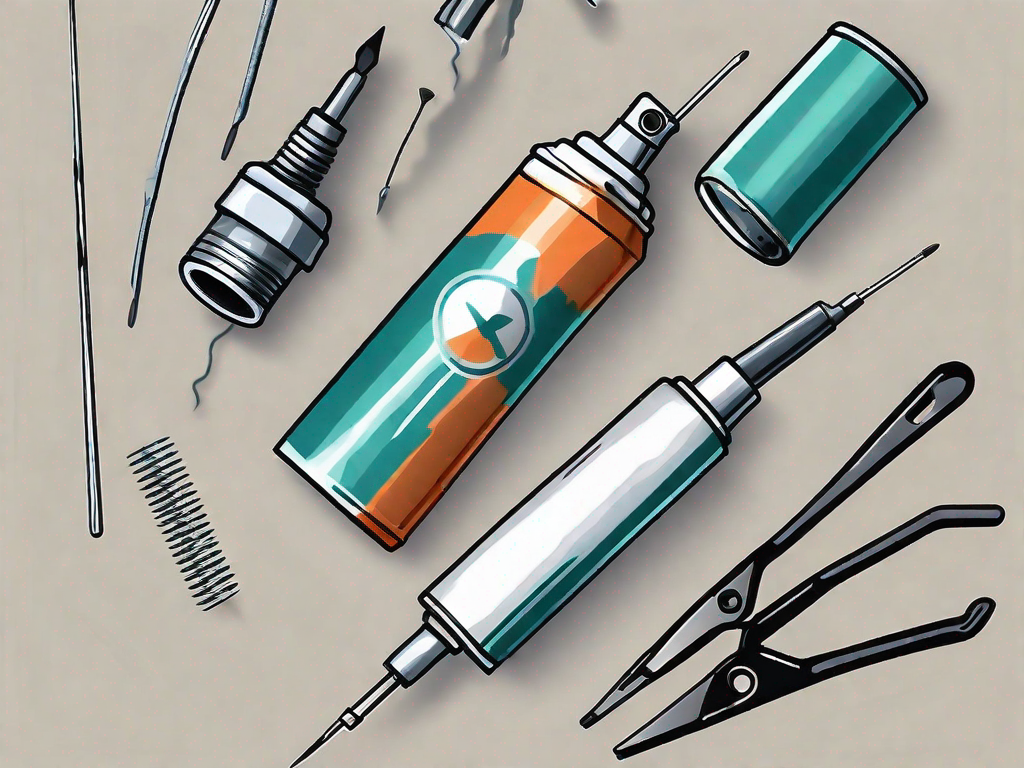
Specialized Tools for Nozzle Repair
In more complex cases, you may require specialized tools such as a needle or pin, a thin wire, or a nozzle cleaning kit. These tools can help you dislodge stubborn clogs or clear any blockages in the nozzle.
A needle or pin can be used to carefully poke through any hardened paint or debris that is causing a blockage. By gently inserting the needle or pin into the nozzle and moving it around, you can break up the clog and restore proper functionality.
A thin wire, such as a guitar string or a piece of floral wire, can also be effective in clearing stubborn clogs. By carefully inserting the wire into the nozzle and gently maneuvering it back and forth, you can dislodge any debris or paint that is obstructing the flow of paint.
If you want a more comprehensive solution, a nozzle cleaning kit can be a valuable investment. These kits typically include a variety of tools specifically designed for nozzle repair, such as different-sized needles, brushes, and cleaning solutions. With a cleaning kit, you can tackle even the most challenging nozzle issues with confidence.
Remember to always follow the manufacturer’s instructions when using specialized tools or cleaning kits to ensure safe and effective repairs.
Step-by-Step Guide to Fixing a Spray Can Nozzle
With the necessary tools at your disposal, let’s walk through the step-by-step process of fixing a spray can nozzle:
Initial Assessment of the Nozzle
Inspect the nozzle for visible signs of damage, such as cracks or breakages. If the nozzle appears to be in good condition, the issue is likely a clog that needs to be addressed.
Before diving into the cleaning process, it’s important to understand the importance of a properly functioning spray can nozzle. A clogged or damaged nozzle can hinder the performance of the spray can, affecting the spray pattern and overall effectiveness. By taking the time to fix the nozzle, you can ensure a smooth and efficient spraying experience.
Cleaning the Nozzle
Begin by removing the nozzle from the spray can. Soak it in warm water mixed with a mild detergent for a few minutes. This will help loosen any stubborn residue or debris that may be causing the clog. While the nozzle is soaking, take a moment to appreciate the intricate design and engineering that goes into creating such a small yet crucial component of a spray can.
Once the soaking time is complete, gently scrub the nozzle with a small brush or toothpick to remove any remaining residue or debris. Pay close attention to the tiny openings and crevices of the nozzle, ensuring that every part is thoroughly cleaned. This meticulous cleaning process will help restore the nozzle to its optimal functionality.
Rinse the nozzle thoroughly under running water to remove any traces of detergent or loosened debris. Take a moment to marvel at the transformation of the once clogged and dirty nozzle into a clean and pristine state. Pat the nozzle dry with a clean cloth or paper towel before reattaching it to the can.
Unclogging the Nozzle
If cleaning the nozzle doesn’t resolve the issue, it may be clogged more stubbornly. In this case, you can try using a needle or pin to gently unclog the opening. Carefully insert the needle or pin into the nozzle and maneuver it around to dislodge any stubborn blockages. Be patient and gentle during this process to avoid causing any damage to the delicate components of the nozzle.
Alternatively, a thin wire can be inserted into the nozzle to dislodge any blockages. This method requires precision and caution to ensure that the wire does not damage the nozzle or push the clog further into the spray can. Take a moment to appreciate the ingenuity of these troubleshooting techniques, which allow you to restore the functionality of the nozzle without having to replace the entire spray can.
Reassembling the Nozzle
Once you have successfully cleaned or unclogged the nozzle, it’s time to reattach it to the spray can. Carefully align the nozzle with the opening on the can and ensure it is securely fitted. A loose or improperly attached nozzle can lead to leaks or malfunction, so take your time to ensure a proper seal.
As you reassemble the nozzle, take a moment to reflect on the satisfaction that comes from troubleshooting and fixing a problem on your own. By following this step-by-step guide, you have successfully restored the functionality of the spray can nozzle, allowing you to continue using it for various projects and tasks.
Remember, regular maintenance and cleaning of the nozzle can help prevent future clogs and issues. By incorporating these steps into your spray can maintenance routine, you can prolong the lifespan of the nozzle and ensure optimal performance every time you use it.
Troubleshooting Persistent Nozzle Problems
In some cases, despite your best efforts, the nozzle may still exhibit problems. Here are a couple of troubleshooting options:
When to Seek Professional Help
If you have followed all the repair steps and the nozzle is still not functioning correctly, it may be time to seek professional assistance. A professional can assess the extent of the damage and recommend the best course of action.
Alternatives to Repairing a Nozzle
If repairing the nozzle is not feasible, or if you do not possess the necessary tools or expertise, you can explore other options. One alternative is to purchase a replacement nozzle or an entirely new spray can, depending on the cost and availability.
With this comprehensive guide, you can confidently tackle spray can nozzle repair on your own. By understanding the mechanics, taking safety measures, and using the right tools, you’ll be able to fix common issues and extend the life of your spray cans. Remember, practice makes perfect, so don’t be discouraged if your first attempt isn’t flawless. Happy repairing!