Spray can nozzles are essential for achieving a smooth and even coat of paint or other materials. However, these nozzles can become clogged, broken, or experience inconsistent spraying over time. Knowing how to fix a spray can nozzle is a valuable skill that can save you money and frustration.
In this step-by-step guide, we will walk you through the process of repairing a spray can nozzle, from understanding its mechanism to identifying common issues and gathering the necessary tools.
Understanding the Mechanism of a Spray Can Nozzle
Before we dive into the repair process, it’s helpful to have a basic understanding of how a spray can nozzle works. A spray can nozzle consists of several components that work together to deliver a fine mist. These components include:
Components of a Spray Can Nozzle
The main components of a spray can nozzle are the valve, nozzle body, dip tube, and actuator. The valve controls the flow of paint or other materials, while the nozzle body disperses the mist. The dip tube delivers the material from the can to the valve, and the actuator is the button or trigger that activates the spray.
The valve is a crucial part of the spray can nozzle mechanism. It is responsible for regulating the flow of the material from the can. The valve is designed to open and close smoothly, ensuring a consistent and controlled spray. It is typically made of durable materials such as plastic or metal, ensuring longevity and reliability.
The nozzle body is another important component of the spray can nozzle. It is responsible for dispersing the material in the form of a fine mist. The nozzle body is designed to create a specific spray pattern, depending on the application requirements. It can be adjusted to deliver a narrow or wide spray, allowing for precise control over the coverage area.
The dip tube plays a crucial role in delivering the material from the can to the valve. It is a long tube that extends from the bottom of the can to the valve. When the actuator is pressed, it creates pressure inside the can, forcing the material up through the dip tube and into the valve. The dip tube is typically made of flexible plastic, allowing it to bend and reach the bottom of the can, ensuring that no material is wasted.
The actuator is the button or trigger that activates the spray. When pressed, it opens the valve, allowing the material to flow through the dip tube and out of the nozzle body. The actuator is designed to be ergonomic and easy to use, ensuring a comfortable spraying experience. It is typically made of durable plastic or metal, ensuring durability and longevity.
How a Spray Can Nozzle Works
When you press the actuator, the valve opens, allowing the material to flow from the can through the dip tube and out of the nozzle body. The material then atomizes into a mist as it passes through the nozzle body, providing a smooth and even application.
As the material flows through the dip tube, it is under pressure. This pressure is created by the actuator, which compresses the air inside the can, forcing the material to move towards the valve. The pressure inside the can ensures a consistent flow of material, allowing for a continuous spray.
Once the material reaches the valve, it is released through the nozzle body. The nozzle body is designed to create turbulence and break the material into tiny droplets. This process is known as atomization. The size of the droplets can be adjusted by changing the nozzle size or adjusting the pressure inside the can. Finer droplets create a finer mist, while larger droplets create a heavier spray.
The atomized material then exits the nozzle body in the form of a mist. This mist provides a smooth and even application, ensuring that the material covers the desired surface evenly. The mist can be directed by adjusting the angle of the nozzle body, allowing for precise control over the spray pattern.
In summary, a spray can nozzle is a complex mechanism that involves the interaction of several components. The valve controls the flow of material, the nozzle body disperses the mist, the dip tube delivers the material, and the actuator activates the spray. Understanding how these components work together can help in troubleshooting and repairing spray can nozzles.
Identifying Common Issues with Spray Can Nozzles
Now that you understand how a spray can nozzle functions, let’s explore some common issues you may encounter:
Blocked Nozzle
A blocked nozzle is a common problem that occurs when paint or debris clogs the small openings of the nozzle. This can lead to uneven spray patterns or no spray at all.
One of the main causes of a blocked nozzle is using low-quality or expired paint. Over time, the paint can thicken or develop clumps, which can easily clog the nozzle. It is important to always check the expiration date of your paint and use high-quality products to prevent this issue.
Another factor that can contribute to a blocked nozzle is improper storage of the spray can. If the can is not stored upright or if it is exposed to extreme temperatures, the paint can dry and harden inside the nozzle, obstructing the flow of the material. To avoid this, make sure to store your spray cans in a cool, dry place and always keep them upright.
Broken Nozzle
A broken nozzle can occur if the nozzle body or actuator becomes damaged. This can result in leaks, inconsistent spray patterns, or complete failure to dispense the material.
One common cause of a broken nozzle is excessive force applied to the actuator. If you press too hard or use abrupt movements while spraying, it can put strain on the nozzle, causing it to break. It is important to use a gentle and controlled motion when operating the spray can to avoid this issue.
Another factor that can contribute to a broken nozzle is using the wrong type of nozzle for the material being sprayed. Different materials require different nozzle sizes and designs. Using the wrong nozzle can put unnecessary stress on the nozzle body, leading to breakage. Always make sure to use the appropriate nozzle for the material you are spraying.
Inconsistent Spray
Inconsistent spraying can happen if the valve or nozzle body is damaged or worn out. This can lead to splatters, sputtering, or an uneven application of the material.
One possible cause of inconsistent spray is a worn-out valve. Over time, the valve mechanism can become worn or damaged, affecting the flow of the material. Regular maintenance and cleaning of the valve can help prevent this issue and ensure a consistent spray pattern.
Another factor that can contribute to inconsistent spray is using a nozzle that is not properly aligned with the valve. If the nozzle is not aligned correctly, it can disrupt the flow of the material, resulting in an uneven application. Always double-check the alignment of the nozzle before spraying to avoid this problem.
Additionally, using a nozzle that is too worn or damaged can also cause inconsistent spray. The small openings in the nozzle can wear out over time, affecting the spray pattern. It is important to regularly inspect and replace worn-out nozzles to maintain a consistent and even spray.
Gathering the Necessary Tools for Repair
Before you begin the repair process, it’s essential to gather the necessary tools. Having the right tools at hand will not only make the repair easier but also ensure that you can tackle any complexity that may arise. Depending on the specific issue you are facing, you may need a combination of household items and specialized tools.
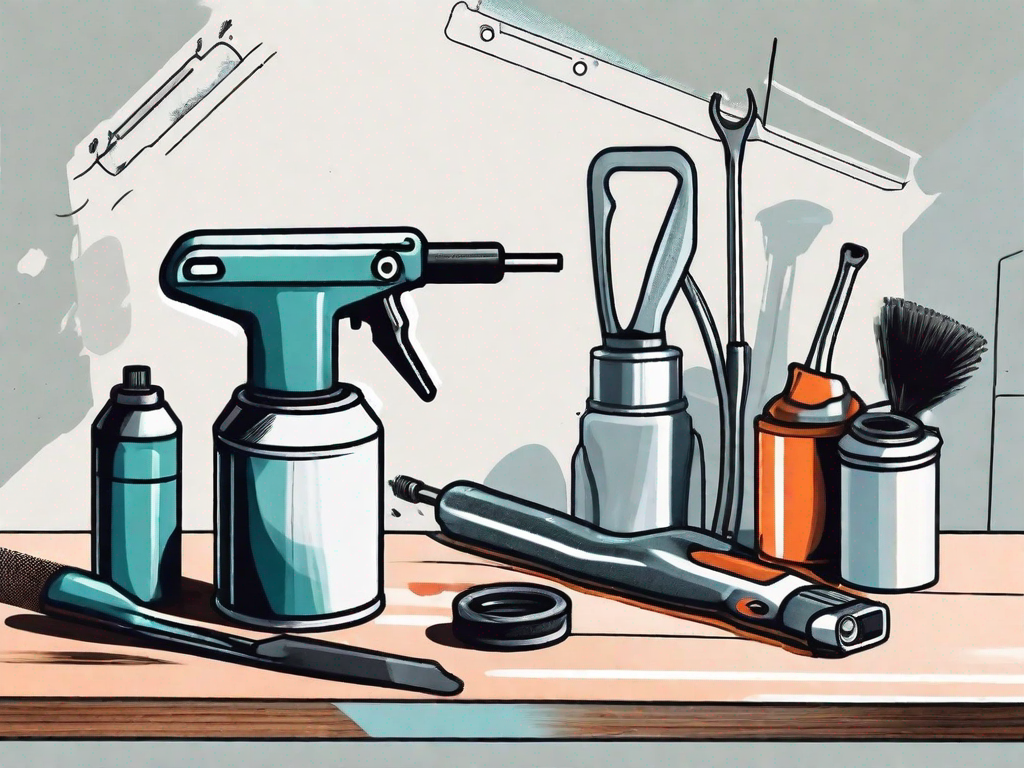
Household Items You Can Use
If you are dealing with a simple blockage, you may only need a pin or needle to clear the nozzle. These items are readily available in most households, making them convenient options for quick fixes. By carefully inserting the pin or needle into the nozzle, you can dislodge any debris or clogs that may be obstructing the flow of liquid. Additionally, a toothbrush or a small brush can also be useful for cleaning the nozzle body. Gently scrubbing the nozzle with a toothbrush or small brush can help remove any stubborn residue or buildup.
Specialized Tools for More Complex Issues
For more complex issues like a broken nozzle or a valve problem, relying on household items may not be sufficient. In such cases, specialized tools come to the rescue. One of the most commonly required tools is a nozzle replacement kit. This kit usually includes all the necessary components to replace a damaged or malfunctioning nozzle effectively. Alongside the kit, you may also need pliers or a wrench to loosen and tighten various parts during the repair process. These tools provide the necessary leverage and grip to handle tight or stubborn connections.
When it comes to acquiring specialized tools, hardware or automotive stores are your best bet. These stores typically have a wide range of tools specifically designed for various repair tasks. Whether you need a nozzle replacement kit, pliers, or a wrench, you can find them easily in these stores. It’s important to choose tools that are of good quality and suitable for the specific repair you are undertaking. Investing in reliable tools ensures that you can complete the repair effectively and avoid any further complications.
Remember, having the right tools is crucial when it comes to repair work. By gathering the necessary tools beforehand, you can save time and effort during the repair process. Whether you are using household items or specialized tools, make sure to handle them with care and follow proper safety precautions. With the right tools and a little bit of know-how, you’ll be well-equipped to tackle any repair challenge that comes your way.
Safety Precautions Before Starting the Repair
Before diving into the repair process, it’s important to take some safety precautions to protect yourself and your surroundings:
Handling the Spray Can Safely
Always handle spray cans with care. Keep them away from heat sources, open flames, or direct sunlight. Additionally, store them in a well-ventilated area away from children or pets.
Protective Gear to Use
When working with spray can nozzles, it’s wise to wear safety goggles, gloves, and a face mask to protect yourself from any potential splatters or harmful fumes. Proper ventilation is also crucial.
Step-by-Step Guide to Fixing a Blocked Nozzle
Let’s start with one of the most common issues: a blocked nozzle. Follow these steps to unclog your spray can nozzle:
Removing the Nozzle
First, remove the nozzle from the valve by twisting it counterclockwise. Be gentle while doing this to avoid breaking the nozzle or damaging the valve.
Cleaning the Nozzle
Once the nozzle is removed, soak it in warm water or a cleaning solution for a few minutes to loosen any dried paint or debris. Then, use a pin or needle to clear the small openings of the nozzle. Alternatively, you can use a toothbrush to scrub away any stubborn residue. Rinse the nozzle thoroughly and let it dry completely before reattaching it.
Reattaching the Nozzle
Carefully screw the cleaned nozzle back onto the valve by twisting it clockwise. Ensure it is securely fastened but avoid tightening it excessively to prevent damage. Your spray can nozzle should now be unclogged and ready for use.
By following this step-by-step guide, you can easily fix a blocked spray can nozzle and get back to your painting or other spraying projects. Remember to take necessary safety precautions and use the appropriate tools for each repair situation. With a little know-how and some simple maintenance, you can extend the life of your spray can nozzles and achieve optimal spray performance.