Have you ever wondered how to fix a slap band? Slap bands are popular accessories that can be worn on the wrist, arm, or ankle. They consist of a flat metal or plastic strip encased in fabric, which curls around the wearer’s limb when slapped against it. Over time, slap bands may encounter issues such as broken ends, damaged bands, or ineffective snapping mechanisms. But fear not! In this step-by-step guide, we will walk you through the process of fixing a slap band, allowing you to extend its lifespan and continue enjoying its unique snapping sensation.
Understanding the Mechanics of a Slap Band
Before we dive into the repair process, let’s take a moment to understand the mechanics of a slap band. The science behind the snap is fascinating! Slap bands work based on a simple principle: when the band is straightened and then slapped against a surface, the flat strip naturally curls due to its inherent tension. This curling action is what allows the band to quickly and securely wrap around the wearer’s limb. Now that we have a grasp of the science, let’s explore the components that make up a slap band.
The Science Behind the Snap
As mentioned earlier, the snap of a slap band is a result of the flat strip’s tension. When the band is straightened, it has stored energy that is released upon impact. This energy causes the band to curl, creating the snapping action that we are familiar with. Fascinating, isn’t it?
Imagine the band as a coiled spring, ready to unleash its potential with a simple slap. The tension within the strip builds up as it is straightened, like a tightly wound spring waiting to be released. When the band makes contact with a surface, the stored energy is suddenly unleashed, causing the strip to curl inwards. This rapid curling action is what gives slap bands their unique and satisfying snap.
Scientists have studied the mechanics of slap bands to understand the physics behind the snap. They have discovered that the tension in the strip is due to the material’s elasticity. The flat strip is made from materials that have the ability to stretch and return to their original shape. This elasticity allows the strip to hold its tension when straightened and then release it when slapped, resulting in the curling motion.
Components of a Slap Band
A slap band consists of three main components: the flat metal or plastic strip, an outer fabric covering, and an inner mechanism that allows the band to curl. Each component plays a crucial role in the functionality and durability of the slap band.
The metal or plastic strip serves as the core of the slap band, providing rigidity and structure. It is typically made from a flexible material that can withstand repeated slapping without losing its shape. The strip is carefully designed to have just the right amount of tension, ensuring that it curls effectively when slapped.
The outer fabric covering not only adds a touch of style but also offers protection to the core strip. This fabric layer shields the strip from external elements such as moisture, dirt, and wear. It also provides a comfortable and soft surface for the wearer’s skin, preventing any discomfort or irritation.
The inner mechanism is responsible for the band’s snapping action, enabling it to curl when slapped against a surface. This mechanism is usually a combination of springs and hinges that work together to create the desired snap. When the band is straightened, the inner mechanism stores the energy needed for the curling motion. Upon impact, the mechanism releases this energy, causing the strip to curl and wrap around the wearer’s limb.
Now that we have explored the mechanics and components of a slap band, let’s move on to identifying common issues that may require repair.
Identifying Common Slap Band Issues
Like any accessory, slap bands are not immune to wear and tear. We can encounter various issues that require attention and repair. Let’s take a look at some common problems you may encounter with your slap band.
Broken or Loose Ends
One of the most common issues with slap bands is broken or loose ends. Over time, the ends of the band may become unglued or detached from the core strip, making the band ineffective or uncomfortable to wear. Identifying this issue is crucial as it significantly affects the band’s functionality.
When the ends of a slap band are broken or loose, it can cause the band to lose its ability to curl and snap onto your wrist. This can be frustrating, especially if you rely on the band to keep track of time or as a fashion statement. Additionally, loose ends can pose a safety hazard, as they may accidentally slap against your skin or get caught on objects.
To address this issue, you may need to reattach the ends of the band using strong adhesive or seek professional repair services. It’s important to choose a reliable adhesive that can withstand the pressure and movement of the band. Taking proper care of your slap band and avoiding excessive force can help prevent this issue from occurring.
Damage or Worn Out Band
Another problem you may encounter is a damaged or worn-out band. Continuous use, exposure to the elements, or accidents can cause tears, fraying, or weakening of the band itself. These issues compromise the band’s durability and may lead to further damage if not addressed promptly.
When a slap band is damaged or worn out, it not only affects its appearance but also its functionality. A torn or frayed band may not snap onto your wrist properly, making it difficult to wear or causing it to fall off easily. Additionally, a weakened band is more susceptible to further damage, such as complete breakage or stretching beyond repair.
To prevent and address this issue, it’s essential to handle your slap band with care. Avoid exposing it to harsh conditions, such as extreme temperatures or excessive moisture. If you notice any signs of damage, such as tears or fraying, it’s best to replace the band or seek professional repair services. Regularly inspecting your slap band and addressing any signs of wear and tear can help prolong its lifespan.
Ineffective Snapping Mechanism
The snapping mechanism of a slap band is vital for its proper functioning. However, it is not uncommon for this mechanism to become ineffective over time, resulting in a lack of curling action or insufficient tension. This issue often stems from damage to the inner mechanism or the loss of necessary components.
When the snapping mechanism of a slap band is ineffective, it can make wearing the band frustrating and inconvenient. The band may not curl properly around your wrist, causing it to slip off easily or feel loose. Insufficient tension can also make the band less secure, increasing the risk of it accidentally coming undone.
To address this issue, you may need to examine the inner mechanism of the slap band. Look for any signs of damage, such as broken or missing components. If you’re comfortable doing so, you can attempt to repair or replace the damaged parts. However, it’s recommended to seek professional repair services to ensure the mechanism is fixed correctly.
Regular maintenance and proper storage of your slap band can help prevent this issue. Avoid exposing the band to excessive force or bending it in ways that may damage the snapping mechanism. Storing the band in a cool and dry place when not in use can also help maintain its functionality.
Gathering Necessary Repair Tools
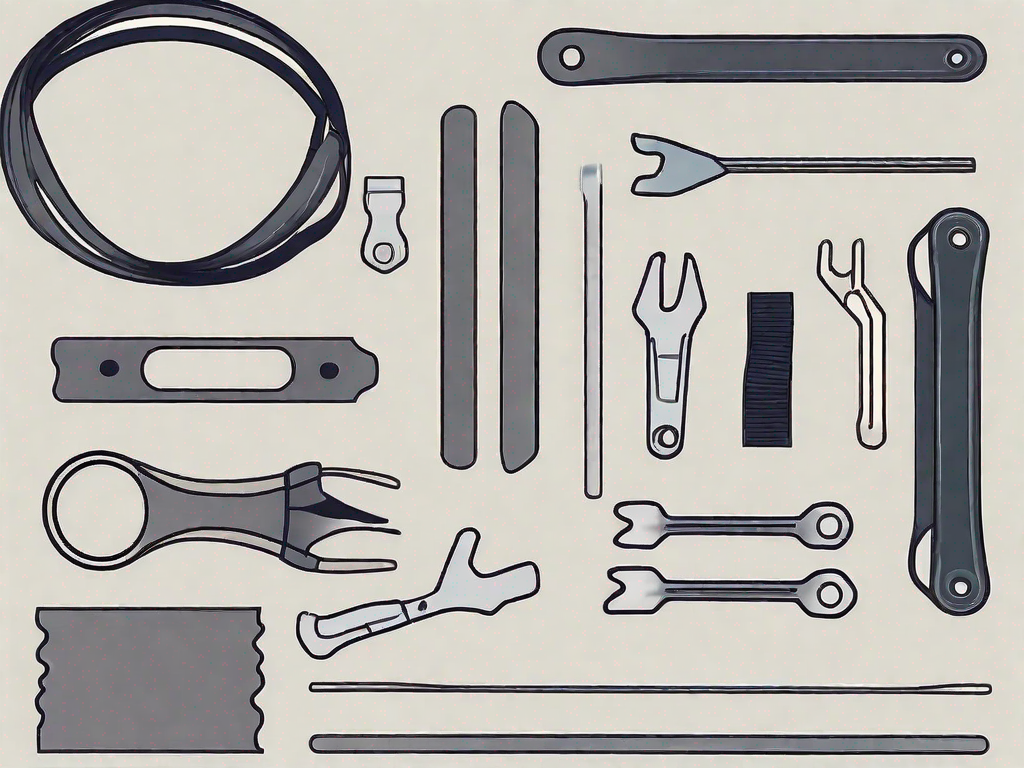
Now that we have identified the common issues, let’s gather the necessary tools for the slap band repair process. Depending on the complexity of the problem, you may need basic household items or specialized tools for more intricate repairs.
Repairing a slap band can be a simple task, but it is important to have the right tools at hand. Whether you are dealing with a loose end, a minor tear, or a more complex issue that requires disassembling the band, having the appropriate tools will make the repair process smoother and more efficient.
Basic Household Items for Repair
If you are dealing with simple fixes like reattaching loose ends or minor tears, you will likely only need some standard household items. These may include scissors, glue, needle and thread, and perhaps a pair of pliers for added grip.
Scissors are essential for trimming any excess material and creating clean edges. Glue can be used to secure loose ends and hold the fabric in place. Needle and thread are useful for stitching any tears or reinforcing weak spots. And if you need to tighten or adjust any components, a pair of pliers can provide the necessary grip.
Specialized Tools for Complex Issues
For more complex issues that require disassembling the slap band, you might need specialized tools. These tools can include a small flathead screwdriver for prying open the band’s casing, replacement components specific to the inner mechanism, and a heat gun for reshaping the core strip if necessary. Having these tools at hand will enable you to tackle any repair challenge.
A small flathead screwdriver is essential for carefully prying open the casing of the slap band without causing any damage. This will allow you to access the inner mechanism and identify the root cause of the problem. If any components need to be replaced, having the appropriate replacements on hand will save you time and effort.
In some cases, the core strip of the slap band may lose its shape or become misaligned. In such situations, a heat gun can be used to reshape the strip and restore its original form. This tool emits a controlled stream of hot air that softens the material, making it easier to mold and reshape.
By having these specialized tools ready, you can confidently tackle more complex repairs and ensure that your slap band is restored to its full functionality.
Step-by-Step Repair Process
Now that we have all the necessary tools, it’s time to embark on the repair process. Let’s break it down into simple steps to ensure a successful fix.
Step 1: Preparing Your Work Area
Before diving into the repair, it’s essential to prepare your work area properly. Find a well-lit and clean space where you can comfortably work without any distractions. Lay down a soft cloth or mat to protect your slap band from any surface scratches.
Step 2: Disassembling the Slap Band
If your repair requires disassembling the slap band, now is the time to do it. Use a small flathead screwdriver to gently pry open the band’s casing, revealing the inner mechanism and core strip. Exercise caution to avoid damaging the band or injuring yourself.
Step 3: Performing the Repair
Now that we have accessed the inner mechanism, it’s time to perform the necessary repair based on the specific issue you have encountered. Whether it’s reattaching loose ends, mending tears, or replacing damaged components, follow the appropriate steps using the tools identified earlier.
Step 4: Reassembling the Slap Band
Once you have completed the required repairs, it’s time to put the slap band back together. Carefully reassemble the components, ensuring that they are aligned properly and securely. Double-check that the inner mechanism is functioning correctly and that the band snaps as intended.
With the repair process complete, you can now enjoy your fully functional slap band once again! Remember to handle the band with care and avoid excessive force or impact to prevent future issues. By following this step-by-step guide, you have learned how to fix a slap band and extend its lifespan, allowing you to continue enjoying the unique snapping sensation it provides. So go ahead, get snapping!