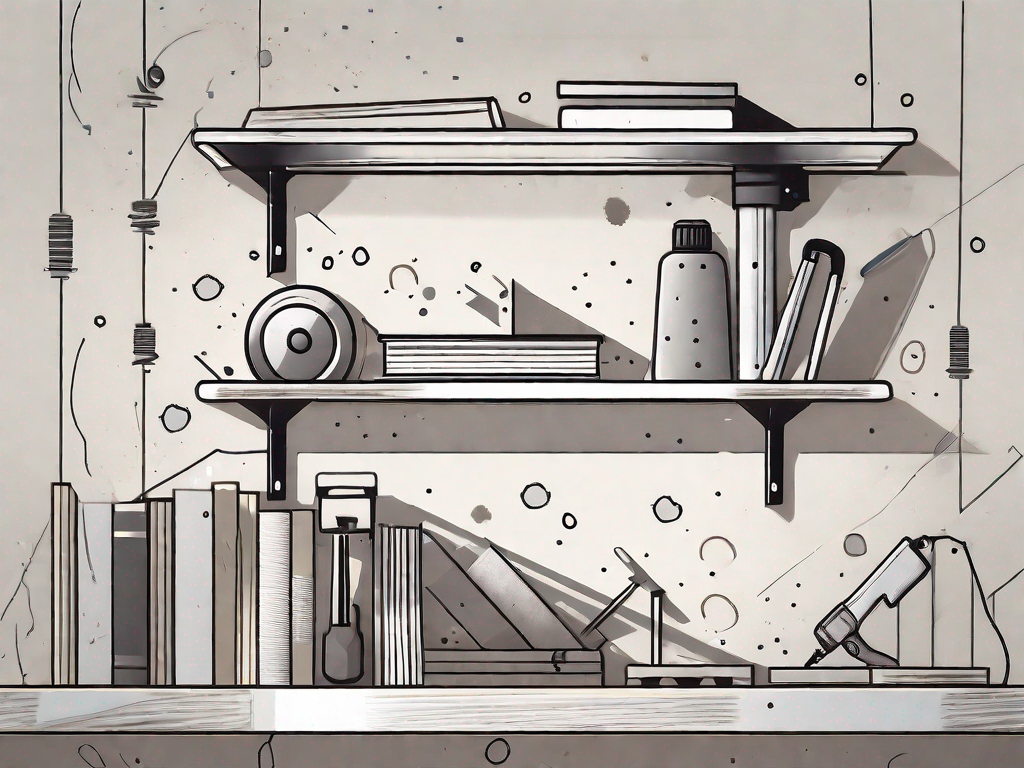
Has your shelf suddenly fallen out of the wall? Don’t panic! This common household problem can be easily fixed with a little bit of know-how and the right tools. In this guide, we will take you through the step-by-step process of fixing a shelf that has come loose from the wall. Whether it’s due to weak wall materials or improper installation, we’ve got you covered. So let’s get started!
Understanding Why Your Shelf Fell
Before we dive into the repair process, it’s important to understand why your shelf fell in the first place. By identifying the root cause, you can prevent similar issues from occurring in the future.
Identifying Weak Wall Materials
The type of wall material plays a crucial role in the stability of your shelves. Certain materials, such as drywall or plaster, may not provide enough support for heavy shelves or items. Identifying weak wall materials is the first step in assessing the problem.
When it comes to wall materials, it’s essential to consider their composition and strength. Drywall, for example, is a common material used in interior walls. While it is relatively easy to install, it may not be able to support heavy loads without additional reinforcement. On the other hand, plaster walls, although more durable, can also have their limitations when it comes to weight-bearing capacity.
Furthermore, the age and condition of the wall can also contribute to its strength. Over time, walls can deteriorate, especially if they have been exposed to moisture or have undergone significant structural changes. These factors can weaken the wall material, making it less reliable for supporting shelves.
By thoroughly examining the wall material and considering its limitations, you can determine whether it is suitable for your shelving needs. If you find that the wall material is not strong enough, you may need to explore alternative solutions, such as reinforcing the wall or using different mounting techniques.
Recognizing Improper Shelf Installation
Another common reason for shelves falling out is improper installation. Faulty mounting methods, such as using the wrong screws or not securing the shelf properly, can result in a shelf coming loose over time. Recognizing any installation errors will help you avoid them in the future.
When it comes to installing shelves, attention to detail is crucial. Even the smallest mistake can compromise the stability of the entire structure. One common error is using incorrect screws or fasteners that are not suitable for the type of wall material or shelf being installed. This can lead to a weak connection between the shelf and the wall, making it prone to failure.
Additionally, inadequate support and reinforcement during installation can also contribute to shelf failure. Failing to secure the shelf to the wall studs or using insufficient brackets can result in an unstable structure. Over time, the weight placed on the shelf can cause it to gradually detach from the wall, leading to a potential collapse.
Furthermore, it’s important to consider the weight distribution on the shelf. Unevenly distributed weight can put excessive strain on specific areas, causing the shelf to tilt or pull away from the wall. This can be particularly problematic if the shelf is not properly anchored or if the mounting hardware is not designed to handle such loads.
By recognizing these common installation errors, you can take the necessary precautions to ensure a secure and long-lasting shelf. This includes using appropriate hardware, following manufacturer guidelines, and seeking professional assistance if needed.
Gathering the Necessary Tools for Shelf Repair
Now that you understand why your shelf fell, it’s time to gather the tools you’ll need to fix it. Having the right tools on hand will make the repair process much smoother and more efficient.
When it comes to shelf repair, it’s important to have a well-stocked toolbox. You never know what challenges you may encounter along the way, so it’s best to be prepared. In addition to the basic tools mentioned earlier, there are a few other items that can come in handy during the repair process.
Essential Tools for Wall Repair
For repairing the wall, you’ll need a few key tools. These may include a hammer, a putty knife, drywall compound, sandpaper, and a paintbrush. These tools will help you clean up and patch any damage caused by the fallen shelf.
Let’s dive deeper into these tools and their specific uses. The hammer will be essential for removing any loose nails or screws from the wall. A putty knife will come in handy when applying the drywall compound to fill in any holes or cracks. Sandpaper will be necessary to smooth out the patched areas, ensuring a seamless finish. And finally, a paintbrush will allow you to apply a fresh coat of paint, blending the repaired section with the rest of the wall.
Must-Have Tools for Shelf Fixing
To reattach the shelf securely, you’ll need specific tools. These may include a drill, appropriate screws, a level, wall anchors, a screwdriver, and a stud finder. These tools will enable you to reinstall the shelf properly and ensure its stability.
Let’s take a closer look at these tools and their roles in the shelf repair process. A drill will be necessary to create pilot holes for the screws, ensuring a secure attachment to the wall. Choosing the appropriate screws is crucial, as they need to be strong enough to hold the weight of the shelf. A level will help you ensure that the shelf is installed straight and even. Wall anchors are essential if you’re attaching the shelf to drywall, providing extra support and preventing it from pulling away from the wall. A screwdriver will be needed to tighten the screws, ensuring a tight fit. And lastly, a stud finder will help you locate the wall studs, which are the most stable points for attaching the shelf.
By gathering these essential tools, you’ll be well-equipped to tackle the shelf repair with confidence. Remember to take your time and follow proper safety precautions throughout the process. With the right tools and a little bit of patience, you’ll have your shelf back up and functioning in no time!
Preparing the Wall for Shelf Reinstallation
Once you have gathered all the necessary tools, it’s time to prepare the wall for the shelf reinstallation. This involves cleaning and clearing the wall area, as well as repairing any wall damage caused by the fallen shelf.
Cleaning and Clearing the Wall Area
Start by removing any debris or remnants left behind by the fallen shelf. Carefully inspect the wall surface, paying close attention to any dust, dirt, or adhesive residue. Use a soft brush or vacuum cleaner to remove loose particles.
Next, prepare a mild detergent and water solution. Dip a clean sponge or cloth into the solution and gently scrub the wall surface. Make sure to cover the entire area where the shelf will be reinstalled. This step will not only remove any remaining dirt but also ensure proper adhesion between the wall and the shelf brackets.
After cleaning, rinse the wall with clean water to remove any soap residue. Use a clean cloth or sponge to wipe away excess water and allow the wall to air dry. It’s essential to have a clean and dry wall surface for optimal shelf installation.
Repairing Wall Damage
If the shelf came loose due to damaged or weakened sections of the wall, it’s crucial to repair the wall before reinstalling the shelf. Start by assessing the extent of the damage.
If there are any holes or cracks in the wall, use a putty knife to apply a layer of drywall compound. Gently press the compound into the damaged area, ensuring it fills the hole or crack completely. Smooth out the surface using the putty knife, removing any excess compound.
Allow the drywall compound to dry according to the manufacturer’s instructions. This typically takes around 24 hours, but it’s best to check the specific drying time mentioned on the product packaging. Once dry, lightly sand the repaired area using fine-grit sandpaper. This will create a smooth and even surface, ready for painting or wallpapering.
If the damage is more severe, such as large holes or extensive cracks, it may be necessary to use a patching kit or consult a professional for assistance. They will have the expertise to repair the wall effectively and ensure its structural integrity.
After completing the necessary repairs, inspect the wall once again to ensure it is in optimal condition for shelf reinstallation. Take the time to double-check the cleanliness and smoothness of the wall surface, as these factors play a vital role in the stability and aesthetics of the shelf.
By properly cleaning and repairing the wall, you are setting the foundation for a successful shelf reinstallation. This attention to detail will not only enhance the overall appearance of the shelf but also provide a secure and durable support for your belongings.
Reinstalling Your Shelf
With the wall prepared, it’s time to reinstall your shelf. This step involves choosing the right wall anchors and ensuring proper shelf placement and alignment.
Choosing the Right Wall Anchors
Wall anchors provide extra support and stability for your shelves. Consider the weight of your shelf and the type of wall material when selecting wall anchors. There are various types available, such as toggle bolts or plastic anchors, each suited for different wall materials.
Proper Shelf Placement and Alignment
Before drilling any holes, use a level to ensure your shelf will be perfectly aligned. Measure and mark the desired height and location for the shelf. Double-check the measurements to avoid any mistakes. Once you are satisfied with the placement, proceed with drilling pilot holes and attaching the wall anchors.
Ensuring Shelf Stability for the Future
Now that your shelf is securely reinstalled, it’s important to maintain its stability for the long term. Regular shelf maintenance and recognizing signs that your shelf may need attention will help you prevent any future mishaps.
Regular Shelf Maintenance Tips
Check your shelves periodically for any signs of wear, damage, or loosening. Tighten screws if needed and inspect the wall anchors for stability. Avoid placing excessively heavy items on the shelf to prevent strain on the wall and shelf itself.
Signs Your Shelf May Need Attention
If you notice any sagging, cracks, or movement in your shelf, it’s essential to address the issue promptly. Ignoring these signs may lead to a complete failure of the shelf and potential damage to your belongings. Take action as soon as possible to prevent further problems.
By following these steps, you’ll be able to fix a shelf that has fallen out of a wall. Remember to understand the issue, gather the necessary tools, prepare the wall, reinstall the shelf correctly, and ensure its stability for the future. With a little bit of effort, your shelves will be back in place, providing both functionality and aesthetic appeal to your living space.