In today’s modern vehicles, rear vision systems have become a common feature. These systems help drivers navigate safely by providing a clear view of the rear surroundings. However, like any other technological component, they can occasionally experience issues that require repair. In this article, we will walk you through the process of fixing a service rear vision system, from understanding its components to diagnosing and resolving common problems. So, let’s get started!
Understanding the Service Rear Vision System
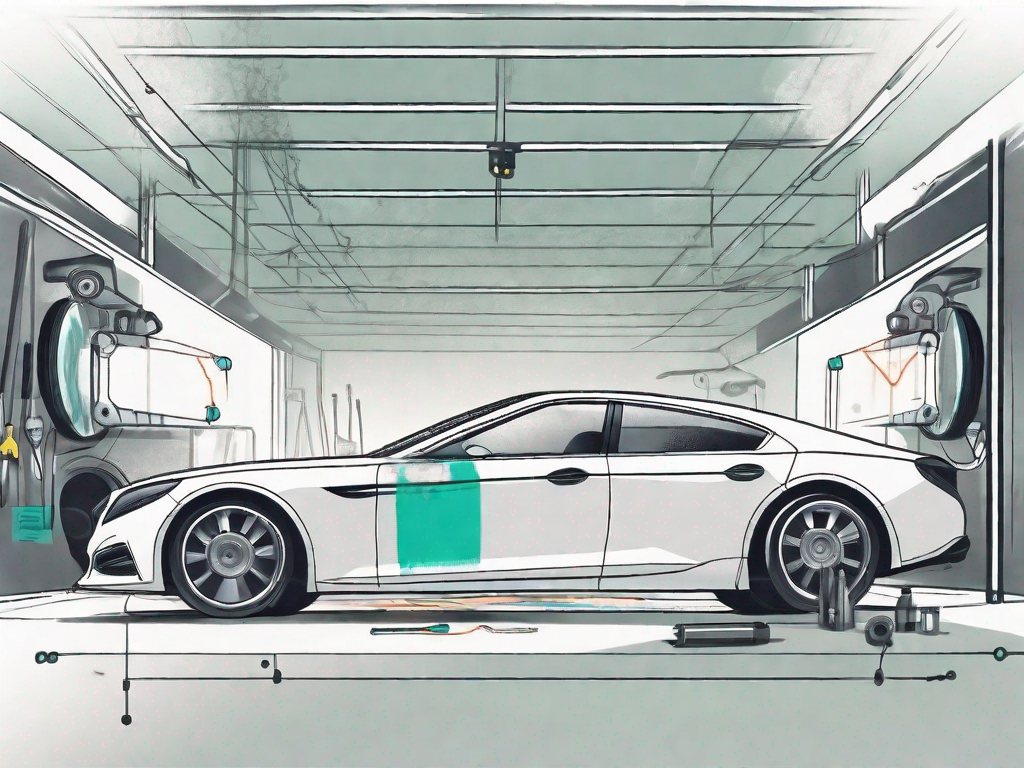
The service rear vision system is a complex combination of electronic components that work together to provide a clear view of the rear of the vehicle. To effectively fix any issues, it’s crucial to understand the different parts that make up this system.
When it comes to ensuring safety on the road, having a reliable rear vision system is essential. The service rear vision system is designed to enhance visibility and assist drivers in maneuvering their vehicles in tight spaces or while reversing. By providing a real-time video feed of the rear surroundings, it helps drivers avoid collisions, obstacles, and pedestrians.
Let’s dive deeper into the components that make up the service rear vision system:
Components of the Service Rear Vision System
The service rear vision system consists of three primary components:
- Camera: This is the device that captures the visual information from the rear of the vehicle. The camera is usually mounted near the license plate or on the rear bumper. It utilizes advanced imaging technology to provide a clear and high-resolution video feed.
- Wiring: The wiring carries the signal from the camera to the monitor, allowing the driver to view the images. The wiring is carefully routed through the vehicle, ensuring a secure connection and minimal signal interference. It is crucial to check the wiring for any damages or loose connections when troubleshooting the system.
- Monitor: This is the display unit that shows the video feed from the camera. It is typically located on the dashboard or integrated into the rearview mirror. The monitor can vary in size and resolution, with some models offering additional features such as touchscreens or adjustable viewing angles.
Each component plays a vital role in the overall functionality of the service rear vision system. A well-maintained and properly installed system ensures optimal performance and enhances the safety of both the driver and surrounding individuals.
Common Issues with the Service Rear Vision System
While rear vision systems are generally reliable, they can encounter certain problems. Some common issues include:
- No image on the monitor: This can be caused by a faulty camera, loose wiring connections, or a malfunctioning monitor. It is important to check each component individually to identify the root cause of the problem.
- Flickering or distorted video feed: Interference from other electronic devices, damaged wiring, or a malfunctioning camera can lead to a flickering or distorted video feed. Proper troubleshooting techniques are necessary to pinpoint the exact issue.
- Intermittent loss of signal: If the video feed intermittently cuts out or freezes, it may indicate a problem with the wiring or a loose connection. Thoroughly inspecting the wiring and ensuring a secure connection is essential for resolving this issue.
- Poor image quality: Blurry or low-resolution images can be a result of a damaged camera lens, dirt or debris obstructing the lens, or a misalignment of the camera. Regular cleaning and maintenance can help prevent this issue.
- Unresponsive or malfunctioning control buttons: If the control buttons on the monitor do not respond or function erratically, it could be due to a faulty monitor or a wiring issue. Careful examination of the control buttons and wiring connections is necessary to address this problem.
Now that we understand the components and potential issues, let’s move on to the preliminary steps before repairing the system.
Before diving into the repair process, it is important to gather the necessary tools and equipment. This may include a multimeter for testing electrical connections, a set of screwdrivers for removing panels, and a wire stripper for any necessary wiring repairs. Additionally, referring to the vehicle’s service manual or seeking professional assistance can provide valuable guidance throughout the repair process.
By familiarizing ourselves with the service rear vision system and its components, we are better equipped to diagnose and address any issues that may arise. Remember, a well-functioning rear vision system is a crucial aspect of safe and confident driving.
Preliminary Steps Before Repair
When it comes to repairing any vehicle component, there are a few preliminary steps that need to be taken into consideration. These steps are essential to ensure a safe and successful repair process.
Safety Measures to Consider
Prioritizing safety is of utmost importance before working on any vehicle component. By following these safety measures, you can minimize the risk of accidents and injuries:
- Disconnect the vehicle’s battery to avoid any potential electrical shocks. This step is crucial as it ensures that there is no power running through the system while you work on it.
- Wear protective gloves and eyewear to prevent injuries. These safety gears act as a shield, safeguarding your hands and eyes from any potential harm that may arise during the repair process.
- Ensure proper ventilation if working in an enclosed space. Proper ventilation is necessary to prevent the accumulation of harmful fumes or gases that may be released during the repair process.
By adhering to these safety measures, you can create a secure working environment, reducing the chances of accidents and ensuring your well-being throughout the repair process.
Necessary Tools for Repair
When it comes to fixing the service rear vision system, having the right tools at your disposal is crucial. These tools will enable you to carry out the repair effectively and efficiently. Here are the necessary tools you will need:
- Multimeter: A multimeter is an essential tool for testing electrical connections and signals. It allows you to measure voltage, current, and resistance, helping you diagnose any electrical issues within the rear vision system.
- Wire connectors and electrical tape: These tools are required for wiring repairs. They enable you to securely connect and insulate wires, ensuring proper electrical conductivity and preventing any potential short circuits.
- Screwdrivers: Different screwdrivers may be needed to access various parts of the rear vision system. Having a set of screwdrivers with different sizes and types will allow you to remove screws and access the necessary components with ease.
- Camera cleaning kit: A camera cleaning kit is useful for addressing camera-related issues. It typically includes cleaning solutions, brushes, and microfiber cloths, enabling you to clean the camera lens and remove any dirt or debris that may be affecting its performance.
By having these tools readily available, you can confidently approach the repair process, knowing that you have everything you need to tackle any issues that may arise within the service rear vision system.
Diagnosing the Problem
When it comes to troubleshooting rear vision systems, it’s essential to have a systematic approach. By following a series of steps, you can effectively diagnose and resolve any issues that may arise. In this section, we will explore two key methods for diagnosing problems: reading and interpreting error codes, and performing a visual inspection of the system.
Reading and Interpreting Error Codes
Many modern rear vision systems are equipped with error codes that can help pinpoint the root cause of the problem. These codes provide valuable information about what went wrong and where to focus your attention. To diagnose the issue using error codes, follow these steps:
- Access the system’s diagnostic menu using the controls. This menu is typically accessible through the settings or options section of the rear vision system.
- Note down any error codes displayed on the screen. These codes are usually alphanumeric combinations that indicate specific faults or malfunctions.
- Refer to the system’s manual to understand the meaning of the error codes. The manual will provide a comprehensive list of codes along with their corresponding explanations.
By following these steps, you can quickly identify the nature of the problem and proceed with the appropriate troubleshooting measures. Error codes serve as a valuable tool in the diagnostic process, saving you time and effort in finding the underlying issue.
Visual Inspection of the System
While error codes can provide valuable insights, sometimes the issue may not be as straightforward. In such cases, performing a visual inspection of the rear vision system can reveal any obvious issues that may have been overlooked. Here’s how you can conduct a visual inspection:
Start by examining the various components of the system, such as the cameras, wiring, and display unit. Look for any signs of physical damage, loose connections, or damaged wiring. Cracks, water ingress, or other visible abnormalities should be noted.
Pay close attention to the wiring connections, ensuring that they are securely fastened and free from any corrosion or wear. Loose connections can often be a common cause of rear vision system malfunctions.
Inspect the cameras for any dirt, debris, or obstructions that may affect their performance. Clean the lenses if necessary, as a clear view is crucial for accurate rear vision monitoring.
Once you have completed the visual inspection, you may have a better understanding of the problem at hand. If you have identified any issues during this process, it’s important to address them before proceeding with further troubleshooting steps.
Now that you have learned how to diagnose rear vision system problems using error codes and visual inspections, it’s time to delve into the repair procedures. In the following sections, we will guide you through each step, providing detailed instructions to ensure a successful resolution.
Detailed Repair Procedures
Fixing Camera Issues
If the camera is malfunctioning or not providing a clear image, follow these steps:
- Access the camera mounting location and examine it for any obstructions or damage.
- If the lens is dirty, clean it using a camera cleaning kit.
- Check the camera’s power and ground connections for any loose or corroded wires. Reconnect or replace them if necessary.
Addressing Wiring Problems
Wiring issues are a common cause of rear vision system failures. To address wiring problems:
- Carefully inspect the wiring for visible damage or loose connections.
- Use a multimeter to check the continuity of the wires and ensure proper voltage readings.
- If faulty wiring is detected, repair or replace the affected sections.
Solving Monitor Display Problems
If the monitor is not displaying the video feed correctly, employ these troubleshooting techniques:
- Check the monitor’s power source and connections to ensure proper voltage supply.
- If the video feed is distorted, examine the cable connection between the camera and the monitor. Replace if necessary.
- If the monitor buttons are unresponsive, clean them or replace the control panel if needed.
Post-Repair Steps
Testing the Repaired System
Once you have completed the repairs, it’s crucial to test the system to ensure everything is functioning correctly:
- Reconnect the vehicle’s battery and power on the system.
- Verify that the camera captures a clear image and the monitor displays it correctly.
- Test all control buttons and functions to make sure they are responsive.
Preventive Measures to Avoid Future Problems
To minimize the chances of future issues with your service rear vision system, consider implementing these preventive measures:
- Regularly clean the camera lens to maintain optimal image quality.
- Inspect the wiring periodically and address any signs of wear or damage promptly.
- Protect the system from extreme weather conditions and potential impact damage.
By following the steps and guidelines outlined in this article, you can effectively fix a service rear vision system and ensure your vehicle’s safety and convenience. Remember to always refer to the specific manufacturer’s guidelines and consult a professional if needed. Safe travels!