If you own a rope chain and it’s in need of repair, don’t panic! With a little bit of patience and the right tools, you can easily fix it yourself. This step-by-step guide will walk you through the process of fixing a rope chain, ensuring that it is restored to its former glory.
Understanding the Structure of a Rope Chain
Before diving into the repair process, it’s essential to understand the structure of a rope chain. Rope chains are typically made up of multiple interlocking links, creating a twisted and braided appearance. These chains are known for their durability and strength, making them a popular choice for jewelry lovers.
Each link in a rope chain is meticulously crafted to ensure a secure and seamless connection. The links are twisted and braided together, forming a continuous chain that exudes elegance and sophistication. The intricate design of the rope chain not only adds to its aesthetic appeal but also contributes to its durability.
The Anatomy of a Rope Chain
A rope chain consists of individual links that are twisted and braided together to form a continuous chain. Each link is carefully designed to interlock with the adjacent links, creating a cohesive and secure piece of jewelry. The twisting and braiding technique used in rope chains gives them their unique appearance and adds strength to the overall structure.
When examining a rope chain, you’ll notice the intricate pattern created by the interlocking links. The twists and turns of the chain create a visually captivating effect that catches the light and adds depth to the piece. This attention to detail in the design is what sets rope chains apart from other types of chains.
Common Issues with Rope Chains
Over time, rope chains can experience wear and tear, leading to potential issues that require repair. It’s important to be aware of these common problems so that you can address them effectively and ensure the longevity of your jewelry.
One common issue with rope chains is links becoming loose or even breaking. This can occur due to regular use, accidental tugging, or exposure to harsh chemicals. It’s crucial to inspect your rope chain regularly and address any loose or broken links promptly to prevent further damage.
Another issue that may arise is the clasps becoming damaged or dislodged. The clasp is an integral part of a rope chain as it ensures the secure fastening of the jewelry. If the clasp becomes damaged or fails to function properly, it’s important to have it repaired or replaced to maintain the integrity of the chain.
In some cases, knots may form within the chain, especially if it’s not stored or handled properly. These knots can be frustrating and challenging to untangle. It’s advisable to seek professional assistance if you encounter a knotted rope chain to avoid causing further damage.
By familiarizing yourself with the structure and common issues of rope chains, you’ll be better equipped to care for and maintain your jewelry. Regular inspections, proper storage, and prompt repairs are key to ensuring the longevity and beauty of your rope chain.
Gathering Necessary Tools for Repair
Before you begin the repair process, it’s important to gather all the necessary tools. Having the right tools on hand will ensure that the repair goes smoothly and that you can complete the task without any hiccups.
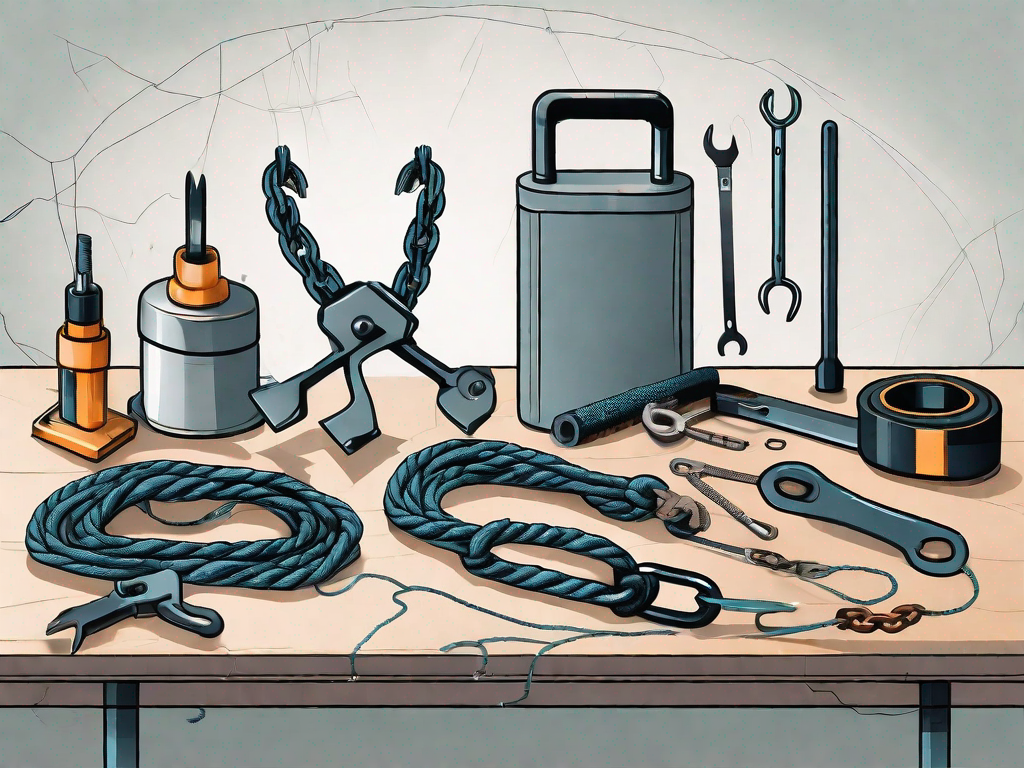
When it comes to fixing a rope chain, there are a few essential tools that you’ll need to have. These tools will help you tackle the repair with ease and precision. Let’s take a closer look at each one:
1. Needle-nose pliers
Needle-nose pliers are a must-have tool for any jewelry repair project. These specialized pliers have long, slender jaws that allow you to grip and manipulate small components with precision. When fixing a rope chain, needle-nose pliers will come in handy for opening and closing jump rings, attaching chain links, and adjusting the chain’s length.
2. Jewelry glue
Jewelry glue is an essential adhesive that will help you secure any loose or broken parts of the rope chain. Look for a jewelry-specific adhesive that is strong, durable, and dries clear. When applying the glue, make sure to follow the manufacturer’s instructions carefully to ensure a proper bond.
3. Chain links
If your rope chain has broken links, you’ll need to have spare chain links on hand. These links should match the style and size of your chain to ensure a seamless repair. It’s a good idea to have a variety of chain links in different sizes, as this will allow you to customize the repair based on the specific needs of your chain.
4. Jump rings
Jump rings are small metal rings that are used to connect different parts of a chain together. When fixing a rope chain, you may need to replace broken jump rings or add new ones to extend the length of the chain. It’s important to choose jump rings that are the same metal and size as the existing ones to maintain the chain’s integrity.
5. Jewelry clasp
A jewelry clasp is the closure mechanism that allows you to fasten and unfasten the chain around your neck or wrist. If your rope chain’s clasp is damaged or missing, you’ll need to replace it. Look for a clasp that matches the style and size of your chain, ensuring a secure and comfortable fit.
Safety Precautions When Handling Tools
When working with tools, it’s crucial to follow proper safety precautions. Remember to wear protective eyewear and gloves to prevent any mishaps. Additionally, make sure to work in a well-ventilated area to minimize any potential fumes from adhesives or solvents.
Repairing a rope chain requires attention to detail and the right set of tools. By gathering all the necessary tools and taking the appropriate safety measures, you’ll be well-prepared to tackle the repair and restore your beloved chain to its former glory.
Preparing Your Workspace
Setting up a suitable workspace will ensure that you have a clean and organized area to work on your rope chain. Having a well-prepared workspace is crucial for a successful and efficient repair process.
Setting Up a Suitable Workspace
When setting up your workspace, it is essential to find a flat surface in a well-lit area. This will provide you with the optimal conditions to work on your rope chain. A well-lit area will allow you to clearly see the intricate details of the chain, ensuring precision in your repair work.
Additionally, it is important to consider your comfort while working. Find a space where you can comfortably sit or stand, depending on your preference. This will help prevent any unnecessary strain or discomfort during the repair process.
Furthermore, make sure to choose a workspace with ample space. Having enough room to spread out your tools and materials is crucial for easy access and movement. This will prevent any potential accidents or damage to your chain caused by cramped conditions.
Organizing Your Tools and Materials
Before you begin the repair process, take the time to organize your tools and materials. This step is essential for a smooth and efficient repair experience.
Start by gathering all the necessary tools and materials for the repair. This may include chain links, jump rings, jewelry glue, pliers, and any other items required for the specific repair you are undertaking.
Once you have gathered your tools and materials, lay them out in an orderly manner. Arrange them in a way that allows for easy access and prevents any accidental mix-ups or misplacements. This organization will help you stay focused and save valuable time during the repair process.
Consider using small containers or trays to keep your tools and materials organized. This will prevent them from rolling or sliding off your workspace, ensuring that everything remains within reach and easily identifiable.
Furthermore, it is helpful to label or categorize your tools and materials. This will make it even easier to locate specific items when needed, minimizing any potential confusion or delays.
By taking the time to set up a suitable workspace and organizing your tools and materials, you are setting yourself up for a successful and efficient rope chain repair. These simple steps will contribute to a smooth repair process, allowing you to focus on the task at hand and achieve the best possible results.
Step-by-Step Guide to Fixing a Rope Chain
Identifying the Problem Area
Begin by carefully examining your rope chain to identify the problem area. Look for any loose or broken links, damaged clasps, or knots within the chain. It’s essential to pinpoint the exact issue before proceeding with the repair.
Preparing the Chain for Repair
To prepare the chain for repair, gently clean it using a mild jewelry cleaner and a soft cloth. This will remove any dirt or debris that may interfere with the repair process. Once the chain is clean, lay it flat on your workspace, ensuring that it is untangled and easily accessible.
Repairing the Chain
When it comes to repairing a rope chain, the specific steps will vary depending on the issue you’re addressing. Here are some common repair scenarios and the necessary steps to fix them:
Loose or Broken Links
If you have a loose or broken link, carefully remove it from the chain using needle-nose pliers. Next, thread a jump ring through the adjacent links and secure the loose or broken link to the jump ring. Use jewelry glue to ensure a sturdy connection. Allow the glue to dry completely before reinserting the repaired link into the chain.
Broken Clasp
If your chain’s clasp is broken or damaged, remove the old clasp using needle-nose pliers. Replace it with a new jewelry clasp by attaching it to the end links of the chain using jump rings. Ensure that the jump rings are securely fastened, and check the clasp’s functionality before wearing the repaired chain.
Knots in the Chain
If you encounter knots within the chain, carefully untangle them using your fingers or a pair of tweezers. Take your time and be gentle to avoid causing further damage to the chain. Once the knots are untangled, inspect the links for any signs of stress or deformation. If any links are damaged, follow the steps outlined for repairing loose or broken links.
Post-Repair Steps
After completing the necessary repairs, it’s essential to take a few post-repair steps to ensure the longevity of your rope chain.
Inspect and Reinforce
Inspect the repaired areas carefully to ensure that all connections are secure. If necessary, reinforce the repaired links with an extra layer of jewelry glue to provide additional strength and durability.
Cleaning and Polishing
Give your repaired chain a final polish using a jewelry cleaning cloth. This will help remove any fingerprints or residue and restore its shine. Avoid using harsh cleaners or abrasive materials, as these may damage the chain’s surface.
Maintaining Your Rope Chain
Regular Cleaning and Care
To keep your repaired rope chain looking its best, it’s crucial to clean and care for it regularly. Use a soft cloth to wipe away any dirt or oils that may accumulate on the surface. Avoid exposing the chain to harsh chemicals or abrasive materials, as these can cause damage.
Preventing Damage to Your Rope Chain
Prevention is key to maintaining the integrity of your rope chain. Avoid wearing your chain during activities that may subject it to excessive strain or impact. Remove the chain before swimming, exercising, or engaging in any other potentially damaging activities. By taking these precautions, you can minimize the risk of needing future repairs.
By following this step-by-step guide, you’ll be able to fix your rope chain and restore it to its original beauty. Remember to work carefully and patiently, ensuring that each repair is done with precision. With a little bit of effort, your rope chain will be as good as new!