Ceiling lights are an essential part of any home’s lighting system, providing illumination and ambiance to various spaces. One common issue that homeowners encounter with ceiling lights is a broken or malfunctioning pull chain. The pull chain is an integral component that allows you to easily turn the light on and off. If you find yourself facing this problem, don’t worry! In this article, we will guide you through the process of fixing a pull chain on a ceiling light.
Understanding the Function of a Pull Chain
Before we dive into the repair process, it’s helpful to understand the role of a pull chain in a ceiling light. The pull chain is typically attached to a switch mechanism inside the light fixture. When you pull the chain, it activates the switch, allowing the flow of electricity to the light bulb. Understanding this mechanism will make it easier for you to troubleshoot and repair any issues with the pull chain.
The pull chain serves as a convenient means of operating the ceiling light. It provides a simple way to turn the light on or off without the need for additional switches or wiring. Additionally, some ceiling lights offer pull chains with multiple settings, allowing you to control the brightness or adjust the lighting mode.
Over time, pull chains may experience wear and tear, eventually leading to issues such as a broken chain or a chain that no longer engages the switch mechanism. These issues can make it difficult or impossible to turn the light on or off. Understanding these common problems will help you diagnose the issue and determine the appropriate repair method.
One common issue with pull chains is that they can become tangled or knotted. This can happen if the chain is pulled too forcefully or if it gets caught on something. When this happens, the chain may not be able to move freely, making it difficult to turn the light on or off. In some cases, the chain may even become completely stuck, requiring a more complex repair.
Another common issue is a broken chain. Over time, the metal links of the chain can weaken and break, especially if the chain is frequently pulled or if it is made of low-quality materials. When the chain breaks, it will no longer be able to engage the switch mechanism, rendering it useless. In this case, the entire chain may need to be replaced.
In addition to these issues, pull chains can also suffer from electrical problems. If the switch mechanism inside the light fixture becomes damaged or worn out, it may not be able to properly connect or disconnect the flow of electricity. This can result in a pull chain that no longer turns the light on or off, even if the chain itself is in good condition. In such cases, the switch mechanism will need to be repaired or replaced.
Understanding the function of a pull chain and the common issues that can arise will help you troubleshoot and repair your ceiling light. Whether it’s a tangled chain, a broken link, or an electrical problem, knowing how the pull chain works and what can go wrong will empower you to fix the issue and restore the functionality of your ceiling light.
Gathering the Necessary Tools
Before you begin the repair process, it’s essential to gather the necessary tools. Having the right tools on hand will make the process smoother and more efficient.
Now, let’s dive into the details of the tools you will need for pull chain repair. These tools are essential for accessing and repairing the pull chain mechanism.
Basic Tools for Pull Chain Repair
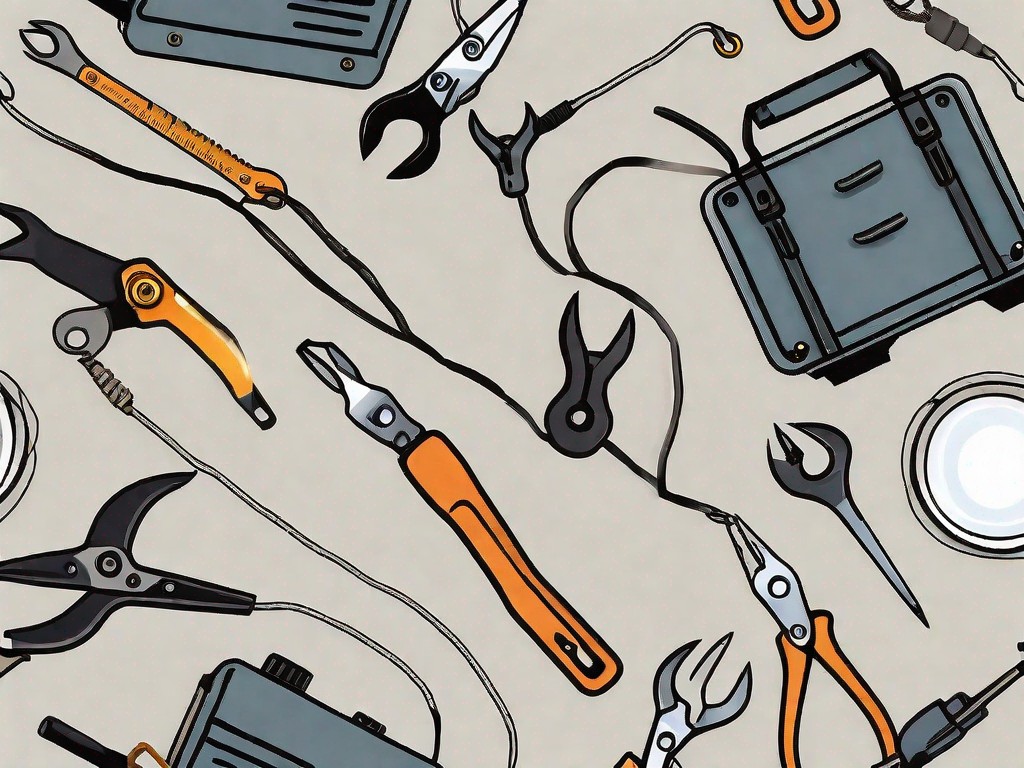
For most pull chain repairs, you will need a few basic tools. These include:
- A pair of pliers: Pliers are versatile tools that can help you grip and manipulate small parts during the repair process.
- Wire cutters: Wire cutters are necessary for cutting and stripping wires when needed.
- Screwdrivers (both flathead and Phillips-head): Screwdrivers are essential for removing screws and accessing the pull chain mechanism.
- A utility knife: A utility knife can come in handy for various tasks, such as cutting through packaging or trimming wires.
Having these tools readily available will ensure that you can tackle the repair with confidence and efficiency.
Safety Equipment for Ceiling Light Maintenance
When working with electrical components, safety should always be a priority. It’s crucial to protect yourself from any potential hazards that may arise during the repair process. Here are some safety equipment recommendations:
- Insulated gloves: Insulated gloves provide an extra layer of protection against electrical shocks. Make sure to wear them when handling any electrical components.
- Safety goggles: Safety goggles shield your eyes from debris, dust, or any other particles that may be released during the repair. They are essential for maintaining eye safety.
By wearing the appropriate safety equipment, you can minimize the risk of accidents and ensure a safe working environment.
Preparing for the Repair
Now that you have the necessary tools, it’s time to prepare for the repair process. Taking the necessary precautions will ensure a safe and successful repair.
Before diving into the repair, it’s important to understand the anatomy of a pull chain mechanism. The pull chain is connected to a switch inside the ceiling light, which controls the flow of electricity. By pulling the chain, you complete the circuit and turn the light on or off. Over time, the pull chain may become loose or break, requiring a replacement.
Switching Off the Power
Before starting any electrical work, it’s crucial to turn off the power supply to the ceiling light. This step is essential to ensure your safety and avoid any potential electrical hazards. Locate the circuit breaker or fuse box that controls the light and switch off the corresponding circuit or remove the fuse. It’s important to double-check that the power is indeed off by testing the light switch.
Once you are certain that the power is off, it’s a good idea to put a note or a sign near the circuit breaker or fuse box to alert others that you are working on the light and that the power should not be turned back on until you give the go-ahead.
Removing the Light Cover
With the power turned off, you can now proceed to remove the light cover to access the pull chain mechanism. Depending on the type of ceiling light, you may need to unscrew the cover or simply slide it off. It’s important to handle the light cover with care, as it may be delicate or heavy.
Before removing the light cover, take a moment to inspect it for any signs of damage or cracks. If you notice any issues, it’s best to replace the cover to ensure the safety and aesthetics of your ceiling light.
Once the light cover is removed, you will have a clear view of the pull chain mechanism. Take a moment to familiarize yourself with the different components, such as the switch housing and the chain itself. Understanding how the mechanism works will make the repair process smoother and more efficient.
Now that you have successfully prepared for the repair, it’s time to move on to the next step: replacing the pull chain.
Assessing the Pull Chain Damage
Once you have gained access to the pull chain mechanism, it’s time to assess the damage and determine the necessary repairs. This step will help you identify any broken parts and decide the appropriate course of action.
Assessing the damage is an essential step in fixing a malfunctioning pull chain. By carefully examining the pull chain and associated components, you can gain valuable insights into the root cause of the problem. This will enable you to make informed decisions about the repairs needed.
Identifying Broken Parts
Inspect the pull chain and associated components for any signs of damage or breakage. Common issues include a broken chain, a detached chain from the switch mechanism, or a broken switch mechanism. Identifying the specific problem will guide your repair approach.
When examining the pull chain, pay close attention to any visible cracks, fractures, or missing pieces. These are clear indications of damage that may require immediate attention. Additionally, check the switch mechanism for any loose or disconnected parts that may be causing the malfunction.
It’s important to note that sometimes the damage may not be immediately visible. In such cases, you may need to manipulate the pull chain and observe its behavior to identify the broken parts. This can involve gently pulling or twisting the chain while observing how it interacts with the switch mechanism.
Determining the Type of Repair Needed
Depending on the extent of the damage, you may need to replace the entire pull chain mechanism or simply repair the broken parts. Assess the condition of the pull chain and other components to determine if a replacement is necessary. If only a minor repair is needed, proceed with fixing the existing parts.
Replacing the entire pull chain mechanism is often necessary when the damage is severe or when multiple components are broken. This ensures a more reliable and long-lasting solution. On the other hand, if the damage is limited to a specific part, such as a broken chain, you may be able to repair it without replacing the entire mechanism.
When deciding on the type of repair needed, consider factors such as the availability of replacement parts, the cost of repairs, and your own skill level. If you are confident in your abilities and have access to the necessary parts, repairing the broken parts can be a cost-effective solution. However, if you are unsure or lack the required parts, it may be best to opt for a complete replacement.
Performing the Pull Chain Repair
Now that you have assessed the damage, it’s time to perform the necessary repairs on the pull chain mechanism. Follow these steps to fix the pull chain and restore your ceiling light’s functionality.
Replacing the Pull Chain
If the pull chain is broken or detached, you will need to replace it with a new one. Start by removing the damaged chain from the switch mechanism, taking note of how it was attached. Next, attach the new chain to the switch in the same manner. Ensure that it is securely attached before proceeding.
Fixing the Chain Connection
If the issue lies in the chain connection or switch mechanism, you may need to disassemble and repair these components. Carefully remove any faulty parts, such as a broken switch mechanism, and replace them with new ones. Ensure that all connections are tight and secure to guarantee proper functioning.
After completing the necessary repairs, reassemble the ceiling light cover and restore the power supply. Test the pull chain to ensure that it activates the switch and controls the light correctly. Congratulations! You have successfully fixed a pull chain on a ceiling light.
Remember, always prioritize safety when working with electrical components. If you are unsure or uncomfortable with performing the repair yourself, it is best to seek professional assistance. Maintaining a properly functioning pull chain will ensure convenient and hassle-free control of your ceiling light for years to come.