A pricing gun is an essential tool for businesses that rely on pricing and labeling their products accurately. However, like any tool, pricing guns can sometimes encounter issues that require repair. In this step-by-step guide, we will walk you through the process of fixing a pricing gun to ensure it functions effectively. By following these instructions and taking the necessary safety precautions, you’ll be able to get your pricing gun back in working order in no time.
Understanding the Basics of a Pricing Gun
Before diving into the repair process, it’s important to understand the components of a pricing gun and the common problems that may arise.
A pricing gun is a handheld device commonly used in retail environments to quickly and efficiently label products with price information. It is a valuable tool for businesses to ensure accurate pricing and streamline the checkout process.
The components of a pricing gun are essential to its proper functioning. Let’s take a closer look at each of these parts:
Handle
The handle of a pricing gun is the part that you grip and hold while using the device. It is designed to provide comfort and control, allowing you to easily operate the gun with precision.
Trigger
The trigger is a small lever located on the handle of the pricing gun. When pressed, it activates the printing mechanism, allowing you to apply price labels onto products quickly. The trigger is a crucial component for efficient labeling.
Ink Roller
The ink roller is responsible for transferring ink onto the labels. It is typically located inside the pricing gun and needs to be regularly replaced or re-inked to ensure clear and legible printing. A well-maintained ink roller is essential for producing professional-looking price labels.
Label Holder
The label holder is a compartment that holds the roll of price labels. It is designed to keep the labels organized and easily accessible. The label holder should be checked regularly to ensure that it is properly loaded and that the labels feed smoothly through the gun.
Print Head
The print head is the part of the pricing gun that comes into direct contact with the labels. It contains the characters or digits that make up the price information. The print head needs to be aligned correctly to ensure accurate and consistent printing.
Now that we have a better understanding of the components of a pricing gun, let’s explore some common problems that you might encounter:
Issues with the Ink Roller
One common problem is when the ink roller becomes dry or worn out. This can result in faint or incomplete printing. Regularly checking and replacing the ink roller will help maintain the quality of your price labels.
Jammed Labels
Another issue that may occur is when the labels get jammed inside the pricing gun. This can happen if the labels are not properly loaded or if there is debris obstructing the label path. Clearing any obstructions and ensuring proper label alignment will prevent jams and keep the pricing gun running smoothly.
Print Head Misalignment
If the print head is misaligned, the price labels may be printed unevenly or with missing characters. Adjusting the print head to the correct position is necessary for accurate and legible printing.
Broken Parts
In some cases, pricing guns may experience broken parts due to wear and tear or accidental damage. This can affect the overall functionality of the gun and may require replacement or repair of the damaged components.
By identifying the specific problem with your pricing gun, you can focus your repair efforts accordingly. Understanding the components and common issues will help you troubleshoot and maintain your pricing gun effectively, ensuring smooth operations in your retail business.
Safety Precautions Before You Start
Before you begin the repair process, it’s important to take some safety precautions to ensure you don’t accidentally injure yourself or cause further damage to the pricing gun.
Repairing a pricing gun can be a delicate task, but with the right precautions, you can complete the process safely and effectively. Here are some additional safety measures to consider:
Handling the Pricing Gun
Always handle the pricing gun with care, keeping your fingers away from any moving parts. The mechanism inside the gun can be intricate, and any sudden movements or mishandling can result in injury. It’s essential to be cautious and aware of your surroundings.
Additionally, if the pricing gun still contains labels, be extra cautious when handling it to avoid accidental dispensing. The labels can be sharp, and a sudden release can cause injury or damage to the gun itself.
Preparing Your Workspace
Clearing your workspace of any clutter is not only important for efficiency but also for safety. By removing any unnecessary items, you create an organized and focused environment for the repair process.
Ensure you have enough room to disassemble and reassemble the pricing gun without any obstructions. This will prevent tools or small parts from getting lost and ensure a smooth repair process. Having a clean and well-organized workspace will also minimize the risk of accidents or injuries caused by tripping over objects or knocking things over.
Consider using a dedicated workbench or a flat, stable surface to perform the repair. This will provide a secure area for your tools and the pricing gun, reducing the chances of accidental slips or falls.
Additionally, it’s a good idea to have proper lighting in your workspace. Sufficient lighting will help you see the details of the pricing gun and its components more clearly, reducing the risk of mistakes or mishandling.
Lastly, make sure you have all the necessary tools and materials within reach before you start the repair process. This will prevent you from having to search for tools mid-repair, which can lead to distractions and potential accidents.
By following these safety precautions and taking the time to prepare your workspace properly, you can ensure a safe and successful pricing gun repair process.
Gathering the Necessary Tools
Before you start repairing your pricing gun, make sure you have all the essential tools at hand. This will save you time and frustration if you need to pause the repair process to gather any missing items.
Repairing a pricing gun can be a simple and cost-effective solution to extend the lifespan of your device. With a few basic tools and some patience, you can have your pricing gun up and running smoothly again.
Essential Tools for Repair
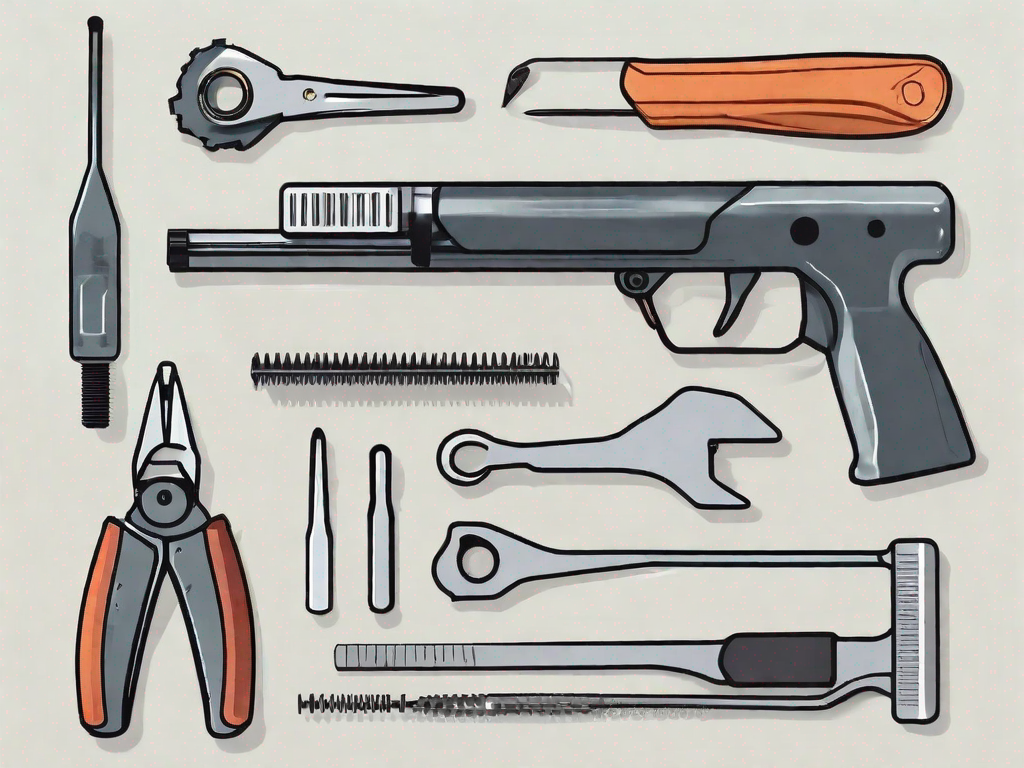
The tools you will need for repairing a pricing gun include a screwdriver (both Phillips and flathead), tweezers, a cleaning cloth, lubricant (such as WD-40), and replacement parts if necessary.
The screwdriver is essential for accessing the internal components of the pricing gun. The Phillips head screwdriver is typically used for removing screws with a cross-shaped indentation, while the flathead screwdriver is used for screws with a single slot.
Tweezers come in handy when dealing with small and delicate parts. They allow you to carefully manipulate and position components without causing any damage.
A cleaning cloth is necessary to remove any dirt, dust, or debris that may have accumulated inside the pricing gun. This ensures smooth operation and prevents any potential issues caused by blockages.
Lubricant, such as WD-40, is used to lubricate moving parts and reduce friction. This helps to maintain the functionality and longevity of the pricing gun.
If any parts are damaged or worn out, it is advisable to have replacement parts on hand. This will allow you to quickly replace any faulty components and restore the pricing gun to its optimal condition.
Where to Find These Tools
You can easily find these tools at your local hardware store or online retailers specializing in tools and repair supplies. Ensure you purchase the correct sizes and types of tools for the specific model of your pricing gun.
Local hardware stores often have knowledgeable staff who can assist you in selecting the right tools for your repair needs. They can also provide valuable advice and guidance on the repair process.
Online retailers offer a wide range of tools and repair supplies, allowing you to conveniently browse and compare different options. Reading customer reviews can help you make informed decisions and choose reputable brands.
When purchasing replacement parts, it is essential to ensure compatibility with your specific pricing gun model. Check the manufacturer’s website or consult the user manual for information on compatible parts and where to purchase them.
By gathering all the necessary tools before starting the repair process, you can save time and avoid interruptions. Having everything within reach will enable you to work efficiently and complete the repair successfully.
Step-by-Step Guide to Fixing a Pricing Gun
Now that you have gathered all the necessary tools and taken the safety precautions, we can begin the step-by-step process of fixing your pricing gun.
Identifying the Problem
The first step is identifying the specific problem with your pricing gun. Depending on the issue, you will need to focus your repair efforts on that particular area. Inspect the gun carefully and look for any obvious signs of damage or misalignment.
Disassembling the Pricing Gun
Once you have identified the problem area, begin by carefully disassembling the pricing gun. Use the appropriate screwdriver to remove any screws holding the gun together. Take note of the order in which you remove the parts to ease reassembly later.
Repairing or Replacing Parts
If you discover any broken or damaged parts during the disassembly process, this is the time to repair or replace them. Use the appropriate tools and techniques to ensure a proper fix. If necessary, consult the manufacturer’s instructions or seek professional assistance.
Reassembling the Pricing Gun
Once you have repaired or replaced any faulty parts, it’s time to reassemble the pricing gun. Refer to your notes or photographs taken during the disassembly process to ensure the correct order of reassembly. Use gentle pressure to secure the parts and tighten any screws.
Testing Your Repaired Pricing Gun
After reassembling the pricing gun, it’s crucial to test whether your repair efforts have been successful.
How to Test Your Pricing Gun
Load fresh labels into the label holder and ensure the ink roller is properly inked. Gently pull the trigger to dispense a label and examine the print quality. Check if the pricing gun functions smoothly without jamming or misaligning labels.
What to Do If It’s Still Not Working
If your pricing gun is still not working as expected, it may be necessary to seek professional repair or consider purchasing a new pricing gun altogether. Sometimes, certain issues are beyond the scope of DIY repair and require specialized knowledge or tools.
In conclusion, fixing a pricing gun is a process that requires attention to detail and the right tools. By following this step-by-step guide, you can save time and money by repairing your pricing gun yourself. Remember to always prioritize your safety and seek professional assistance if needed. With a fully functional pricing gun, you can accurately label and price your products with ease.