Trunk seals play a crucial role in keeping your trunk dry and protected from water damage. However, over time, these seals can deteriorate and develop leaks, allowing water to seep into your trunk.
If you’re experiencing a leaking trunk seal, don’t worry! With some basic tools, safety precautions, and a step-by-step guide, you can fix it yourself and save money on costly repairs.
Understanding the Role of a Trunk Seal
Before diving into the repair process, it’s essential to understand the purpose of a trunk seal. Trunk seals, also known as weatherstrips, are rubber gaskets installed around the trunk lid. Their primary function is to create a watertight seal between the trunk lid and the trunk opening. This seal prevents water, dust, and debris from entering the trunk, ensuring the contents remain dry and protected.
The Purpose of a Trunk Seal
A trunk seal serves two critical purposes:
- Waterproofing: The main role of a trunk seal is to prevent water from entering the trunk. Rainwater, car washes, or even a wet road can cause water to seep into the trunk’s interior, potentially damaging your belongings or causing mold and mildew growth.
- Noise Reduction: Trunk seals also help reduce noise from the road, providing a quieter ride and enhancing overall driving comfort.
Waterproofing is especially important because it not only protects your belongings but also prevents potential electrical damage. Water entering the trunk can seep into the wiring system, causing malfunctions or even electrical fires. By having a properly functioning trunk seal, you can avoid these costly and dangerous issues.
Noise reduction is another benefit of a well-maintained trunk seal. When driving, various sounds from the road can make their way into the cabin, affecting the overall driving experience. A trunk seal helps create a barrier that minimizes these noises, allowing for a more peaceful and enjoyable ride.
Identifying a Leaky Trunk Seal
Signs of a leaking trunk seal include:
- Visible water stains or puddles inside the trunk
- A musty smell coming from the trunk
- Wet or damp carpeting in the trunk
If you notice any of these signs, it’s a clear indication that your trunk seal needs attention. Ignoring a leaking trunk seal can lead to further damage, such as rust formation or interior mold growth. Therefore, it’s crucial to address the issue promptly to prevent any long-term consequences.
Regular inspection and maintenance of your trunk seal can help identify potential problems early on. Cleaning the seal and applying a suitable rubber protectant can extend its lifespan and ensure optimal performance. Additionally, if you live in an area with extreme weather conditions, such as heavy rain or extreme heat, it’s advisable to check your trunk seal more frequently to ensure it remains in good condition.
Tools Needed for Trunk Seal Repair
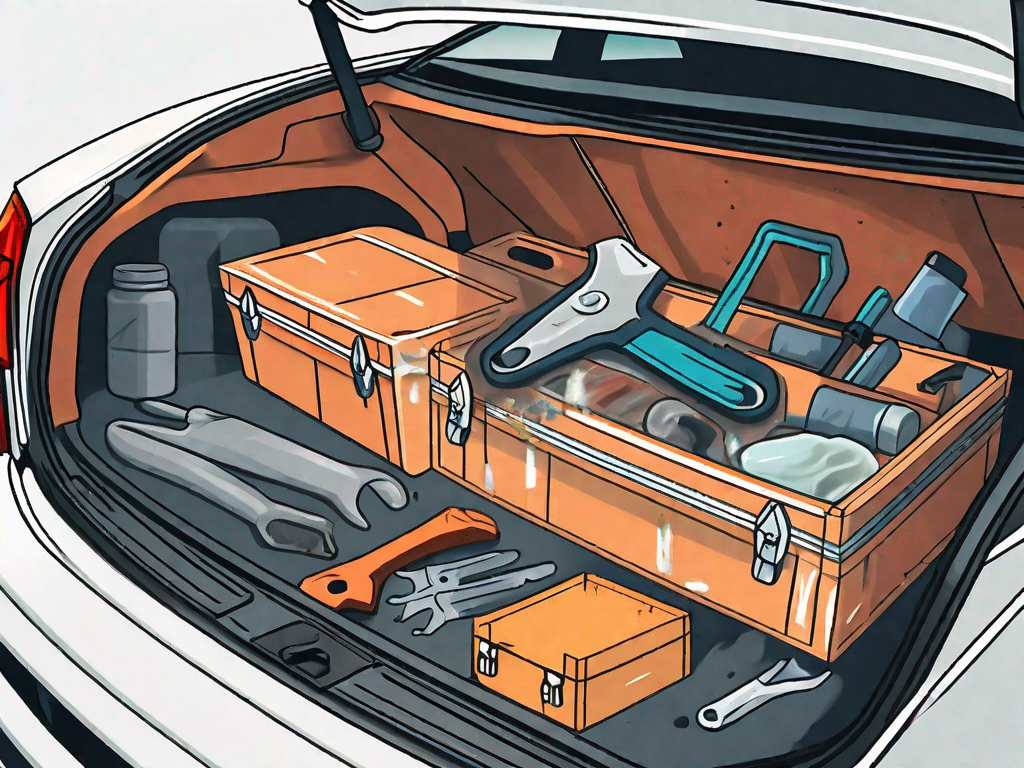
To fix a leaking trunk seal, you’ll need the following tools:
Basic Tools for Seal Repair
- Screwdriver
- Trim panel removal tool
- Rubber mallet
- Clean cloth or sponge
When it comes to repairing a trunk seal, having the right tools is essential. With the basic tools listed above, you’ll be well-equipped to tackle most trunk seal repair jobs. Let’s take a closer look at each tool and its role in the repair process.
A screwdriver is a versatile tool that will come in handy for removing screws and fasteners that hold the trim panels in place. It’s important to choose a screwdriver with a comfortable grip and a variety of interchangeable bits to accommodate different screw types.
A trim panel removal tool is specifically designed to safely remove trim panels without causing damage. These tools usually have a flat, wide end that can be inserted between the panel and the body of the car, allowing you to gently pry the panel away without scratching or breaking it.
A rubber mallet is useful for gently tapping the trim panels back into place once the seal repair is complete. The rubber head helps prevent any damage to the panels while providing enough force to secure them firmly.
A clean cloth or sponge is essential for wiping away any dirt, debris, or old sealant from the trunk area. It’s important to have a clean surface before applying any new sealant to ensure a proper bond.
Specialized Tools for Advanced Issues
In some cases, advanced trunk seal repairs may require additional tools such as:
- Trim adhesive
- Trim seal lubricant
- Sealant remover
When dealing with advanced trunk seal issues, specialized tools can make the repair process more effective and efficient. Let’s explore these tools in more detail:
Trim adhesive is a strong adhesive specifically designed for securing trim panels and seals. It provides a long-lasting bond that can withstand the rigors of daily use and exposure to various weather conditions. When applying trim adhesive, it’s important to follow the manufacturer’s instructions for the best results.
Trim seal lubricant is a silicone-based lubricant that helps ensure a smooth and secure fit for the trunk seal. It reduces friction between the seal and the surrounding surfaces, making it easier to install and preventing premature wear and tear. Applying a small amount of lubricant to the seal before installation can greatly improve its performance and longevity.
Sealant remover is a solvent-based solution that effectively dissolves and removes old sealant from surfaces. When replacing a trunk seal, it’s crucial to remove any remnants of the old sealant to ensure a clean and proper bond with the new seal. Sealant remover simplifies this process by breaking down the old sealant, allowing for easy removal.
By having these specialized tools on hand, you’ll be well-prepared to tackle even the most challenging trunk seal repairs. Remember to always prioritize safety and follow proper procedures when working on your vehicle.
Safety Measures Before Starting the Repair
Repairing a leaking trunk seal requires careful preparation and attention to safety. Before you begin, it’s crucial to ensure that your work area is properly set up and that you have the necessary personal safety equipment.
Preparing Your Work Area
Preparing your work area is essential to ensure a smooth and efficient repair process. Here are some steps to follow:
- Park your vehicle on a level surface and engage the parking brake. This will prevent any accidental movement of the vehicle while you are working on the trunk seal.
- Clear any items from the trunk to provide ample space to work. Removing any objects from the trunk will give you better access to the trunk seal and prevent any potential damage to your belongings.
- Ensure good lighting to have a clear view of the trunk seal and its surroundings. Adequate lighting is crucial for identifying any damage or areas that require repair. It will also help you work with precision and accuracy.
By following these steps, you can create a safe and organized work area that will facilitate the repair process.
Personal Safety Equipment
When working on any repair project, it’s important to prioritize your personal safety. Here are some essential safety equipment items to wear during the repair process:
- Gloves: Protect your hands from any sharp edges or adhesive substances by wearing gloves. This will prevent injuries and ensure that you can work comfortably and confidently.
- Safety glasses: Shield your eyes from debris or cleaning agents by wearing safety glasses. This will protect your eyes from potential harm and allow you to focus on the repair without any distractions.
- Dust mask: If you’re working in a dusty or poorly ventilated area, wearing a dust mask is essential. It will prevent you from inhaling harmful particles and ensure that you can work in a healthy and safe environment.
By wearing the appropriate personal safety equipment, you can minimize the risk of accidents or injuries during the repair process.
Step-by-Step Guide to Fixing a Leaking Trunk Seal
Having a leaking trunk seal can be a frustrating problem, as it can lead to water damage and potential rusting of your trunk. Fortunately, fixing a leaking trunk seal is a relatively simple task that you can do yourself. In this step-by-step guide, we will walk you through the process of removing the old trunk seal, preparing the surface for a new seal, and installing the new trunk seal.
Removing the Old Trunk Seal
The first step in fixing a leaking trunk seal is to remove the old, damaged seal. Follow these steps:
- Carefully lift the trunk lid and inspect the existing seal for any visible signs of wear or damage. Look for cracks, tears, or any other signs of deterioration.
- Using a screwdriver or trim panel removal tool, gently pry off the old seal, starting from one corner. Take your time and be careful not to damage the trunk paint or trim.
- Continue to carefully remove the seal along each side of the trunk lid until it’s completely detached. Be patient and gentle to avoid any unnecessary damage.
- Once the old seal is removed, clean the area thoroughly to ensure a smooth surface for the new seal.
Preparing the Surface for a New Seal
Now that the old seal is removed, it’s essential to prepare the surface before installing a new seal. Follow these steps:
- Thoroughly clean the trunk lid and the area where the seal will be installed using a clean cloth or sponge and a mild detergent. This will remove any dirt, grease, or adhesive residue that may interfere with the new seal’s adhesion.
- Pay close attention to the edges of the trunk lid, as these areas are prone to accumulating dirt and debris.
- After cleaning, allow the trunk lid to dry completely before proceeding to the next step. This will ensure that the new seal adheres properly.
Installing the New Trunk Seal
With the surface prepared, it’s now time to install the new trunk seal. Follow these steps:
- Starting from one corner, align the new seal with the edge of the trunk opening. Make sure it is positioned correctly before proceeding.
- Carefully press the seal onto the trunk lid, following the contour of the opening. Apply even pressure to ensure proper adhesion.
- Continue pressing the seal along each side until it’s securely attached. Take your time and make sure the seal is evenly positioned.
- Once the new seal is installed, inspect it carefully to ensure that it is properly sealed against the trunk lid. This will help prevent any future leaks.
By following these steps, you can effectively fix a leaking trunk seal and protect your trunk from water damage. Remember to take your time and be patient throughout the process to achieve the best results. With a new seal in place, you can enjoy a dry and secure trunk for years to come.
Tips for Maintaining Your Trunk Seal
Regular Inspection and Cleaning
To prolong the lifespan of your trunk seal and prevent any future leaks, follow these maintenance tips:
- Regularly inspect the trunk seal for signs of damage, wear, or detachment.
- If you notice any issues, promptly address them to prevent further damage.
- Clean the trunk seal periodically with a mild detergent to remove dirt and debris.
- Apply a small amount of trim seal lubricant to keep the seal supple and prevent it from drying out.
Preventing Seal Damage
Take these precautions to prevent any damage to your trunk seal:
- Avoid slamming the trunk lid excessively as it can put unnecessary strain on the seal.
- Don’t use sharp objects to pry open the trunk, as it can cause tears or punctures in the seal.
- Be mindful of any heavy or sharp objects placed in the trunk that could potentially damage the seal.
By following these steps and guidelines, you can successfully fix a leaking trunk seal and ensure the protection of your trunk’s contents. Remember to prioritize safety and take your time during the repair process. With a bit of effort, you’ll have a watertight trunk seal once again!