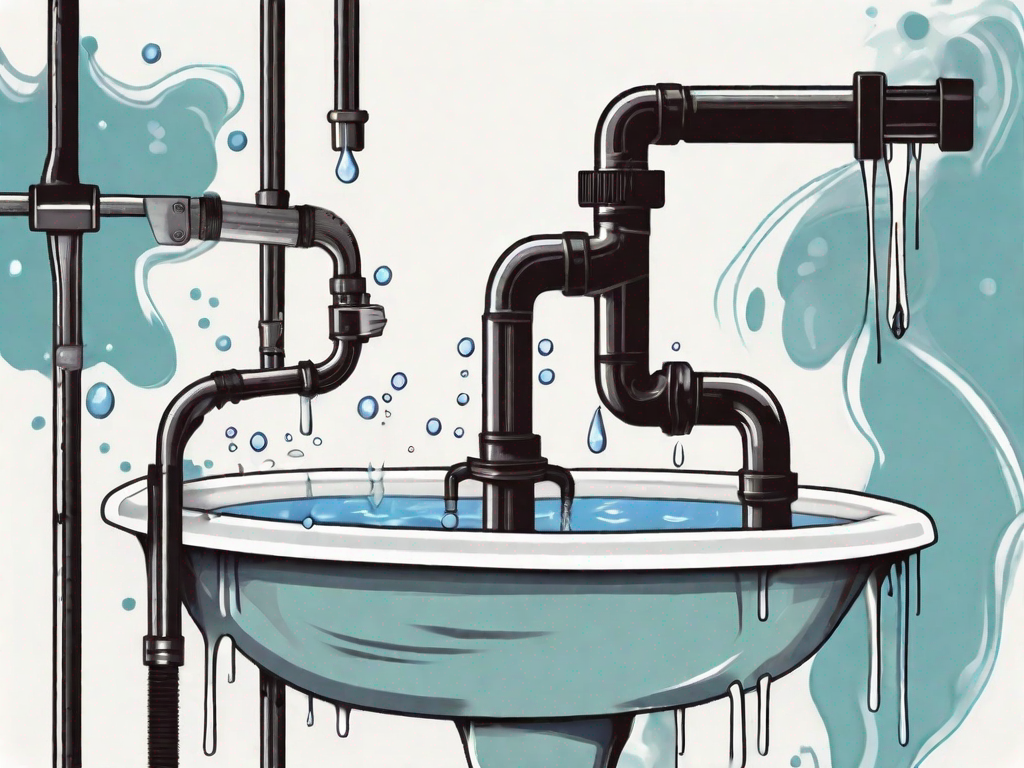
SharkBite fittings are a popular choice for many plumbing projects due to their ease of use and reliability. However, like any plumbing connection, they can develop leaks over time. In this article, we will guide you through the process of fixing a leaking SharkBite fitting and provide you with some valuable tips to prevent future leaks.
Understanding the Basics of a SharkBite Fitting
Before we delve into the process of fixing a leaking SharkBite fitting, let’s first understand what exactly a SharkBite fitting is. A SharkBite fitting is a type of push-to-connect plumbing fitting that allows for quick and easy installation without the need for soldering or special tools. It is designed to create a secure, watertight connection between pipes.
What is a SharkBite Fitting?
A SharkBite fitting consists of three main components – a collet, an O-ring, and a gripper. The collet is a ring with teeth that grips onto the pipe, while the O-ring provides an additional layer of sealing protection. The gripper, located inside the fitting, helps to secure the connection and prevent leaks.
Common Causes of Leaks in SharkBite Fittings
While SharkBite fittings are known for their reliability, certain factors can cause leaks to occur. One common cause is improper installation, such as failing to fully insert the pipe into the fitting or failing to remove any dirt or debris from the pipe before insertion. In some cases, excessive pressure or temperature changes can also lead to leaks.
To fix a leaking SharkBite fitting, you will need a few essential plumbing tools.
Tools Needed to Fix a Leaking SharkBite Fitting
Essential Plumbing Tools
When it comes to fixing a leaking SharkBite fitting, having the right tools is essential. Here are the tools you will need:
- Adjustable wrench: This versatile tool is a must-have for any plumbing repair job. It allows you to tighten or loosen fittings with ease, ensuring a secure connection.
- Pipe cutter: A pipe cutter is necessary for cutting the pipe cleanly and precisely. It helps create a smooth edge, ensuring a proper fit with the SharkBite fitting.
- Emery cloth or sandpaper: Before installing a new SharkBite fitting, it’s crucial to remove any burrs or rough edges from the pipe. Emery cloth or sandpaper can be used to smooth out the surface, promoting a leak-free connection.
- Deburring tool: Similar to emery cloth or sandpaper, a deburring tool is specifically designed to remove burrs from the inside of the pipe. This step is essential to maintain the integrity of the pipe and prevent leaks.
- Teflon tape: Teflon tape, also known as plumber’s tape, is used to create a watertight seal between threaded connections. Applying a few wraps of Teflon tape around the male threads of the SharkBite fitting helps prevent leaks.
Safety Equipment for Leak Repairs
While having the right tools is important, your safety should always be a top priority. When working on leak repairs, it’s essential to take the necessary precautions. Don’t forget to wear the following safety equipment:
- Protective gloves: Working with plumbing materials and tools can expose your hands to potential hazards. Wearing protective gloves helps prevent injuries and keeps your hands safe from chemicals, sharp edges, or hot surfaces.
- Goggles: Protecting your eyes is crucial when dealing with plumbing repairs. Goggles shield your eyes from debris, chemicals, or any other potential hazards that may arise during the repair process.
- Dust mask: Depending on the nature of the repair, there might be dust or particles in the air that can be harmful if inhaled. Wearing a dust mask helps filter out these particles, ensuring you breathe in clean air.
By having the right tools and safety equipment, you can confidently tackle a leaking SharkBite fitting and ensure a successful repair. Remember to follow proper procedures and take your time to achieve a secure and leak-free connection.
Step-by-Step Guide to Fixing a Leaking SharkBite Fitting
Follow these steps to fix a leaking SharkBite fitting:
Identifying the Source of the Leak
The first step is to identify the exact location of the leak. Check all SharkBite fittings in the affected area and look for signs of water droplets or dampness. This will help you determine which fitting needs to be repaired or replaced.
Inspect the surrounding area for any visible damage or corrosion that may have contributed to the leak. It’s important to address any underlying issues to prevent future leaks.
Additionally, check the water pressure in your system as high pressure can put strain on the fittings and lead to leaks. Consider installing a pressure regulator if necessary.
Preparing the Fitting for Repair
Once you have identified the leaking fitting, turn off the water supply to the affected area. Use an adjustable wrench to disconnect the pipe from the fitting. Then, use a pipe cutter to cut away the section of pipe that includes the leaking fitting.
Take this opportunity to inspect the pipe for any signs of damage or wear. If necessary, replace the pipe to ensure a secure and long-lasting repair.
After cutting the pipe, use emery cloth or sandpaper to clean the remaining pipe and remove any burrs. Next, use a deburring tool to smooth the edges of the pipe. This will ensure a proper fit and prevent any obstructions that could cause leaks.
Repairing the Leak
Now you are ready to repair the leak. Apply a thin layer of Teflon tape to the end of the pipe that will be inserted into the fitting. This will help create a watertight seal.
Make sure the SharkBite fitting is clean and free from any debris. Inspect the O-ring inside the fitting to ensure it is in good condition. If the O-ring is damaged, replace it before proceeding with the repair.
Next, insert the pipe into the SharkBite fitting until it reaches the built-in stop. Give it a gentle tug to ensure a secure connection. The fitting should slide easily onto the pipe, creating a tight seal without the need for any additional tools or adhesives.
Turn on the water supply and check for any signs of leakage. Monitor the repaired area closely for the next few hours to ensure the leak has been successfully resolved.
If the leak persists, you may need to replace the SharkBite fitting entirely. Consult the manufacturer’s instructions or seek professional assistance for further guidance.
Remember, proper installation and regular maintenance are key to preventing leaks and ensuring the longevity of your plumbing system. Take the time to inspect your fittings periodically and address any issues promptly to avoid costly repairs in the future.
Tips to Prevent Future Leaks
Proper Installation of SharkBite Fittings
To avoid future leaks, it’s crucial to ensure proper installation of SharkBite fittings. Follow the manufacturer’s instructions carefully, making sure to fully insert the pipe and remove any dirt or debris.
When installing SharkBite fittings, it is important to understand the correct procedure to guarantee a leak-free connection. Start by measuring and cutting the pipe to the desired length, ensuring that the ends are clean and free from any rough edges. Next, mark the pipe to indicate the depth of insertion, which will vary depending on the type and size of the fitting being used. This step is crucial as it ensures that the fitting is properly seated and provides a secure connection.
Once the pipe is marked, it’s time to insert the SharkBite fitting. Apply slight pressure and push the fitting onto the pipe until it reaches the marked depth. It’s important to note that SharkBite fittings do not require any additional tools for installation, making the process quick and efficient.
After the fitting is fully inserted, give it a slight tug to ensure that it is securely in place. This step is crucial as it confirms that the fitting has engaged with the pipe and will not come loose over time. It is also recommended to visually inspect the connection to ensure that the pipe is fully seated within the fitting.
Furthermore, it is essential to remove any dirt or debris from the pipe before inserting it into the SharkBite fitting. This can be done by using a pipe cleaning brush or a clean cloth. By removing any particles, you can prevent potential leaks caused by obstructions or blockages within the fitting.
Regular Maintenance and Inspection
In addition to proper installation, regular maintenance and inspection are essential to prevent leaks. Regularly check all SharkBite fittings for signs of wear or damage. Replace any fittings showing signs of deterioration or leaks promptly.
Maintaining and inspecting your SharkBite fittings on a regular basis is crucial to ensure their longevity and prevent leaks. One important aspect of maintenance is to check for any signs of wear or damage on the fittings. This includes looking for cracks, corrosion, or any other visible defects that may compromise the integrity of the connection.
In addition to visual inspection, it is recommended to periodically test the fittings for leaks. This can be done by applying a small amount of soapy water to the connection and looking for any bubbles or foam formation, which indicates a leak. Performing this test regularly will allow you to identify and address any potential issues before they escalate into major leaks.
Furthermore, it is important to promptly replace any fittings that show signs of deterioration or leaks. Delaying the replacement can lead to further damage and potential water damage to your property. By addressing these issues promptly, you can prevent costly repairs and ensure the continued efficiency of your plumbing system.
Regular maintenance and inspection of SharkBite fittings not only prevent leaks but also contribute to the overall safety and functionality of your plumbing system. By following these tips, you can enjoy a leak-free and reliable plumbing system for years to come.
When to Call a Professional Plumber
Signs of a Serious Plumbing Issue
While fixing a leaking SharkBite fitting is a relatively simple DIY task, some situations may require professional assistance. If you notice multiple leaks, significant water damage, or suspect a more serious plumbing issue, it’s best to call a professional plumber. They have the expertise and specialized tools to identify and address complex plumbing problems.
Benefits of Hiring a Professional
Hiring a professional plumber not only ensures the job is done correctly and efficiently but also provides peace of mind. They can offer valuable advice, perform thorough inspections, and provide long-term solutions to prevent future leaks or plumbing emergencies.
By following the steps outlined in this article, you should now have a good understanding of how to fix a leaking SharkBite fitting. Remember to take the necessary precautions and, if in doubt, don’t hesitate to seek professional help. With proper installation and maintenance, your SharkBite fittings will continue to provide reliable and leak-free connections for years to come.