A leaking bidet sprayer can be a frustrating problem to deal with. Not only can it cause water damage to your bathroom, but it can also result in higher water bills. Fortunately, fixing a leaking bidet sprayer is a relatively simple task that you can do yourself with the right tools and knowledge.
In this article, we will guide you through the process of fixing a leaking bidet sprayer, from understanding the basics of a bidet sprayer to identifying the source of the leak and finally, providing tips to prevent future leaks.
Understanding the Basics of a Bidet Sprayer
A bidet sprayer, also known as a handheld bidet or a bidet shower, is a hygienic bathroom fixture that is widely used in many countries. It is a convenient alternative to traditional toilet paper and provides a more thorough and efficient cleaning experience. The bidet sprayer consists of various components that work together to deliver a gentle water spray for personal hygiene purposes.
Using a bidet sprayer can be a transformative experience for those who are used to relying solely on toilet paper. It offers a refreshing and hygienic way to cleanse oneself after using the toilet. The gentle water spray not only cleans the area effectively but also provides a soothing sensation, leaving you feeling clean and refreshed.
Components of a Bidet Sprayer
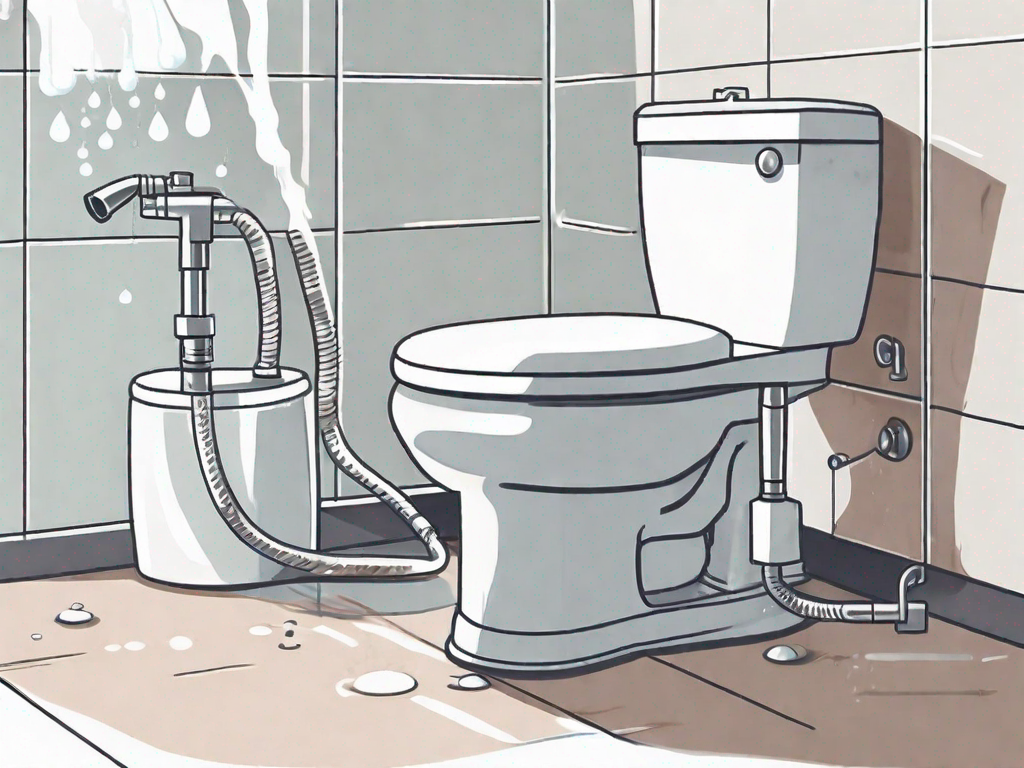
A bidet sprayer typically consists of the following components:
- A handheld sprayer head: This is the part that you hold in your hand and direct the water spray. The sprayer head is designed to provide a comfortable grip, allowing you to easily maneuver it for precise cleaning.
- A hose: The hose connects the sprayer head to the water supply. It is usually made of flexible and durable material, ensuring that it can withstand the water pressure and frequent use.
- A T-valve: This valve controls the flow of water to the bidet sprayer and allows you to switch between using the bidet sprayer and the toilet. The T-valve is an essential component that ensures the proper functioning of the bidet sprayer.
- A water supply line: This is the pipe that connects the T-valve to the water supply. It carries the water from the source to the bidet sprayer, ensuring a steady and consistent flow of water.
Each component of the bidet sprayer is carefully designed and engineered to provide a seamless and efficient cleaning experience. The sprayer head delivers a gentle yet powerful water spray, while the hose and T-valve ensure a smooth and uninterrupted flow of water.
How a Bidet Sprayer Works
When you activate the bidet sprayer, water from the water supply flows through the T-valve and into the hose. The pressure from the water supply propels the water through the handheld sprayer head, creating a gentle and controlled spray. The bidet sprayer is designed to be easy to use and provide optimal cleaning comfort.
One of the advantages of a bidet sprayer is its versatility. The water pressure can be adjusted according to your personal preference, allowing you to customize the cleaning experience. Whether you prefer a gentle mist or a stronger spray, the bidet sprayer can accommodate your needs.
Furthermore, the bidet sprayer is not limited to personal hygiene use only. It can also be used for various other purposes, such as cleaning the toilet bowl or rinsing cloth diapers. Its multifunctionality makes it a practical addition to any bathroom.
Overall, a bidet sprayer offers a hygienic and convenient solution for personal cleansing. Its components work together harmoniously to deliver a refreshing and thorough cleaning experience. By incorporating a bidet sprayer into your bathroom routine, you can elevate your hygiene practices and enjoy the benefits of a more effective and comfortable cleansing method.
Identifying the Source of the Leak
If you notice that your bidet sprayer is leaking, it’s important to identify the source of the leak before proceeding with any repairs. Here are some common areas where leaks can occur:
Common Areas of Leakage
1. Hose connections: Check the connections between the hose, T-valve, and water supply line. Tighten any loose connections if necessary.
When inspecting the hose connections, it’s important to ensure that they are securely fastened. Over time, the connections may become loose due to regular use or vibrations. If you find any loose connections, use an adjustable wrench to tighten them. This will help prevent water from leaking out and causing further damage.
2. Sprayer head: Inspect the sprayer head for any cracks or damage that may cause water to leak out. If the sprayer head is damaged, it may need to be replaced.
The sprayer head is a crucial component of the bidet sprayer system. It is responsible for controlling the flow of water and directing it to the desired area. Over time, the sprayer head may develop cracks or other forms of damage, leading to leaks. If you notice any signs of damage, it’s recommended to replace the sprayer head with a new one. This will ensure that the bidet sprayer functions properly and prevents any further leakage.
3. T-valve: Examine the T-valve for any signs of leakage. If the T-valve is faulty, it may need to be repaired or replaced.
The T-valve is a critical component that controls the flow of water from the water supply line to the bidet sprayer. If there is a leak in the T-valve, it can disrupt the water flow and cause water to leak out. Inspect the T-valve thoroughly, checking for any signs of leakage such as water stains or dripping. If you notice any issues, it’s important to repair or replace the T-valve to prevent further leakage and ensure the proper functioning of the bidet sprayer.
Tools Needed for Leak Detection
Before you begin fixing the leak, gather the following tools:
- Adjustable wrench
- Plumber’s tape
- Replacement parts (if necessary)
Having the right tools is essential for effectively detecting and repairing leaks in your bidet sprayer. An adjustable wrench will help you tighten any loose connections, ensuring a secure fit. Plumber’s tape is useful for creating a watertight seal on threaded connections, preventing leaks. Additionally, it’s a good idea to have replacement parts on hand in case any components need to be replaced during the repair process.
Steps to Fix a Leaking Bidet Sprayer
Preparing Your Work Area
Before you start fixing the leak, it’s essential to prepare your work area:
First, locate the shut-off valve for the bidet sprayer. This valve is usually located near the toilet or under the sink. Turn it off to stop the flow of water. This step is crucial to ensure that you can work on the bidet sprayer without any water leakage.
Next, place towels or a bucket below the bidet sprayer. This will catch any water that may leak during the repair process. It’s always better to be prepared and avoid any potential mess.
- Turn off the water supply: Locate the shut-off valve for the bidet sprayer and turn it off to stop the flow of water.
- Place towels or a bucket below the bidet sprayer: This will catch any water that may leak during the repair process.
Disassembling the Bidet Sprayer
Once your work area is prepared, follow these steps to disassemble the bidet sprayer:
Start by unscrewing the sprayer head from the hose using an adjustable wrench. Be careful not to damage the threads while doing this. Once the sprayer head is removed, inspect the connections between the hose, T-valve, and water supply line for any signs of leakage. Look for any loose or damaged parts that may be causing the leak.
Next, examine the T-valve for any signs of leakage or damage. If you notice any issues, disconnect it from the water supply line. Take a closer look at the water supply line as well. Inspect it for any cracks or damage that may be contributing to the leak. If you find any issues with the T-valve or water supply line, it’s important to address them during the repair process.
- Remove the sprayer head: Unscrew the sprayer head from the hose using an adjustable wrench.
- Check the hose connections: Inspect the connections between the hose, T-valve, and water supply line for any signs of leakage.
- Check the T-valve: Examine the T-valve for any signs of leakage or damage. If necessary, disconnect it from the water supply line.
- Check the water supply line: Inspect the water supply line for any cracks or damage. Replace it if needed.
Replacing Faulty Parts
If you have identified any faulty parts during the disassembly process, you will need to replace them. Follow these steps:
First, apply plumber’s tape to ensure a watertight seal. Wrap the plumber’s tape around the threads of any connections that you will be working with. This will help prevent any future leaks.
Next, install the new sprayer head, T-valve, or water supply line if needed. Make sure to tighten all connections securely to ensure a proper seal. It’s important to use the correct tools and techniques to avoid damaging any parts during the replacement process.
- Apply plumber’s tape: Wrap plumber’s tape around the threads of any connections to ensure a watertight seal.
- Replace the damaged parts: Install the new sprayer head, T-valve, or water supply line if needed. Make sure to tighten all connections securely.
Reassembling the Bidet Sprayer
Once the faulty parts have been replaced, reassemble the bidet sprayer:
Start by reconnecting the T-valve to the water supply line. Make sure the connection is secure and tight to prevent any future leaks. Then, screw the sprayer head back onto the hose, ensuring that it is tight and properly aligned.
- Reconnect the T-valve to the water supply line.
- Screw the sprayer head back onto the hose, making sure it is tight and secure.
Tips to Prevent Future Leaks
Regular Maintenance of Your Bidet Sprayer
To prevent future leaks, it’s important to perform regular maintenance on your bidet sprayer:
- Check for any signs of leakage or damage periodically.
- Clean the sprayer head and hose regularly to remove any debris that may cause blockages.
- Replace worn-out parts proactively to prevent potential leaks.
Choosing Quality Replacement Parts
When replacing parts of your bidet sprayer, make sure to choose high-quality replacement parts. This will ensure their durability and compatibility with your bidet sprayer system. Always follow the manufacturer’s recommendations when selecting replacement parts.
When to Call a Professional Plumber
Signs of Major Bidet Sprayer Issues
In some cases, fixing a leaking bidet sprayer may require the expertise of a professional plumber. Here are some signs that indicate you should seek professional help:
- Severe water leakage that cannot be easily fixed with basic repairs.
- Continuous leaks despite replacing necessary parts.
- Visible damage or corrosion to the bidet sprayer system.
Benefits of Professional Plumbing Services
Professional plumbers have the knowledge, experience, and specialized tools to diagnose and repair complex bidet sprayer issues. Hiring a professional can save you time and ensure a long-lasting solution to your leaking bidet sprayer problem. It’s essential to choose a reputable and licensed plumber for the best results.
With this guide, you should now have the knowledge to tackle a leaking bidet sprayer on your own. Remember to follow the steps carefully, and if you encounter any difficulties or major issues, don’t hesitate to seek the assistance of a professional plumber. By fixing the leak promptly and implementing proper maintenance, you can enjoy a fully functional bidet sprayer without the inconvenience of water leakage.