Have you ever experienced a frustrating moment when your controller button gets stuck or doesn’t respond properly? Don’t worry, you’re not alone. This common issue can be easily fixed with a little know-how and some basic tools. In this article, we will guide you through the process of fixing a jammed controller button step by step. By the end, you’ll have your controller working like new again.
Understanding the Structure of a Controller
Before we dive into the details of fixing a jammed button, let’s take a moment to understand the structure of a typical controller. A controller consists of several components, including buttons, triggers, analog sticks, and more. Each of these elements plays a crucial role in delivering an optimal gaming experience.
When you hold a controller in your hands, you may not realize the intricate design and engineering that goes into its creation. Every button, trigger, and analog stick is carefully placed and designed to provide a comfortable and intuitive gaming experience.
Let’s start by exploring the role of buttons in a controller.
The Role of Buttons in a Controller
Buttons are the most commonly used input mechanism in a controller. They allow gamers to interact with the game by performing various actions, such as jumping, shooting, or accessing menus. Buttons are essential for gameplay and overall controller functionality.
Imagine playing a fast-paced action game without buttons. It would be nearly impossible to navigate through the game world, perform actions, or interact with objects. Buttons give us the power to control our virtual characters and immerse ourselves in the gaming experience.
Identifying Different Types of Controller Buttons
Controller buttons come in various shapes, sizes, and designs. The most common types include action buttons, directional buttons, shoulder buttons, and trigger buttons. Each type of button serves a specific purpose and enhances the gameplay experience.
Action buttons are typically located on the front face of the controller and are used for primary actions like jumping, shooting, or interacting with objects in the game world. These buttons are usually larger in size and have a distinct shape or symbol to differentiate them from other buttons.
Directional buttons, also known as D-pads, are usually located on the left side of the controller. They allow players to navigate through menus, select options, or control the movement of their characters in games that don’t require analog stick input. D-pads often have a cross-shaped design, with each direction represented by an arrow.
Shoulder buttons, as the name suggests, are located on the top of the controller, near the shoulders. These buttons are often used for secondary actions or functions, such as switching weapons, activating special abilities, or performing context-sensitive actions. They are usually smaller in size and positioned for easy access during gameplay.
Trigger buttons, on the other hand, are located on the backside of the controller, right below the shoulder buttons. These buttons are primarily used for actions that require a variable input, such as accelerating or braking in racing games, or aiming and shooting in first-person shooters. Trigger buttons are designed to provide a comfortable grip and precise control over the input.
Now that we have a better understanding of the different types of buttons found on a controller, we can proceed with identifying the specific type of button causing the issue before proceeding with the repair.
Common Causes of Jammed Controller Buttons
Now that you have a basic understanding of a controller’s structure, let’s explore the common causes of jammed buttons.
When it comes to gaming, there’s nothing more frustrating than having a jammed controller button. Whether you’re in the middle of an intense battle or trying to navigate through a complex puzzle, a malfunctioning button can throw off your entire gaming experience. But what exactly causes these buttons to get stuck? Let’s dive deeper into the possible reasons.
Dust and Dirt Accumulation
One of the most prevalent causes of jammed buttons is the accumulation of dust and dirt over time. As you immerse yourself in the virtual world, your controller becomes a breeding ground for these tiny particles. They can find their way into the tiny gaps around the button and interfere with its smooth operation. Imagine a microscopic army of dust particles infiltrating your controller, causing havoc with every press of a button.
But how does dust and dirt actually jam a button? Well, when these particles accumulate, they create a barrier between the button and its housing. This barrier prevents the button from moving freely, resulting in a sticky or unresponsive sensation when pressed. It’s like trying to run through a field of mud – your movement is hindered, and you can’t perform at your best.
Physical Damage to the Controller
Accidental drops or impacts can lead to physical damage to the controller. We’ve all been there – a momentary lapse of coordination, and suddenly your controller is crashing to the ground. This damage may affect the button mechanism, causing it to get stuck or become unresponsive.
Think of your controller as a delicate piece of machinery. It’s designed to withstand the rigors of gaming, but it’s not invincible. When you drop your controller, the impact can cause misalignment or even breakage of the internal components responsible for button movement. It’s like dropping a finely tuned instrument – the harmony is disrupted, and you’re left with a jumbled mess of notes.
Wear and Tear Over Time
With extended use, buttons can experience wear and tear. The constant pressing of the button can wear down the internal components, resulting in a jammed or faulty button. It’s a natural consequence of the repetitive motions involved in gaming.
Imagine playing your favorite game for hours on end. Each time you press a button, the internal components responsible for registering that input are put to work. Over time, these components can become worn down, losing their precision and smoothness. It’s like a marathon runner reaching the finish line – their muscles are fatigued, and their movements become less fluid.
Additionally, the materials used in the construction of the buttons can also contribute to wear and tear. Rubber or silicone pads, which provide the spring-like resistance and tactile feedback, can degrade over time. This degradation can lead to a loss of responsiveness or even complete button failure.
In conclusion, jammed controller buttons can be caused by a variety of factors. Dust and dirt accumulation, physical damage, and wear and tear over time are just a few of the culprits. It’s important to take care of your controller, keeping it clean and handling it with care. After all, a well-functioning controller is the key to unlocking your gaming potential.
Safety Measures Before Starting the Repair
Before you start the repair process, it’s important to take some safety measures to avoid further damage or injury.
Repairing electronic devices requires careful attention to detail and adherence to safety protocols. By following these precautions, you can ensure a smooth and safe repair process.
Disconnecting the Controller
First and foremost, ensure that the controller is disconnected from any power source, such as a console or PC. This will prevent any accidental inputs or electric shock during the repair.
Unplugging the controller from its power source is a crucial step in ensuring your safety. By doing so, you eliminate the risk of electrical currents flowing through the device while you work on it. This precautionary measure significantly reduces the chances of damaging the controller or injuring yourself.
Gathering Necessary Tools
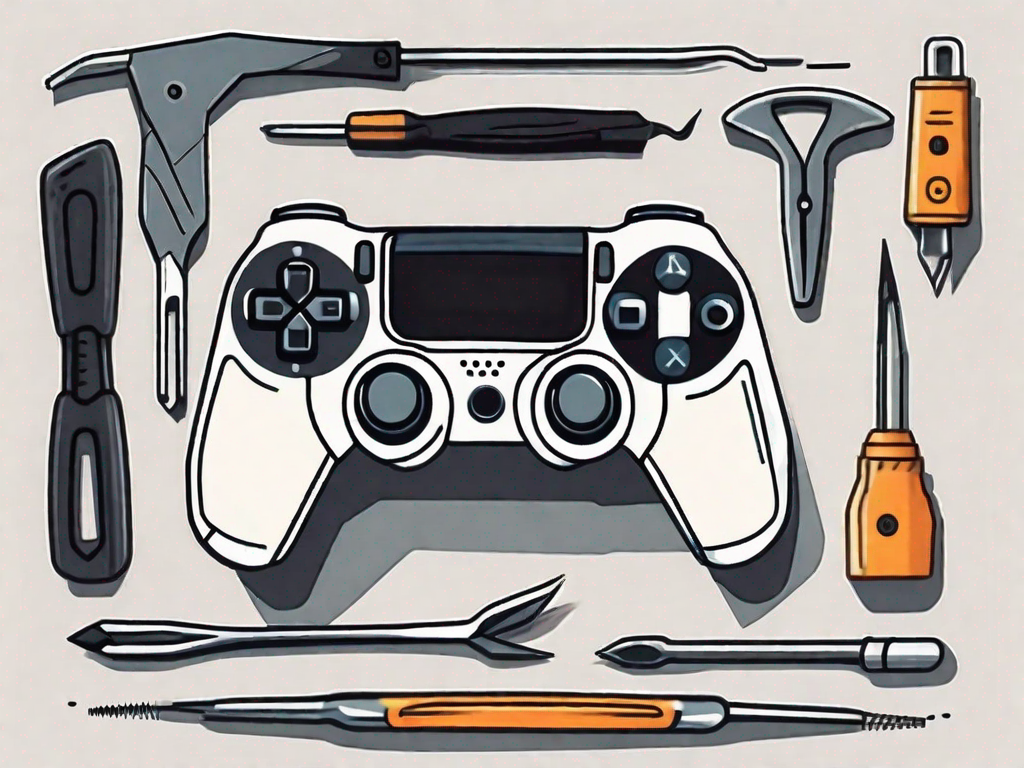
Next, gather the necessary tools for the repair. You will typically need a small Phillips head screwdriver, cotton swabs, rubbing alcohol, and a soft cloth. These tools will help you disassemble, clean, and reassemble the controller.
Having the right tools at your disposal is essential for a successful repair. A small Phillips head screwdriver will allow you to remove the screws holding the controller together, enabling you to access its internal components. Cotton swabs and rubbing alcohol are useful for cleaning any dirt, grime, or residue that may have accumulated over time. Finally, a soft cloth will help you wipe down the controller and ensure a clean and polished finish.
Remember to handle these tools with care and store them properly after use. Keeping your tools organized and in good condition will not only enhance your repair experience but also contribute to the longevity of your equipment.
Step-by-Step Guide to Fix a Jammed Button
Now that you’re ready to fix your jammed button, let’s dive into the step-by-step guide.
Opening the Controller
Carefully remove the screws on the back of the controller using the Phillips head screwdriver. Once the screws are removed, gently separate the controller’s two halves to gain access to the internal components.
As you open the controller, you may notice the intricate design of the internal circuitry. The wires and tiny components are like a hidden world, responsible for translating your button presses into actions on the screen. It’s fascinating to see the complexity behind such a seemingly simple device.
Inspecting the Button Mechanism
With the controller opened up, carefully inspect the button mechanism. Look for any visible signs of dirt, dust, or physical damage. Use the cotton swabs dipped in rubbing alcohol to clean the button and surrounding area. Be gentle to avoid causing additional damage.
While examining the button mechanism, you might notice the tiny springs that provide the necessary tension for the button to bounce back after being pressed. These springs are essential for the button’s functionality, and ensuring they are clean and free from any obstruction is crucial for a successful repair.
Cleaning the Button Area
Thoroughly clean the button area using the cotton swabs and rubbing alcohol. Ensure that all dust and dirt particles are removed. You can use a soft cloth to wipe away any excess moisture after cleaning.
As you clean the button area, take a moment to appreciate the precision required to remove every speck of dirt. The meticulousness of this process reflects the dedication and attention to detail that goes into repairing electronic devices.
Reassembling the Controller
After cleaning, carefully reassemble the controller by aligning the two halves and securely fastening the screws back in place. Ensure that all buttons and triggers are working properly before reconnecting the controller to your gaming device.
As you put the controller back together, you might find satisfaction in the feeling of the screws tightening and the two halves coming together seamlessly. It’s like solving a puzzle, knowing that each piece fits perfectly to restore the controller to its original state.
And there you have it – a fully functional and fixed controller button! Remember, patience and careful handling are key during the repair process. By following these steps, you can save yourself the expense of purchasing a new controller and get back to your gaming adventures in no time. Happy gaming!
Repairing your own controller not only saves you money but also empowers you with the knowledge and skills to troubleshoot and fix other electronic devices. The satisfaction of successfully repairing something on your own is immeasurable, and it’s a valuable skill to have in this increasingly digital world. So, don’t be afraid to take on these DIY projects and unleash your inner tech enthusiast!