A properly functioning sprinkler system is essential for maintaining a lush and healthy lawn. However, over time, wear and tear or accidental damage can lead to holes in the sprinkler line. If left unattended, these holes can cause water waste and a decline in the health of your lawn. Fortunately, fixing a hole in a sprinkler line is a relatively straightforward process that you can do yourself. In this guide, we will walk you through the necessary steps to identify, locate, and fix a hole in a sprinkler line, ensuring your lawn stays hydrated and beautiful.
Understanding the Basics of a Sprinkler Line
Before we dive into the actual repair process, it’s important to understand the basics of a sprinkler line. A sprinkler line is a network of pipes and fittings that deliver water to your lawn through sprinkler heads. Understanding the components and working principles behind a sprinkler line will help you identify and fix any issues that may arise.
Imagine a hot summer day, with the sun beating down on your lawn. The grass is starting to turn brown, and you know it’s time to give it some much-needed hydration. That’s where the sprinkler line comes in. It’s like the lifeline for your lawn, delivering water to every corner, ensuring that your grass stays green and healthy.
Components of a Sprinkler Line
A typical sprinkler line comprises several vital components. These include the main supply line, lateral lines, control valves, sprinkler heads, and various fittings and connectors. Each component plays a crucial role in the overall functioning of the sprinkler system.
The main supply line is the backbone of the entire system. It connects your home’s water source to the sprinkler system, ensuring a steady flow of water. Made of durable materials like PVC or polyethylene, the main supply line is designed to withstand the pressure and deliver water efficiently.
Branching off from the main supply line are the lateral lines. These smaller pipes distribute the water to individual sprinkler heads. They act as the circulatory system of your lawn, ensuring that every corner receives the right amount of water.
Control valves are like the gatekeepers of the sprinkler system. They regulate the water flow to each zone or section of the lawn. By adjusting the valves, you can control which areas receive water and for how long. This allows for adjustable coverage and efficient water usage.
Of course, we can’t forget about the sprinkler heads themselves. These are the stars of the show, responsible for spraying water onto your lawn. There are different types of sprinkler heads, including pop-up heads that rise from the ground when activated and rotor heads that rotate to cover a larger area.
How Sprinkler Lines Work
Now that we know the components, let’s take a closer look at how sprinkler lines actually work. When you turn on your sprinkler system, water flows from the main supply line through the lateral lines and out of the sprinkler heads.
Think of it as a well-orchestrated dance. The water moves through the pipes, guided by the force of gravity and the pressure created by the water source. As it reaches the sprinkler heads, it’s like a grand finale, as water is sprayed onto your lawn, nourishing the thirsty grass.
But how does the system know when to start and stop? That’s where the control valves come into play. They act as the conductors, directing the flow of water to different zones or sections of your lawn. By programming the control valves, you can create a schedule that ensures each area receives the right amount of water at the right time.
So, the next time you see your sprinkler system in action, take a moment to appreciate the intricate workings behind it. From the main supply line to the sprinkler heads, each component plays a vital role in keeping your lawn lush and vibrant.
Identifying the Problem in Your Sprinkler Line
Before you can fix a hole in your sprinkler line, you need to identify the problem area. Several signs can indicate the presence of a hole in your sprinkler line, and familiarizing yourself with these signs will help you pinpoint the location of the issue.
One of the most common signs of a hole in your sprinkler line is a sudden decrease in water pressure. If you notice that your sprinkler system is not performing as well as it used to, it could be a clear indication that there is a hole somewhere in the line. This decrease in water pressure can affect the efficiency of your sprinkler system, leading to uneven watering and dry patches in your lawn.
In addition to a decrease in water pressure, another sign of a hole in your sprinkler line is oversaturation or pooling water in specific spots of your lawn. If you notice areas where the grass is excessively wet or water is accumulating, it is likely that there is a leak or hole in the system. This can not only waste water but also damage your lawn if left untreated.
Locating the Hole in Your Sprinkler Line
Once you have identified the signs of a hole in your sprinkler line, the next step is to locate the exact spot where the issue is occurring. There are several methods you can use to pinpoint the location of the hole.
One method is visual inspection. Take a close look at your sprinkler system and the surrounding area. Look for any visible signs of damage, such as cracks, holes, or water seeping out. Pay attention to areas where the grass is greener or more lush, as this could indicate a leak.
Another method is listening for water hissing sounds. Turn off all other sources of noise and walk along your sprinkler line. If you hear a distinct hissing sound, it is a strong indication that there is a hole nearby. This method is particularly useful if the hole is underground or hidden from plain sight.
If visual inspection and listening for sounds do not yield results, you can consider using a sprinkler leak detection tool. These tools use advanced technology to detect leaks and holes in your sprinkler line. They work by pressurizing the system and monitoring pressure changes to identify the exact location of the issue. Sprinkler leak detection tools can be a valuable investment if you have a complex sprinkler system or if the hole is difficult to locate.
Once you have successfully identified the problem area and located the hole in your sprinkler line, you can proceed with the necessary repairs to ensure the optimal performance of your sprinkler system and the health of your lawn.
Tools Needed to Fix a Hole in a Sprinkler Line
Now that you have identified and located the hole in your sprinkler line, it’s time to gather the necessary tools for the repair job. The tools you need will depend on the type and size of the hole, as well as your personal preferences for ease and efficiency.
When it comes to fixing a hole in a sprinkler line, having the right tools is essential. Not only will the right tools make the job easier, but they will also ensure that the repair is done correctly and will last for a long time.
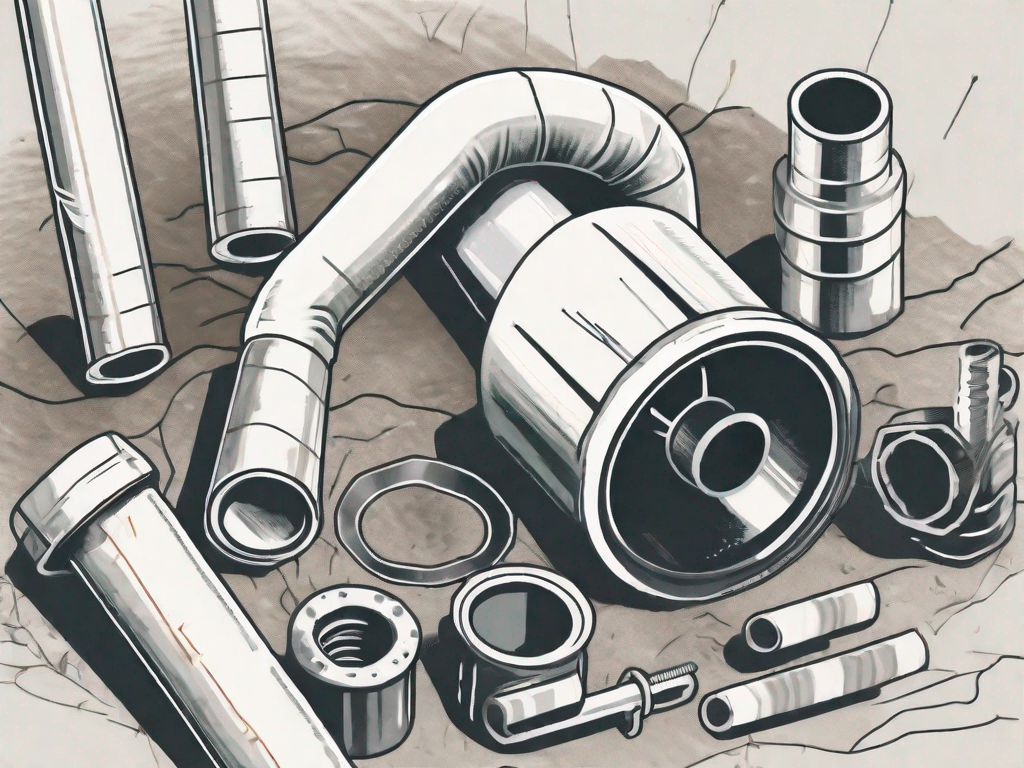
One of the essential tools you will need is a PVC pipe cutter. This tool will allow you to cut the damaged section of the sprinkler line with precision, ensuring a clean and even cut. A PVC primer is also necessary to prepare the surface of the pipe for the adhesive.
In addition to the PVC pipe cutter and primer, you will need PVC glue. This adhesive will bond the new patching material to the existing sprinkler line, creating a strong and durable repair. It is important to choose a high-quality PVC glue that is specifically designed for outdoor use.
Speaking of patching material, there are a few options available. One option is a repair coupling, which is a fitting that can be used to join two sections of pipe together. Another option is a slip fix coupling, which is similar to a repair coupling but allows for a more flexible repair. The choice between these two options will depend on the specific needs of your sprinkler line.
Lastly, you will need Teflon tape. This tape is used to create a watertight seal between threaded connections, preventing leaks and ensuring that your sprinkler system operates efficiently.
Optional Tools for Extra Efficiency
While the essential tools mentioned above will get the job done, there are a few optional tools that can make the repair process even more efficient.
A utility knife can come in handy when removing any excess material or smoothing out rough edges after cutting the pipe. This tool allows for precise trimming and ensures a clean and professional-looking repair.
If you want to take your repair skills to the next level, consider investing in a sprinkler leak detection tool. This tool uses advanced technology to locate leaks in your sprinkler system, making it easier to identify any additional holes or weak spots that may need attention.
For those who have a more extensive sprinkler system, a drip tape kit can be a valuable addition to your toolbox. This kit includes all the necessary components to install a drip irrigation system, which can help conserve water and deliver precise amounts of water to your plants.
Lastly, a valve locator can be a time-saving tool if you have trouble locating specific valves in your sprinkler system. This device uses electromagnetic signals to pinpoint the exact location of buried valves, making it easier to shut off the water supply during repairs or maintenance.
Step-by-Step Guide to Fixing a Hole in a Sprinkler Line
Now that you have all the necessary tools, it’s time to tackle the repair process. Follow these step-by-step instructions to fix a hole in your sprinkler line effectively.
Preparing the Damaged Area
Start by turning off the water supply to your sprinkler system. This will prevent any further water leakage during the repair process. Next, carefully excavate the area around the hole, ensuring that you have enough space to work comfortably. Clean the exposed pipe surfaces with a damp cloth to remove any dirt or debris.
Applying the Repair
Select the appropriate patching material based on the size and location of the hole. Apply PVC primer to the outer surface of the damaged area, as well as the inside of the repair coupling. Once the primer has dried, apply PVC glue to the same surfaces. Connect the repair coupling over the hole, ensuring a snug fit. Hold the coupling in place for a few minutes to allow the glue to bond securely.
Checking the Repair
After completing the repair, turn on the water supply to your sprinkler system. Check for any signs of leakage or inadequate water flow. If everything appears to be working correctly, backfill the excavated area with soil and pack it down firmly. Make sure to restore any grass or landscaping that was disrupted during the repair process.
Tips for Maintaining Your Sprinkler Line
Now that you have successfully fixed a hole in your sprinkler line, it’s important to take steps to prevent future damage and ensure the longevity of your irrigation system.
Regular Inspection and Cleaning
Periodically inspect your entire sprinkler line for any signs of wear, damage, or leaks. Clean the sprinkler heads and remove any debris that may obstruct proper water flow. Regular maintenance and cleaning will help prevent potential issues and ensure optimal performance.
Preventing Damage to Your Sprinkler Line
Take precautions to avoid accidental damage to your sprinkler line. Be cautious when mowing your lawn, as hitting the sprinkler heads or pipes with a lawnmower can cause significant harm. Additionally, during colder months, make sure to drain the water from your sprinkler system to prevent freezing and potential pipe damage.
By following these guidelines, you can effectively fix a hole in your sprinkler line and maintain a healthy and vibrant lawn. Regular inspection, prompt repairs, and preventative measures will keep your sprinkler system in optimal condition, ensuring your lawn stays nourished and thriving year-round.