Have you ever encountered issues with your GameCube disc not working properly? It can be frustrating when your favorite games become unplayable. However, fear not!
In this article, we will guide you through the process of fixing your GameCube disc, step by step. By following these instructions, you can potentially save your disc and get back to enjoying your games in no time.
Understanding the Problem
When it comes to gaming, the GameCube has always been a popular choice among gamers. With its wide range of exciting games and sleek design, it’s no wonder that many people still enjoy playing on this classic console. However, like any electronic device, GameCube discs can experience issues over time, even though they are known for their durability.
Common Issues with GameCube Discs
One of the most frustrating problems that GameCube owners may encounter is disc read errors. These errors can occur when the console is unable to read the data on the disc, resulting in game freezes or an inability to play the game altogether. Another common issue is scratches on the disc’s surface. These scratches can occur due to mishandling or improper storage, and they can affect the disc’s ability to be read by the console. Additionally, some users may experience disc eject problems, where the console fails to eject the disc properly, making it difficult to remove or replace the game.
Understanding these common issues is crucial for effectively addressing the problem. By knowing what problems can arise with GameCube discs, you can take the necessary steps to prevent them or troubleshoot them if they occur.
Identifying the Specific Problem with Your Disc
If you find that your GameCube disc is not working, it’s essential to identify the specific problem before attempting any fixes. Start by examining the disc closely and checking for visible scratches or dirt. Sometimes, a simple cleaning of the disc’s surface can resolve the issue. However, if you notice deep scratches or other physical damage, the problem may be more severe and require additional steps to fix.
Another factor to consider when identifying the problem is the behavior of the console. Is it consistently failing to read any discs, or is it only having trouble with a specific game? This information can help narrow down the potential causes and guide you in finding the appropriate solution.
Remember, diagnosing the specific problem with your GameCube disc is the first step towards resolving the issue. By carefully examining the disc and considering the console’s behavior, you can determine the appropriate course of action to take, whether it’s a simple cleaning, seeking professional repair, or exploring other troubleshooting options.
Preliminary Steps Before Fixing
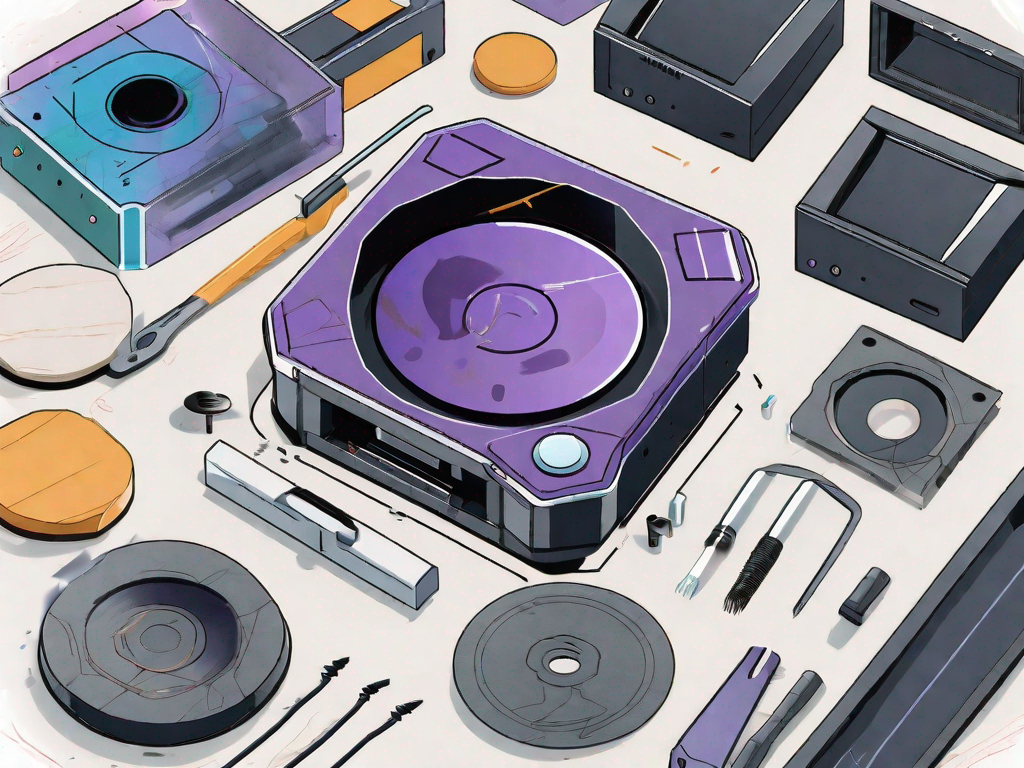
Gathering Necessary Tools
Before you start fixing your GameCube disc, gather the necessary tools to ensure a smooth process. You will need a microfiber cloth, rubbing alcohol, mild dish soap, cotton swabs, and a soft-bristled brush. These tools will assist you in cleaning and repairing the disc effectively.
Let’s dive into each tool and understand their role in the disc repair process:
- Microfiber cloth: This soft and lint-free cloth is perfect for gently wiping the disc’s surface without causing any scratches.
- Rubbing alcohol: It acts as a powerful solvent that helps remove stubborn dirt, fingerprints, and grime from the disc.
- Mild dish soap: Mixing a small amount of mild dish soap with water creates a gentle cleaning solution that can effectively remove grease and stains from the disc’s surface.
- Cotton swabs: These small, absorbent tools are ideal for reaching tight spots on the disc and applying cleaning solutions with precision.
- Soft-bristled brush: A soft-bristled brush, like a toothbrush, can be used to gently scrub the disc’s surface and remove any remaining debris.
Safety Measures to Consider
When working with sensitive electronic devices like GameCube discs, it’s essential to take safety precautions. Make sure to handle the disc with clean hands to avoid transferring oils or dirt onto the surface. This will help prevent further damage to the disc during the repair process.
Additionally, always power off your GameCube console and unplug it from the electrical outlet before attempting any fixes. This step ensures your safety and prevents any accidental damage to the console while working on the disc.
Remember, safety should always be a top priority when handling electronic devices, and following these safety measures will help you avoid any unnecessary mishaps.
Cleaning the GameCube Disc
Keeping your GameCube disc clean is not only important for maintaining its performance but also for prolonging its lifespan. As you continue to enjoy your favorite games, dust, fingerprints, and other debris can accumulate on the disc’s surface, leading to read errors and game interruptions. By regularly cleaning your disc, you can remove these obstructions and restore its functionality.
Now, let’s dive into a step-by-step guide to effectively clean your GameCube disc:
Step 1: Rinsing with Warm Water
The first step in cleaning your GameCube disc is to rinse it with warm water. This helps remove any loose dirt and debris that may have settled on the surface. Hold the disc under a gentle stream of warm water and rotate it slowly to ensure thorough rinsing.
Step 2: Using Mild Dish Soap
Next, apply a small amount of mild dish soap to a microfiber cloth. Gently wipe the disc’s surface in small, circular motions. It’s important to avoid using excessive pressure, as this could potentially cause further damage to the disc. Instead, let the mild dish soap do its magic in lifting away dirt and grime.
Step 3: Rinsing Off Soap Residue
After you’ve cleaned the disc with the microfiber cloth and dish soap, it’s time to rinse off any soap residue. Hold the disc under warm water once again and ensure that all traces of soap are thoroughly washed away. This step is crucial to prevent any potential damage that soap residue might cause during gameplay.
Step 4: Tackling Stubborn Dirt and Fingerprints
If there are any stubborn dirt or fingerprints remaining on the disc’s surface, don’t worry! You can easily address them with the help of rubbing alcohol and a cotton swab. Dip the cotton swab in rubbing alcohol and carefully clean the affected areas. The rubbing alcohol will help dissolve the dirt and remove any lingering fingerprints.
Step 5: Drying with a Microfiber Cloth
After you’ve completed the cleaning process, it’s essential to dry the disc thoroughly. Take a clean microfiber cloth and gently pat the disc dry. Avoid using any abrasive materials or rough paper towels, as they may scratch the disc’s surface. Patience is key here, as a gentle touch will ensure that your disc remains in pristine condition.
By following these step-by-step instructions, you can effectively clean your GameCube disc and significantly improve its performance. Remember to make cleaning your disc a regular part of your gaming routine to keep it in top-notch shape for years to come!
Repairing Scratches on the Disc
Assessing the Severity of Scratches
Scratches on your GameCube disc can hinder its ability to be read correctly. Before attempting any scratch removal techniques, it is important to assess the severity of the scratches. By understanding the extent of the damage, you can determine the best course of action for repair.
Minor scratches are often surface-level and can be fixed with relative ease. These scratches may appear as small, superficial marks that do not penetrate deep into the disc’s protective layer. On the other hand, deep scratches are more challenging to repair. These scratches may be longer and more noticeable, potentially affecting the disc’s readability.
When examining the scratches, it is helpful to hold the disc up to the light. This allows you to see the depth and length of each scratch more clearly. By carefully inspecting the disc, you can make an informed decision about the appropriate repair method.
Techniques for Scratch Removal
If the scratches on your GameCube disc are minor, there are several techniques you can try to remove them. These methods have been known to effectively diminish the appearance of scratches and improve the disc’s readability.
- Toothpaste Method: One popular method involves using toothpaste to repair minor scratches. To begin, apply a small amount of toothpaste to the scratched area. Using a soft-bristled brush, gently rub the toothpaste into the scratch in a circular motion. Be sure to cover the entire scratched area. Afterward, rinse off the toothpaste with lukewarm water and pat the disc dry with a soft, lint-free cloth. Check if the scratches have diminished. If necessary, repeat the process until the desired results are achieved.
- CD/DVD Repair Kit: Another option is to purchase a CD/DVD repair kit from a local electronics store. These kits typically include a specialized solution and a disc repair device. Follow the instructions provided with the kit to repair the scratches on your GameCube disc. The process usually involves applying the solution to the scratched area and using the repair device to buff out the scratches. With careful application and proper technique, this method can effectively restore the disc’s surface.
Regardless of the method chosen, it is crucial to handle the disc with care throughout the repair process. Avoid using excessive force or abrasive materials that could cause further damage. By treating the disc gently, you can increase the likelihood of successful scratch removal.
Remember, while these techniques can improve the appearance of minor scratches, they may not completely eliminate deep or severe scratches. In such cases, it may be necessary to seek professional disc repair services or consider replacing the damaged disc.
Troubleshooting Other Disc Issues
Dealing with Disc Read Errors
If your GameCube disc is experiencing read errors, try the following troubleshooting steps:
- Check the disc for any visible dirt or debris and clean it using the steps mentioned earlier.
- Inspect the disc tray of your GameCube console for any obstructions or debris. Clear out any foreign objects that may prevent the disc from being read properly.
- If the problem persists, try using the disc on another GameCube console to determine if the issue lies with the disc or the console itself.
If none of these steps resolve the disc read errors, it may be necessary to seek professional repair or consider replacing the disc.
Addressing Disc Eject Problems
If your GameCube disc keeps ejecting without any user input, try these troubleshooting steps:
- Ensure that the disc is inserted correctly into the disc tray and that it is properly seated in the console.
- Clean the disc using the cleaning steps mentioned earlier to eliminate any potential compatibility issues causing the disc to eject.
- If the problem persists, it may be a hardware issue within the console. Contact Nintendo support or seek professional repair for further assistance.
Remember to exercise caution and follow the manufacturer’s guidelines when attempting any repairs or troubleshooting steps.
Now that you have a comprehensive understanding of how to fix a GameCube disc, you can try these techniques on your own. Remember to be patient and gentle throughout the process to avoid causing further damage. With a little bit of effort and these helpful tips, you can revive your GameCube disc and continue enjoying your favorite games for years to come.