Recessed lights are a popular choice for homeowners looking to add a sleek and modern touch to their living space. However, one common problem that many people encounter with recessed lights is flickering. If you’ve experienced this frustrating issue and want to know how to fix it, you’re in the right place. In this article, we will guide you through the process of troubleshooting and repairing a flickering recessed light.
Understanding the Causes of a Flickering Recessed Light
Before we dive into the repair process, it’s important to understand the potential causes of a flickering recessed light. By identifying the root cause, you can take the necessary steps to resolve the issue effectively.
Having a well-lit home is essential for creating a comfortable and inviting atmosphere. However, when one of your recessed lights starts to flicker, it can be frustrating and even cause discomfort. Understanding the causes of a flickering recessed light is the first step towards finding a solution.
Electrical Issues Leading to Flickering
One of the most common causes of a flickering recessed light is electrical issues. This can include problems with the wiring, faulty connections, or overloaded circuits. Electrical systems are complex networks that require proper installation and maintenance to function optimally.
When it comes to recessed lights, improper wiring can lead to flickering. If the wires are not securely connected or if there is a short circuit, it can cause the light to flicker intermittently. Additionally, overloaded circuits can also contribute to flickering lights. If there are other electrical devices drawing power from the same circuit, it can cause fluctuations in voltage, resulting in the recessed light flickering.
Problems with the Light Bulb
Another culprit behind a flickering recessed light is the light bulb itself. While it may seem like a simple component, the type and condition of the bulb can have a significant impact on the performance of the light fixture.
If the bulb is loose, it can cause intermittent flickering. This can happen if the bulb is not screwed in tightly or if the socket is worn out. Additionally, using a bulb that is incompatible with the fixture can also lead to flickering. Different fixtures have different voltage and wattage requirements, and using a bulb with wattage higher than what the fixture is designed for can cause the light to flicker.
Issues with the Light Fixture
In some cases, the problem may lie within the light fixture itself. Over time, light fixtures can experience wear and tear, leading to various issues that can cause flickering.
Loose connections within the fixture can cause intermittent flickering. If the wires are not securely attached, they can create an unstable electrical connection, resulting in the light flickering. Corroded wires can also contribute to flickering. Over time, exposure to moisture or other environmental factors can cause the wires to deteriorate, affecting the flow of electricity.
Another potential issue is a faulty dimmer switch. Dimmer switches allow you to adjust the brightness of the light, but if they are malfunctioning, they can cause flickering. If the dimmer switch is old or damaged, it may not be able to regulate the flow of electricity properly, resulting in flickering lights.
When troubleshooting a flickering recessed light, it’s essential to thoroughly inspect the fixture to determine if it requires repair or replacement. By identifying the specific cause of the flickering, you can take the necessary steps to resolve the issue and restore proper lighting to your space.
Safety Precautions Before Starting the Repair
Now that you have a better understanding of the potential causes, it’s crucial to prioritize safety before attempting to fix a flickering recessed light. Taking the following precautions will help protect you from electrical hazards and ensure a successful repair.
When it comes to electrical repairs, safety should always be the top priority. By following these safety precautions, you can minimize the risk of accidents and ensure a smooth repair process.
Turning Off the Power
Before working on any electrical components, always turn off the power to the affected area. This step is crucial to prevent electric shock and other potential hazards. Locate the circuit breaker panel and switch off the corresponding circuit. It’s important to double-check that the power is indeed off by testing the light switch. This extra precaution ensures that you are working with a completely de-energized system.
Remember, working with live electrical wires can be extremely dangerous. Even if you think you have turned off the power, it’s always better to be safe than sorry. Take the time to verify that the circuit is de-energized before proceeding with the repair.
Using the Correct Tools
Having the right tools for the job is essential for a safe and efficient repair. Before starting the repair, make sure you have all the necessary tools at hand. A voltage tester is a must-have tool to ensure that there is no electrical current flowing through the wires. This will help you identify if the power is truly off.
In addition to a voltage tester, wire cutters, and screwdrivers, you may also need specific tools based on your fixture. Different recessed lights may have unique requirements, so it’s important to have the appropriate tools ready. Using improper or damaged tools can increase the risk of accidents, so always ensure that your tools are in good condition before starting the repair.
Protecting Your Eyes and Hands
Working with electrical systems requires caution and the use of personal protective equipment (PPE). To protect your eyes from debris and potential hazards, wear safety goggles. These goggles will shield your eyes from any sparks, dust, or debris that may be generated during the repair process.
In addition to eye protection, it’s essential to protect your hands from electric shock. Always wear insulated gloves when working with electrical components. These gloves provide an extra layer of protection and minimize the risk of electric shock. Remember, even if you have turned off the power, there may still be residual electrical energy present, so wearing insulated gloves is a crucial safety measure.
By following these safety precautions, you can ensure that your repair process goes smoothly and without any accidents. Remember, when it comes to electrical repairs, it’s always better to be safe than sorry. Prioritize safety at all times, and if you are unsure about any aspect of the repair, it’s best to consult a professional electrician.
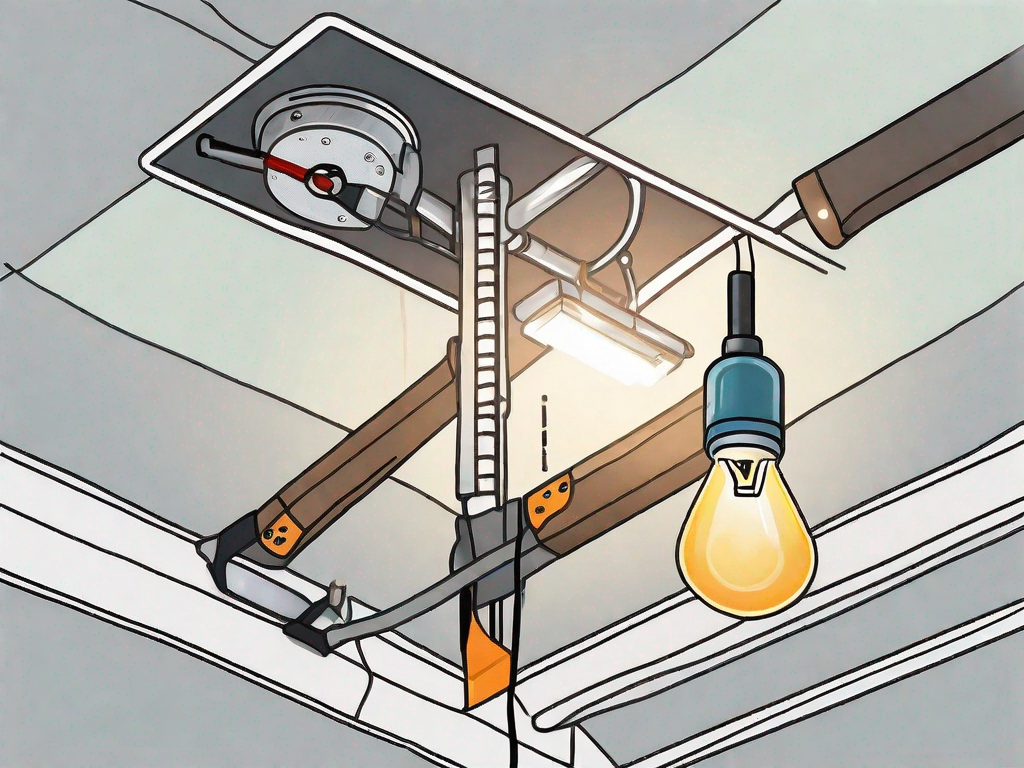
Step-by-Step Guide to Fixing a Flickering Recessed Light
Are you tired of dealing with a flickering recessed light? Don’t worry, we’ve got you covered! Follow these step-by-step instructions for a successful repair and say goodbye to that annoying flicker.
Checking the Light Bulb
Start by turning off the power to the light fixture. Safety first, folks! Once the power is off, carefully remove the light bulb from the socket. Take a moment to appreciate the beauty of this small but mighty source of light. Now, inspect the bulb for any signs of damage or loose connections. Is there a tiny filament that’s on the verge of giving up? If the bulb appears faulty, it’s time for a replacement. Head to your nearest hardware store and find a new bulb of the correct wattage and type. Trust us, your flickering light will thank you.
But wait, before you rush to the store, let’s dive a little deeper into the world of light bulbs. Did you know that different types of bulbs emit different colors of light? From warm yellow hues to cool white tones, the choice is yours. Consider the ambiance you want to create in your space and choose a bulb that complements your style. After all, lighting is not just about functionality; it’s an art form.
Inspecting the Wiring
If the problem persists after replacing the bulb, it’s time to put on your detective hat and investigate the wiring. Carefully inspect the wiring connections within the light fixture, ensuring all wires are securely connected. Look closely, my friend. Are there any loose wires trying to escape their duties? If any connections are loose or damaged, it’s time to show them who’s boss. Grab your trusty wire cutters and trim the affected area to create a fresh connection. You’re like a surgeon saving the day, one wire at a time.
While we’re on the topic of wires, did you know that they come in different colors? It’s like a rainbow of electrical goodness. Each color represents a different purpose, making it easier for electricians to navigate the complex world of circuits. From black to white, green to red, each wire has a role to play. So next time you’re inspecting your light fixture’s wiring, take a moment to appreciate the organized chaos of those colorful strands.
Examining the Light Fixture
If the wiring appears intact, it’s time to turn our attention to the light fixture itself. Give it a good once-over, like a detective examining a crime scene. Are there any loose parts that need tightening? Any damaged wires crying out for help? And oh, the horror of corrosion! Take a deep breath and grab a wire brush to clean away any signs of this pesky enemy. Remember, a clean fixture is a happy fixture.
But what if your fixture is beyond repair? Don’t fret, my friend. Sometimes, it’s best to let go and embrace the new. Consider replacing your old fixture with a shiny new one that is compatible with your recessed light system. Explore the world of lighting design and find a fixture that not only solves your flickering problem but also adds a touch of style to your space. It’s like giving your room a makeover, one light fixture at a time.
And there you have it – a step-by-step guide to fixing a flickering recessed light. You’ve conquered the flicker and emerged victorious. Now go forth and enjoy the steady glow of your newly repaired light. May it brighten your days and illuminate your nights.
When to Call a Professional Electrician
While troubleshooting and fixing a flickering recessed light can often be done by homeowners, there are situations where it is best to seek professional help.
Persistent Flickering After Troubleshooting
If you have followed all the steps above and the light continues to flicker, it may indicate a more complex issue that requires the expertise of a professional electrician. They will have the knowledge and equipment to diagnose and resolve the problem safely and effectively.
Signs of Serious Electrical Problems
If the flickering is accompanied by other electrical issues, such as frequently tripped breakers, burning smells, or sparks, it is essential to contact an electrician immediately. These signs could indicate a more serious underlying electrical problem that poses a significant risk.
Benefits of Professional Electrical Services
Calling a professional electrician not only ensures the safety of you and your property but also brings the expertise necessary to address the root cause of the flickering recessed light. They will accurately diagnose the problem, provide a long-lasting solution, and offer valuable advice to prevent future issues.
By following the steps outlined in this guide and knowing when to seek professional assistance, you can successfully fix a flickering recessed light. Remember, safety should always be a priority during any electrical repair. Good luck!