An Ethernet cable is an essential component for connecting devices to a network. However, accidents happen, and sometimes an Ethernet cable gets cut. Don’t worry; repairing a cut Ethernet cable is a straightforward process that you can easily do at home. In this article, we will guide you through the step-by-step process of fixing a cut Ethernet cable, as well as provide tips for troubleshooting common issues that may arise after the repair.
Understanding the Structure of an Ethernet Cable
Before we dive into the repair process, let’s take a moment to understand the structure of an Ethernet cable. Ethernet cables consist of several components that work together to transmit data between devices.
When it comes to Ethernet cables, it’s not just a simple wire that connects your devices. These cables are designed with precision and attention to detail to ensure reliable and fast data transmission. Let’s explore the components that make up an Ethernet cable.
Components of an Ethernet Cable
An Ethernet cable typically consists of four pairs of twisted wires, which are color-coded for easy identification. The twisting of the wires is not just for aesthetics; it serves a specific purpose. The twisting helps to reduce electromagnetic interference, also known as crosstalk, between the wires. This interference can degrade the quality of the signal being transmitted.
Each pair of wires is separated by an insulating material, usually made of plastic. This insulation not only prevents the wires from touching each other but also provides protection against external factors like moisture and physical damage.
The ends of the cable are terminated with connectors, such as RJ45 connectors, that plug into the respective devices. These connectors ensure a secure and reliable connection between the cable and the device. They are designed to withstand repeated insertions and removals without compromising the signal quality.
Importance of Each Wire in an Ethernet Cable
Each wire in an Ethernet cable plays a crucial role in transmitting data. The wires are specifically assigned to carry different types of signals, such as data, power, and ground. Understanding the function of each wire is essential when repairing a cut Ethernet cable to ensure proper connectivity.
The four pairs of wires in an Ethernet cable are color-coded for easy identification. The most common color-coding scheme used is the T568B standard, where the pairs are identified by the colors: orange, green, blue, and brown. Each pair consists of a solid-colored wire and a striped wire of the same color.
The solid-colored wire is called the “tip” wire, and the striped wire is called the “ring” wire. These wires work together to transmit the electrical signals required for data transmission. It’s important to note that the order in which the wires are connected to the connectors must match on both ends of the cable to ensure proper communication between devices.
In addition to the four pairs of wires, Ethernet cables also have a shielding layer, known as the “shield.” The shield helps to further reduce electromagnetic interference and provides additional protection against external factors. The shield is typically made of a metallic material, such as aluminum or copper, and is grounded to prevent the accumulation of static electricity.
Now that we have a better understanding of the structure of an Ethernet cable, we can proceed with the repair process confidently. Remember, each component of the cable serves a specific purpose in ensuring reliable and efficient data transmission.
Tools Needed to Repair a Cut Ethernet Cable
Now that we understand the structure of an Ethernet cable, let’s gather the necessary tools for the repair process. Having the right tools on hand will make the repair easier and more efficient.
When it comes to repairing a cut Ethernet cable, there are a few essential tools that you’ll need to have in your arsenal. These tools will help you strip the insulation from the wires, attach new connectors, and provide added protection and insulation for the repaired cable.
Essential Tools for Cable Repair
The following tools are essential for repairing a cut Ethernet cable:
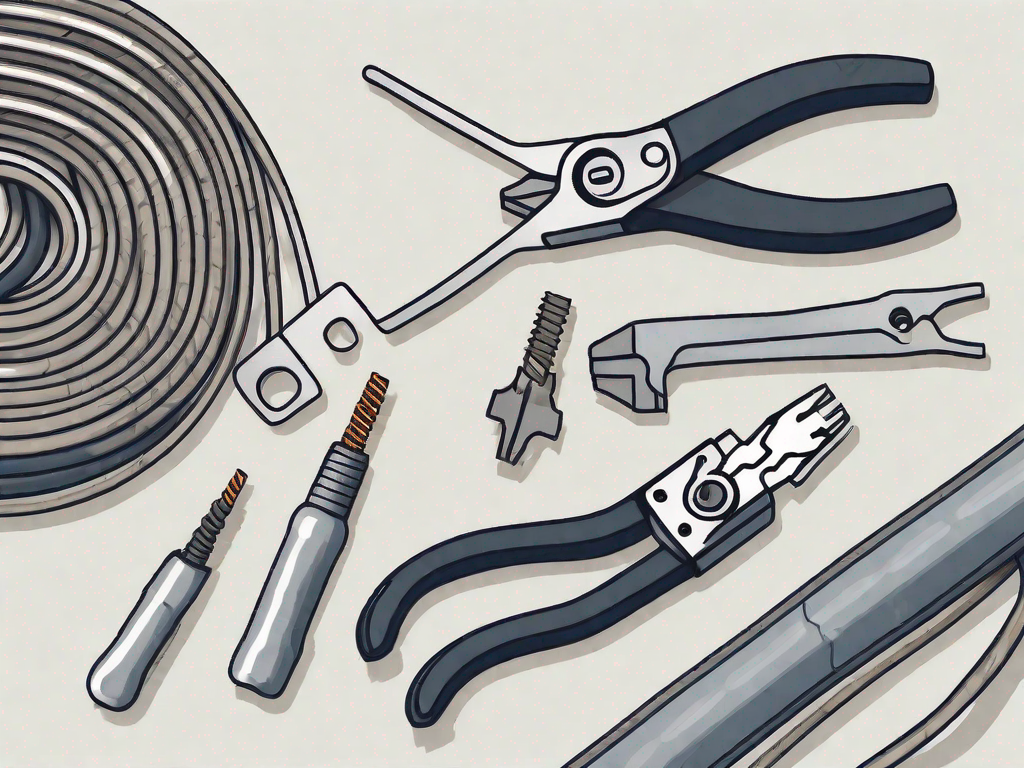
- Wire cutters or a utility knife: These tools will help you strip the insulation from the wires. A pair of wire cutters with a built-in wire stripper is ideal for this task, as it allows you to easily remove the outer insulation without damaging the inner wires.
- Crimping tool: A crimping tool is necessary for attaching new connectors to the repaired ends of the cable. This tool allows you to secure the connectors to the wires, ensuring a reliable and secure connection.
- Heat shrink tubing: Heat shrink tubing provides added protection and insulation for the repaired cable. It is a tube made of a special polymer material that shrinks when heated, creating a tight seal around the repaired area. This helps to prevent moisture and other contaminants from entering the cable and causing further damage.
Additional Helpful Tools for a Smooth Repair Process
While the essential tools mentioned above are necessary for a successful repair, there are a few additional tools that can greatly simplify the process and ensure a smooth outcome:
- Cable tester: A cable tester allows you to verify the continuity and quality of the repaired cable. It helps you ensure that all the wires are properly connected and that there are no faults or breaks in the cable. This tool is especially useful if you’re dealing with a complex network setup or if you want to double-check your repair work.
- Heat gun or lighter: These tools are used to shrink the heat shrink tubing. By applying heat, either with a heat gun or a lighter, you can make the tubing contract and form a tight seal around the repaired area. Be cautious when using a lighter, as it can generate an open flame. It’s recommended to use a heat gun for a safer and more controlled heating process.
- Electrical tape: Electrical tape can be used as an alternative to heat shrink tubing for insulation. While heat shrink tubing provides a more secure and professional-looking finish, electrical tape can still provide adequate insulation for the repaired cable. It’s important to wrap the tape tightly around the repaired area, ensuring that all exposed wires are covered and protected.
Having these additional tools at your disposal can make the repair process even smoother and more efficient. They provide you with the means to thoroughly test and protect your repaired cable, ensuring its longevity and reliability.
Safety Precautions Before Starting the Repair
Prior to starting the repair, it’s important to take some safety precautions to protect yourself and the surrounding environment. In this section, we will discuss some additional safety measures to ensure a safe repair process.
Handling the Cut Cable Safely
When working with a cut Ethernet cable, be cautious of any exposed wires. Avoid touching the bare wires to prevent electric shocks or injury. It’s advisable to wear protective gloves while handling the cable. In addition to gloves, wearing safety goggles can provide extra protection for your eyes in case any small particles or debris are dislodged during the repair.
Furthermore, it is essential to ensure that the area where you are working is well-ventilated. If there are any fumes or odors emitted during the repair, proper ventilation will help prevent any respiratory discomfort or health issues.
Ensuring a Safe Repair Environment
Choose a clean, dry, and well-lit area to perform the repair. A clutter-free workspace will minimize the risk of tripping or knocking over tools and equipment. Additionally, a dry environment will help prevent any accidental slips or electrical hazards.
Ensure that there are no flammable materials nearby, as heat may be involved in the repair process. Keeping a fire extinguisher within reach is always a good safety practice, even if the repair does not typically involve open flames. It’s better to be prepared for any unexpected situations.
Keep any pets or children away from the repair area to avoid accidents. Pets may be curious and inadvertently interfere with the repair process, while children may not fully understand the potential dangers involved. By creating a restricted area, you can minimize the risk of accidents and maintain a focused and safe repair environment.
Lastly, it is crucial to have a first aid kit readily available in case of any minor injuries that may occur during the repair. The kit should include essentials such as band-aids, antiseptic wipes, and sterile gauze pads. Being prepared for any mishaps will ensure that you can quickly address any injuries and continue the repair process safely.
By following these additional safety precautions, you can confidently proceed with the repair, knowing that you have taken all necessary measures to protect yourself and the surrounding environment.
Step-by-Step Guide to Fixing a Cut Ethernet Cable
Now, let’s get into the step-by-step process of repairing a cut Ethernet cable. Follow these instructions carefully to ensure a successful repair.
Preparing the Damaged Cable
Step 1: Use wire cutters or a utility knife to cut off the damaged portion of the Ethernet cable. Make sure to remove enough length to create a clean and undamaged section to work with.
Step 2: Carefully strip the outer insulation of the cable using wire cutters or a utility knife. Be cautious not to damage the inner wires.
Reconnecting the Wires
Step 3: Identify the color-coded wires and their specific functions. It’s essential to match the wires correctly to ensure proper connectivity.
Step 4: Align the stripped ends of the wires and twist them together in pairs. Ensure that the corresponding colors are correctly paired.
Step 5: Use a crimping tool to attach new connectors to the repaired ends of the cable. Follow the manufacturer’s instructions for proper crimping technique.
Testing the Repaired Cable
Step 6: After completing the repair, it’s crucial to test the cable to ensure that it is functioning properly.
Step 7: If you have a cable tester, use it to check the continuity and quality of the repaired cable. Follow the tester’s instructions for accurate results.
Step 8: If you don’t have a cable tester, you can connect the repaired cable between two devices and verify if they establish a successful connection.
Troubleshooting Common Issues After Repair
Even after a successful repair, you may encounter some issues with the connectivity of the Ethernet cable. Here are a few common problems and troubleshooting steps to help you resolve them.
Inconsistent Connection After Repair
If the connection is unstable or intermittent, check the repaired ends of the cable for loose connections. Verify that the wires are properly crimped and securely attached to the connectors. Additionally, ensure that the connectors are fully inserted into the respective devices.
No Connection After Repair
If there is no connection at all, first double-check the connectivity of the wires. Make sure the wires are correctly paired and crimped. If the problem persists, it’s possible that the damage extends beyond the section you repaired. In this case, consider replacing the entire cable.
By following this comprehensive guide, you can easily fix a cut Ethernet cable at home. Remember to prioritize safety during the repair process and test the cable before putting it back into use. With the right tools and proper technique, you’ll be back to enjoying a reliable network connection in no time.