A crumbling cinder block foundation can be a major concern for homeowners. It not only compromises the structural integrity of the building but also poses safety hazards. If you’ve noticed visible cracks, water leaks, or signs of instability in your foundation, it’s essential to take immediate action to prevent further damage. In this article, we will guide you through the necessary steps to fix a crumbling cinder block foundation.
Understanding the Basics of a Cinder Block Foundation
A cinder block foundation is a common type of foundation used in residential and commercial buildings. It consists of stacked concrete blocks held together with mortar. The blocks and mortar create a solid and sturdy foundation that supports the weight of the structure above.
When it comes to building a strong and reliable foundation, cinder blocks have been a popular choice for many years. These blocks are made of concrete, which is known for its strength and durability. The hollow design of the blocks allows for easy installation and provides space for reinforcement materials such as rebar or steel rods.
One of the key advantages of using cinder blocks for a foundation is their fire resistance. The blocks are made from a mixture of cement, sand, and aggregate, which makes them highly resistant to fire. This can be particularly important in areas prone to wildfires or for buildings that house flammable materials.
What is a Cinder Block Foundation?
A cinder block foundation is a type of masonry foundation made of concrete blocks. These blocks are typically hollow and filled with concrete or grout for added strength. Cinder block foundations are known for their durability and fire resistance.
When constructing a cinder block foundation, it is important to ensure that the blocks are properly aligned and level. This can be achieved by using a string line and a level to guide the placement of each block. Additionally, mortar is used to bond the blocks together, providing stability and preventing shifting over time.
Cinder block foundations can be used for a variety of building types, including houses, garages, and commercial structures. They are versatile and can be easily adapted to fit different architectural designs and construction requirements.
Why Does a Cinder Block Foundation Crumble?
There are several reasons why a cinder block foundation may crumble over time. The most common causes include water intrusion, soil settlement, and inadequate construction techniques. As the foundation weakens, cracks can form, leading to further deterioration.
Water intrusion is a major concern for cinder block foundations. If the blocks are not properly sealed or if there are cracks in the mortar, water can seep into the foundation. Over time, this can cause the blocks to deteriorate and weaken, leading to crumbling and structural instability.
Soil settlement is another common issue that can cause a cinder block foundation to crumble. As the soil beneath the foundation settles or shifts, it can put uneven pressure on the blocks, causing them to crack or break. This can be particularly problematic in areas with expansive clay soils or poor soil compaction.
Inadequate construction techniques can also contribute to the deterioration of a cinder block foundation. If the blocks are not properly aligned, if the mortar is not mixed correctly, or if the foundation is not reinforced with steel, it can weaken over time. This can result in cracks, shifting, and ultimately, the crumbling of the foundation.
Regular maintenance and inspections are essential for identifying and addressing any issues with a cinder block foundation. By addressing problems early on, you can prevent further damage and ensure the long-term stability of the structure.
Identifying the Signs of a Crumbling Foundation
Before diving into the repair process, it’s crucial to identify the signs of a crumbling cinder block foundation. This will help you determine the extent of the damage and the appropriate course of action.
A crumbling foundation can be a homeowner’s worst nightmare. Not only can it compromise the structural integrity of your home, but it can also lead to costly repairs if left unaddressed. Fortunately, there are several telltale signs that can help you identify if your foundation is in need of attention.
Visible Cracks and Fractures
One of the most obvious signs of a crumbling foundation is the presence of visible cracks and fractures in the cinder blocks or mortar joints. These cracks can be horizontal, vertical, or diagonal, and they may vary in size and width.
When inspecting your foundation, pay close attention to any cracks that are wider than 1/4 inch, as these can indicate a more serious problem. Additionally, look for any cracks that are accompanied by bulging or bowing walls, as this can be a sign of significant structural damage.
Water Leaks and Moisture Problems
If you notice water leaks or moisture problems in your basement or crawl space, it could be an indication of a damaged foundation. Water intrusion can weaken the cinder blocks and accelerate the deterioration process.
Keep an eye out for damp or wet spots on the walls or floor, as well as any signs of mold or mildew. These can all be signs of water seeping through cracks in the foundation, and should not be ignored.
Structural Instability and Shifting
A sinking or shifting foundation is a clear sign of structural instability. If you notice uneven floors, doors that stick or refuse to close properly, or walls that tilt or bow, it’s essential to address the problem immediately.
Structural instability can occur for a variety of reasons, including poor soil conditions, inadequate drainage, or improper construction techniques. Regardless of the cause, it’s important to consult with a professional to assess the extent of the damage and determine the best course of action.
In conclusion, identifying the signs of a crumbling foundation is the first step towards addressing the problem. By paying attention to visible cracks, water leaks, and structural instability, you can take proactive measures to protect your home and prevent further damage. Remember, when it comes to your foundation, it’s always better to be safe than sorry.
Safety Measures Before Starting the Repair
Before tackling the repair process, it’s crucial to prioritize safety. Here are some important safety measures to consider:
When it comes to repairing any damage, whether it’s a crack in the wall or a hole in the floor, taking the necessary safety precautions is paramount. By doing so, you not only protect yourself from potential hazards but also ensure that the repair process goes smoothly and efficiently.
Evaluating the Extent of Damage
Before starting any repairs, thoroughly evaluate the extent of the damage. This will help you determine the best approach and ensure that you have the necessary materials and tools. Take the time to carefully examine the affected area, noting any cracks, holes, or structural weaknesses that need to be addressed.
By conducting a thorough evaluation, you can avoid any surprises during the repair process. It allows you to assess the severity of the damage and plan accordingly. Whether it’s a minor crack that requires a simple patch or a more extensive repair that involves replacing entire sections, understanding the extent of the damage is crucial.
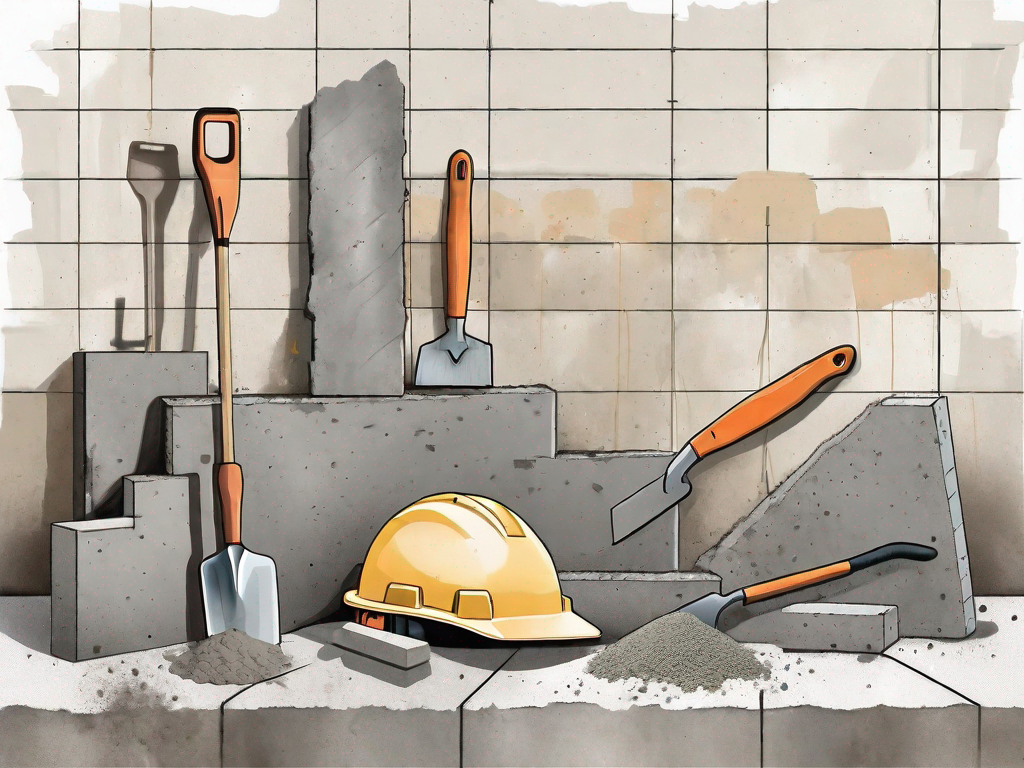
Necessary Tools and Equipment
Gather all the necessary tools and equipment required for the repair. This may include a hammer, chisel, trowel, mortar mix, concrete patching compound, safety goggles, gloves, and a dust mask. Having the right tools at your disposal ensures that you can work efficiently and effectively.
Each repair job may require different tools and materials, so it’s essential to assess the specific requirements of your repair project. By having all the necessary tools and equipment ready, you can avoid unnecessary delays and interruptions during the repair process.
Protective Gear and Precautions
Wear appropriate protective gear, such as safety goggles, gloves, and a dust mask, to protect yourself from any potential hazards. When working with materials like mortar mix or concrete patching compound, it’s important to shield your eyes, hands, and respiratory system from dust, debris, and chemical irritants.
Additionally, it’s crucial to follow proper safety precautions throughout the repair process. This includes working in a well-ventilated area, using tools correctly, and being mindful of your surroundings. By taking these precautions, you can minimize the risk of accidents and injuries.
Remember, safety should always be your top priority when undertaking any repair project. By evaluating the extent of the damage, gathering the necessary tools and equipment, and wearing appropriate protective gear, you can ensure a safe and successful repair process.
Step-by-Step Guide to Fixing a Crumbling Cinder Block Foundation
Now that you’re familiar with the basics and the signs of a crumbling cinder block foundation, let’s dive into the step-by-step repair process:
Preparing the Area
Start by clearing the area around the damaged sections of the foundation. Remove any debris, vegetation, or loose material that may obstruct the repair work. This includes rocks, leaves, and any other foreign objects that may have accumulated over time. It’s important to have a clean and clear work area to ensure the repair process goes smoothly.
Once the area is cleared, it’s time to assess the extent of the damage. Take a close look at the cinder blocks and mortar joints to identify any cracks, chips, or areas of deterioration. This will help you determine the scope of the repair and the materials you’ll need to complete the job.
Repairing the Cracks
To repair cracks in a cinder block foundation, begin by chiseling out the loose or damaged mortar. Use a hammer and chisel to create a V-shaped groove along the crack. This will provide a larger surface area for the new mortar to adhere to, ensuring a stronger bond.
Once the groove is created, remove any loose material and dust using a brush or vacuum. It’s important to have a clean and debris-free surface before applying the new mortar.
Next, mix the mortar according to the manufacturer’s instructions. It’s crucial to follow the recommended ratios of water and mortar mix to achieve the right consistency. Too much water can weaken the mortar, while too little can make it difficult to work with.
Using a trowel, apply the mortar to the groove, making sure to fill it completely. Press the mortar firmly into the crack, ensuring it reaches the bottom of the groove. Smooth the surface with the trowel, removing any excess mortar. This will create a seamless finish and improve the overall appearance of the repair.
Allow the mortar to dry completely before moving on to the next step. This typically takes 24 to 48 hours, depending on the temperature and humidity levels in your area. It’s important to give the mortar enough time to cure and harden before proceeding.
Sealing and Waterproofing
After repairing the cracks, it’s crucial to seal and waterproof the cinder block foundation to prevent future moisture intrusion. Moisture can cause further damage to the foundation, leading to more cracks and deterioration over time.
Apply a waterproofing membrane or coating to the entire surface of the foundation. This will create a protective barrier against water and help extend the lifespan of the repair. Make sure to follow the manufacturer’s instructions for application and drying times.
Additionally, consider installing a drainage system around the perimeter of your home to redirect water away from the foundation. This can help prevent water from pooling around the cinder blocks, reducing the risk of future damage.
Fixing a crumbling cinder block foundation requires time, effort, and attention to detail. It’s essential to address the issue promptly to prevent further damage and maintain the structural integrity of your home. By following the step-by-step guide outlined in this article, you’ll be well-equipped to tackle the repair process with confidence.