The Cricut Maker is a popular cutting machine used for various crafting projects. However, like any mechanical device, it can encounter issues over time. One common problem that users may face is a faulty door. If you’re experiencing difficulties with your Cricut Maker door, fear not. In this article, we will guide you through the process of fixing a Cricut Maker door step-by-step.
Understanding the Cricut Maker Door Mechanism
Before diving into the repair process, it’s essential to understand the components of the Cricut Maker door and how it works. This knowledge will assist you in diagnosing and resolving the problem efficiently.
Components of the Cricut Maker Door
The Cricut Maker door consists of several key components that work together to enable smooth operation. These components include:
- Hinge mechanism
- Latch mechanism
- Door handle
- Door frame
The hinge mechanism is an integral part of the Cricut Maker door. It is responsible for allowing the door to swing open and close smoothly. Made of durable materials, the hinge mechanism ensures that the door remains securely attached to the machine while providing the necessary flexibility for movement.
Working in conjunction with the hinge mechanism, the latch mechanism plays a crucial role in keeping the door securely closed during operation. It ensures that the door stays in place, preventing any accidental opening that could disrupt the cutting or crafting process. The latch mechanism is designed to provide a reliable and sturdy lock, giving you peace of mind while using your Cricut Maker.
The door handle, another essential component, provides a comfortable grip for opening and closing the door. It is ergonomically designed to fit your hand, allowing for effortless operation. The door handle is strategically placed to ensure easy access, making it convenient to open and close the door whenever necessary.
Lastly, the door frame provides a solid structure for the entire assembly. It serves as the foundation that holds all the components together, ensuring stability and durability. The door frame is meticulously designed to withstand the rigors of regular use, providing a long-lasting and reliable door mechanism for your Cricut Maker.
How the Cricut Maker Door Works
The Cricut Maker door mechanism operates seamlessly due to the careful integration of its components. When you need to access the interior of the machine, simply grasp the door handle and pull it towards you. The latch mechanism will disengage, allowing the door to swing open smoothly on the hinge mechanism.
Once you have completed your task, gently push the door back into place. The latch mechanism will automatically engage, securely locking the door. This ensures that the Cricut Maker is ready for the next use, with the door firmly closed to maintain optimal performance and safety.
Understanding how the Cricut Maker door mechanism works is vital for troubleshooting any issues that may arise. By familiarizing yourself with the components and their functions, you can easily identify and resolve any problems, ensuring that your Cricut Maker continues to operate flawlessly.
Common Issues with the Cricut Maker Door
Now that you have a basic understanding of the Cricut Maker door mechanism, let’s explore some common issues you may encounter.
Door Jamming or Sticking
One of the primary problems with the Cricut Maker door is jamming or sticking. This issue often occurs due to dirt or debris that accumulates in the hinge mechanism or latch mechanism. Over time, this buildup can hinder the door’s smooth movement, causing it to jam or stick.
Imagine this scenario: You’re in the middle of an important crafting project, and you go to open the Cricut Maker door to retrieve your materials. However, to your frustration, the door refuses to budge. You try pushing and pulling, but it remains stubbornly stuck. This situation can be incredibly frustrating and can disrupt your creative flow.
One possible cause of the door jamming or sticking is the accumulation of dust and debris in the hinge mechanism. As you use the Cricut Maker, tiny particles can find their way into the hinges, gradually building up over time. This buildup can create friction and resistance, making it difficult for the door to move smoothly.
To prevent this issue, it is important to regularly clean the hinge mechanism. You can use a soft brush or a cotton swab to gently remove any dirt or debris that may have accumulated. By keeping the hinges clean, you can ensure that the door operates smoothly and without any obstructions.
Door Not Closing Properly
Another prevalent issue is when the Cricut Maker door fails to close properly. This can happen due to misalignment of the hinge mechanism or latch mechanism. If the components are not properly aligned, the door may not fit snugly in the frame, leaving a small gap or preventing it from closing entirely.
Imagine this scenario: You have just finished using your Cricut Maker and are ready to close the door to protect the machine. However, no matter how hard you try, the door just won’t close properly. It either leaves a small gap or refuses to shut completely, leaving your machine vulnerable to dust and other potential damage.
One possible cause of the door not closing properly is misalignment of the hinge mechanism. If the hinges are not aligned correctly, the door may not sit flush with the frame, resulting in gaps or an incomplete closure. Similarly, if the latch mechanism is not aligned properly, it may not engage with the door’s latch, preventing it from closing securely.
To address this issue, you can try realigning the hinge and latch mechanisms. Carefully examine the components and make sure they are properly positioned. If necessary, you can adjust the hinges or latch to ensure a snug fit. By taking the time to properly align the mechanisms, you can ensure that the Cricut Maker door closes securely, providing optimal protection for your machine.
Door Not Opening Smoothly
Sometimes, the Cricut Maker door may exhibit difficulty in opening smoothly. This issue is often caused by similar factors that cause it to jam or stick. If the door doesn’t open smoothly, it can create unnecessary strain on the hinges and latch, leading to premature wear and tear.
Imagine this scenario: You’re excitedly starting a new project with your Cricut Maker, and you go to open the door to insert your materials. However, instead of gliding open effortlessly, the door feels stiff and resistant. You have to use extra force to open it, which can be frustrating and potentially damaging to the door mechanism.
One possible cause of the door not opening smoothly is the presence of dirt or debris in the hinge or latch mechanisms. Similar to the issue of jamming or sticking, particles can accumulate over time, causing friction and hindering the door’s movement. Additionally, if the hinges or latch are not properly lubricated, they may become stiff and resistant, making it difficult to open the door smoothly.
To address this issue, it is important to keep the hinge and latch mechanisms clean and well-lubricated. Regularly inspect the components for any signs of dirt or debris and clean them as needed. Additionally, you can use a lubricant specifically designed for hinges to ensure smooth operation. By maintaining cleanliness and proper lubrication, you can ensure that the Cricut Maker door opens smoothly, allowing for a seamless crafting experience.
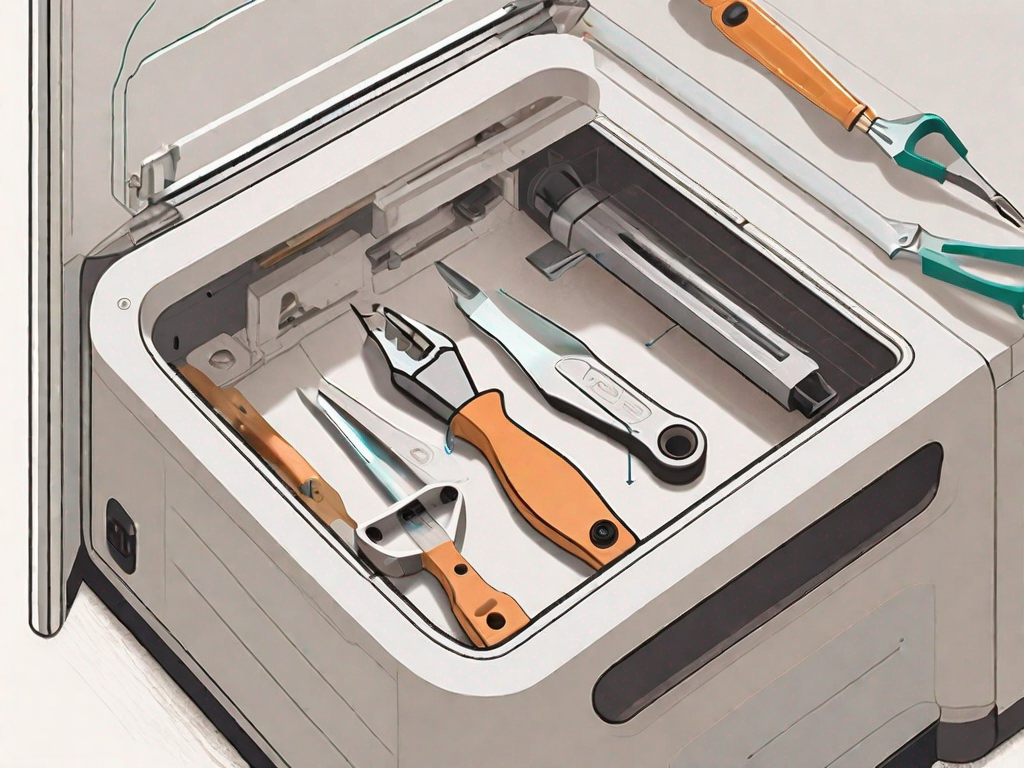
Tools Needed for Fixing a Cricut Maker Door
Before you can start fixing your Cricut Maker door, it’s essential to gather the necessary tools. Depending on the severity of the problem, you may need:
Basic Household Tools
- Phillips screwdriver
- Clean cloth
- Soft-bristle brush
Having these basic household tools is crucial for any DIY project. The Phillips screwdriver will come in handy for removing any screws that hold the door in place. A clean cloth will be useful for wiping away any dust or debris that may have accumulated on the door. Additionally, a soft-bristle brush can be used to gently clean hard-to-reach areas.
Specialized Tools for Cricut Maker
- Replacement hinge or latch parts (if required)
- Cricut Maker door repair kit (optional)
If the issue with your Cricut Maker door is more severe, you may need specialized tools. Replacement hinge or latch parts might be necessary if the existing ones are damaged or broken. It’s always a good idea to have these parts on hand, just in case. Furthermore, a Cricut Maker door repair kit can be a valuable investment. This kit usually includes all the necessary components and instructions to fix common door problems.
Remember, it’s important to assess the condition of your Cricut Maker door before starting any repairs. If you’re unsure about the extent of the damage or how to proceed, it may be best to consult the manufacturer’s instructions or seek professional assistance. Taking the time to gather the right tools and approach the repair process with care will ensure a successful outcome.
Safety Precautions Before Starting the Repair
Prior to beginning any repair work, it’s crucial to prioritize your safety. Follow these safety precautions to avoid accidents or damage:
Unplugging the Machine
Ensure that your Cricut Maker is completely unplugged from the power source before attempting any repairs. This will prevent any potential electrical hazards or accidental activation of the machine during the repair process.
Handling Tools Safely
When using tools, exercise caution and handle them responsibly. If using sharp tools, such as a screwdriver, be aware of how you grip them to prevent injuries. Additionally, ensure proper handling of specialized tools to avoid damaging delicate parts of your Cricut Maker.
Step-by-Step Guide to Fixing a Cricut Maker Door
Now that you’ve familiarized yourself with the Cricut Maker door mechanism, identified common issues, and gathered the necessary tools, it’s time to dive into the step-by-step repair process.
Diagnosing the Problem
Before implementing a solution, it’s essential to identify the root cause of the problem. Carefully examine the door, hinges, and latch to determine if any visible signs of damage, misalignment, or buildup are present. If you discover any issues, you can proceed to troubleshoot and implement a suitable solution.
Implementing the Solution
Depending on the specific problem with your Cricut Maker door, the solution may vary. For example, if the door is jamming or sticking due to debris, use a clean cloth or soft-bristle brush to remove the buildup gently. If misalignment is causing the door not to close properly, you may need to adjust the hinge or latch mechanism accordingly.
For more severe issues, such as broken hinges or latch mechanisms, you may need to replace these components with new ones. Refer to your Cricut Maker’s user manual or contact customer support for guidance on obtaining and installing replacement parts.
Remember, each repair process may vary depending on the individual circumstances. Take your time, be patient, and proceed with caution to ensure a successful repair.
By following the steps outlined in this article, you’ll be able to fix a Cricut Maker door with confidence. Remember to regularly clean and maintain your Cricut Maker to prevent future problems. With a properly functioning door, you’ll be back to crafting in no time!