Hats are a stylish accessory that can add flair to any outfit. However, over time, hats can become creased and lose their shape. If you find yourself with a creased hat, don’t worry! With a little care and attention, you can easily restore it to its former glory. In this step-by-step guide, we will walk you through the process of fixing a creased hat. From understanding hat care basics to selecting the right tools and products, we have got you covered.
Understanding the Basics of Hat Care
Hats come in various shapes and materials, and each requires specific care. Understanding the basics of hat care is essential before attempting any fixes. Let’s start by looking at the different types of hats and their materials.
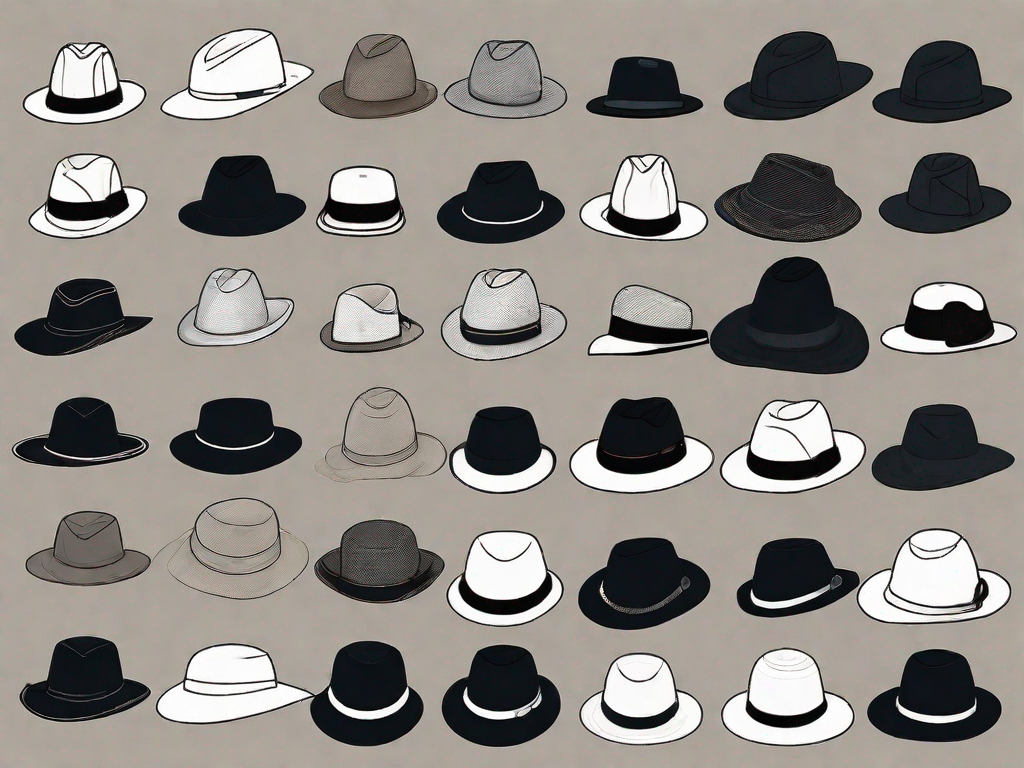
When it comes to hats, there is a wide variety of options available. From the classic fedora to the trendy bucket hat, each type of hat has its own unique style and purpose. Additionally, hats can be made from a wide range of materials, including straw, felt, wool, and even leather. Each material has its unique characteristics and requires specific care.
For example, straw hats are perfect for warm summer days, providing excellent ventilation and protection from the sun. However, they are delicate and should be protected from moisture, as it can cause the straw to warp or lose its shape. On the other hand, felt hats are known for their durability and ability to retain their shape. They can be shaped and molded to fit your head perfectly, making them a popular choice for formal occasions.
Knowing the material of your hat is crucial when it comes to caring for it. Different materials require different cleaning methods and storage techniques. By understanding the specific needs of your hat, you can ensure its longevity and maintain its original beauty.
Different Types of Hats and Their Materials
Hats can be made from a wide range of materials, including straw, felt, wool, and even leather. Each material has its unique characteristics and requires specific care. For example, straw hats are delicate and should be protected from moisture, while wool hats can be shaped and molded. Knowing the material of your hat will help you determine the best approach for fixing and maintaining it.
Let’s take a closer look at some of the most popular types of hats and their materials:
- Straw Hats: Made from natural straw or synthetic materials, straw hats are lightweight and breathable. They are perfect for sunny days and beach vacations. However, they require gentle care to prevent damage.
- Felt Hats: Felt hats are made from compressed and matted fibers of wool or fur. They are known for their durability and ability to retain their shape. Felt hats are often seen as a stylish accessory for formal events.
- Wool Hats: Wool hats are warm and cozy, making them ideal for colder weather. They are available in various styles, including beanies, berets, and fedoras. Wool hats can be easily shaped and molded to fit your head perfectly.
- Leather Hats: Leather hats are stylish and durable. They provide excellent protection from the elements and are often associated with a rugged and adventurous look.
Common Causes of Hat Creasing
Before we dive into the fixing process, it is essential to understand the common causes of hat creasing. Improper storage, mishandling, and external pressure are often the culprits behind a creased hat. By identifying the cause, you can take preventive measures to avoid future creasing.
Improper storage is one of the leading causes of hat creasing. Stacking hats on top of each other or leaving them in a cramped space can result in unwanted creases. It is important to store hats in a cool, dry place where they can maintain their shape.
Mishandling can also lead to hat creasing. Rough handling or excessive bending of the brim can cause permanent damage to the hat’s structure. It is crucial to handle hats with care, especially when adjusting their fit or cleaning them.
External pressure, such as placing heavy objects on top of a hat or sitting on it, can cause severe creasing. Avoid placing your hat in situations where it may be subjected to excessive pressure.
By understanding the common causes of hat creasing, you can take the necessary precautions to keep your hats in pristine condition. Proper storage, gentle handling, and avoiding external pressure are key to maintaining the shape and appearance of your hats.
Gathering Your Hat Repair Tools
Before you start fixing your hat, it’s essential to gather the necessary tools. Having the right tools will make the process easier and ensure a successful outcome.
When it comes to hat repair, preparation is key. Ensuring you have all the essential tools at hand will save you time and frustration. So, let’s take a closer look at the tools you will need for fixing a creased hat.
Essential Tools for Hat Fixing
Here are some essential tools you will need for fixing a creased hat:
- Steamer or Iron: A steamer or iron is crucial for removing wrinkles and creases from your hat. The steam or heat will help relax the fibers, making it easier to reshape the hat.
- Hat Brush: A hat brush is a must-have tool for maintaining the appearance of your hat. It helps remove dust, lint, and other debris, keeping your hat looking clean and fresh.
- Hat Stand or Mold: A hat stand or mold is essential for reshaping your hat. It provides support and helps maintain the hat’s proper shape while you work on it.
- Lint Roller: A lint roller is handy for removing any remaining lint or small particles that may be stuck to your hat after brushing. It ensures a clean and polished finish.
Selecting Quality Hat Care Products
In addition to the tools, you will also need quality hat care products. These can include hat cleaners, conditioners, and hat stiffeners. Choosing the right products will ensure safe and effective hat restoration.
When selecting hat care products, it’s essential to consider the material of your hat. Different materials require different cleaning and conditioning methods. For example, a felt hat may need a specialized cleaner, while a straw hat may require a gentle conditioner to prevent drying out.
Furthermore, hat stiffeners can be useful for restoring the shape and structure of your hat. They can help eliminate sagging or drooping, giving your hat a crisp and polished look.
Remember, investing in high-quality hat care products will not only enhance the longevity of your hat but also maintain its original beauty and charm.
Preparing Your Hat for the Fixing Process
Before you begin fixing your creased hat, it’s important to prepare it properly. This involves cleaning the hat and assessing the severity of the crease.
When it comes to hats, proper maintenance is key to ensuring their longevity. Over time, hats can accumulate dust, sweat, and other debris, which can not only affect their appearance but also their overall condition. Cleaning your hat before fixing it will help remove any dirt and ensure a smooth restoration process.
Depending on the material of your hat, there are different cleaning methods you can employ. For example, if you have a straw hat, you can gently brush off any loose dirt with a soft-bristled brush. For fabric hats, you may need to spot clean using a mild detergent and a soft cloth. Leather hats, on the other hand, require special care, and you may want to consider using a leather cleaner or conditioner.
Once you’ve determined the appropriate cleaning method for your hat, take your time to carefully remove any dirt or stains. Pay attention to the details, such as the brim and the crown, ensuring that every nook and cranny is thoroughly cleaned. By doing so, you’ll not only have a clean hat but also create a clean canvas for the fixing process.
Cleaning Your Hat Before Fixing
Over time, hats can accumulate dust, sweat, and other debris. Cleaning your hat before fixing it will help remove any dirt and ensure a smooth restoration process. Follow the cleaning instructions specific to your hat’s material to avoid causing any damage.
When it comes to cleaning your hat, it’s important to remember that different materials require different approaches. For instance, if you have a wool hat, you may want to consider using a soft brush or a lint roller to remove any loose dirt or lint. On the other hand, if you have a felt hat, you can use a damp cloth to gently wipe away any stains or marks.
If your hat is made of straw, you can use a mixture of warm water and mild soap to clean it. Gently scrub the hat with a soft brush or cloth, making sure to remove any dirt or grime. Rinse the hat thoroughly and allow it to air dry, avoiding direct sunlight or heat sources that could potentially damage the straw.
Regardless of the material, it’s crucial to read and follow the cleaning instructions provided by the hat manufacturer. This will ensure that you’re using the appropriate cleaning agents and techniques, preventing any unintentional damage during the cleaning process.
Assessing the Severity of the Crease
Not all hat creases are the same. Some may be minor and easily fixable, while others may require more extensive restoration. Assessing the severity of the crease will help you determine the appropriate steps to take.
When assessing the crease, take a close look at its location and depth. Is it a simple fold or a deep indentation? Are there any additional areas that may need attention, such as the brim or the crown? By carefully examining the crease, you’ll be able to gauge the extent of the damage and plan your fixing process accordingly.
If the crease is minor, you may be able to fix it by using simple techniques such as steaming or reshaping. However, if the crease is more severe or has caused structural damage to the hat, you may need to consider more advanced restoration methods. This could involve using hat blocks, steamers, or even seeking professional help from a hat repair specialist.
Remember, the goal is not only to fix the crease but also to ensure that the hat retains its original shape and integrity. Rushing the fixing process or using improper techniques could potentially worsen the crease or cause additional damage to the hat.
By taking the time to properly assess the severity of the crease, you’ll be able to make informed decisions and choose the most suitable approach for restoring your hat to its former glory.
Step-by-Step Guide to Fixing a Creased Hat
Now that you have prepared your hat, it’s time to dive into the step-by-step process of fixing a creased hat. This guide will walk you through each stage, from straightening the hat brim to reshaping the hat crown.
Straightening the Hat Brim
The brim of a hat is often the most affected area when it comes to creasing. To straighten the brim, follow these steps:
- Place a towel or cloth over the brim to protect it.
- Using a steamer or iron on low heat, gently steam the creased area.
- Apply pressure with your hands, working in small sections, to straighten the brim.
- Repeat the process if necessary until the brim is aligned and smooth.
Reshaping the Hat Crown
The crown of the hat is another area that may require reshaping. Here’s how you can do it:
- Place the hat on a hat stand or mold to maintain its shape.
- If the crown has flattened, use a steamer or hot water to moisten the area.
- Gently reshape the crown with your hands, working from the bottom up.
- Allow the hat to dry completely before removing it from the stand or mold.
Final Touches for a Smooth Finish
With the brim and crown fixed, it’s time to add the final touches for a smooth finish:
- Use a lint roller or hat brush to remove any remaining dust or lint.
- Apply a hat stiffener if necessary to maintain the hat’s shape.
- Inspect the hat for any additional creases or imperfections and address them accordingly.
Maintaining Your Hat After Fixing
Congratulations! You have successfully fixed your creased hat. Now, it’s important to maintain it properly to ensure its longevity.
Proper Hat Storage Tips
Proper storage is crucial for maintaining the shape and condition of your hat. Here are some tips for storing your hat:
- Store your hat in a cool and dry place to prevent mold and moisture damage.
- Avoid stacking heavy items on top of the hat, as this can cause deformation.
- Consider using a hat box or a hat rack to keep your hat safe and organized.
Regular Hat Care for Longevity
To extend the lifespan of your hat, regular care is necessary. Here are some maintenance tips:
- Spot clean your hat as needed using a hat cleaner and a soft cloth.
- Avoid exposing your hat to excessive heat or direct sunlight, as this can cause fading or damage.
- If your hat gets wet, allow it to dry naturally and shape it back to its original form.
With proper care and maintenance, your hat will continue to be a stylish and timeless accessory that enhances your look for years to come.
Now that you know how to fix a creased hat, you can confidently restore your favorite hats to their former glory. Remember to take your time, follow the steps carefully, and enjoy the process of rejuvenating your hats. Happy hat fixing!