Dip nails have gained popularity in recent years for their durability and long-lasting effects. However, just like any other manicure, they can sometimes suffer from cracks and damage. If you find yourself dealing with a cracked dip nail, don’t panic! In this article, we will guide you through the process of fixing a cracked dip nail at home, step by step.
Understanding the Basics of Dip Nails
Before we delve into the methods of fixing a cracked dip nail, it’s essential to understand what dip nails actually are. Dip nails, also known as SNS nails (Signature Nail Systems), involve a dipping powder that is applied to the nail, adding strength and color. It’s a popular alternative to traditional gel or acrylic nails.
Dip nails are achieved by applying a base coat to the natural nail, dipping it into a colored powder, and sealing it with a top coat. The process is repeated to achieve the desired thickness and color intensity. The result is a smoother and more long-lasting manicure compared to other techniques.
What are Dip Nails?
Dip nails have gained popularity in recent years due to their durability and versatility. The process involves several steps that result in a beautiful and long-lasting manicure. First, the natural nail is prepared by cleaning and shaping it. Then, a base coat is applied to the nail to provide a foundation for the dipping powder. The nail is then dipped into a jar of colored powder, ensuring that the entire nail is coated evenly. After the dipping process, excess powder is brushed off, and a top coat is applied to seal and protect the nails.
One of the advantages of dip nails is the wide range of colors and finishes available. From vibrant and bold shades to subtle and natural hues, there is a color to suit every preference. Additionally, dip nails can be customized with glitter, nail art, or even ombre effects, allowing for endless creativity.
Common Causes of Cracked Dip Nails
While dip nails are known for their durability, cracks can still occur under certain circumstances. Understanding the common causes of cracked dip nails can help you prevent future damage and maintain a flawless manicure.
Improper application is one of the leading causes of cracked dip nails. It’s crucial to follow the correct steps and techniques when applying the dipping powder to ensure proper adhesion and durability. Skipping any of the necessary layers or rushing through the process can compromise the integrity of the manicure.
Excessive filing or buffing can weaken the nail and make it more prone to cracking. It’s essential to be gentle when shaping and smoothing the nails, avoiding excessive pressure or overuse of the file or buffer. Taking breaks between manicures and allowing the nails to breathe can also help maintain their strength.
Using nails as tools is a common habit that can lead to cracked dip nails. Opening cans, scraping off stickers, or using nails to pry things open can put excessive stress on the manicure, causing it to crack or chip. It’s important to use proper tools for these tasks and avoid using nails as substitutes.
Subjecting the nails to harsh chemicals without proper protection can also cause cracks in dip nails. Cleaning products, acetone-based nail polish removers, and even certain beauty products can weaken the manicure and make it more susceptible to damage. Wearing gloves when handling chemicals and using gentle, non-acetone removers can help protect the nails.
By understanding the causes of cracked dip nails and taking preventive measures, you can enjoy a long-lasting and flawless manicure. Proper application, gentle nail care, and protecting the nails from harsh chemicals are key to maintaining the beauty and durability of dip nails.
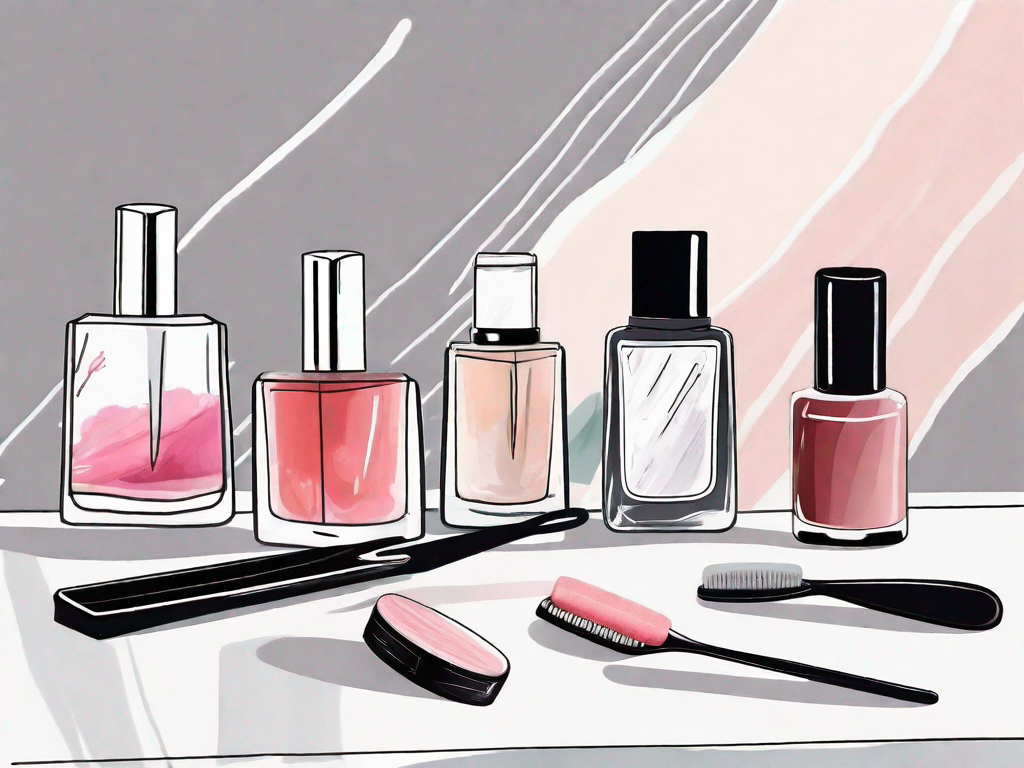
Tools and Materials Needed for Fixing a Cracked Dip Nail
Before you begin repairing your cracked dip nail, gather the essential tools and materials. Having everything prepared will ensure a smoother and more efficient process.
Repairing a cracked dip nail requires careful attention to detail and the right tools. By using the correct tools and materials, you can restore your nail to its former glory. Here are some additional details about the essential tools for nail repair:
Essential Tools for Nail Repair
To fix a cracked dip nail, you will need a few key tools:
- Nail file: A nail file is an essential tool for shaping and smoothing the nail surface. It helps to remove any rough edges or unevenness caused by the crack.
- Nail buffer: A nail buffer is used to gently buff the nail surface, creating a smooth and even base for the repair.
- Cuticle pusher: A cuticle pusher is used to gently push back the cuticles, allowing for better access to the cracked area.
- Cuticle oil: Cuticle oil helps to moisturize and nourish the cuticles, keeping them healthy and preventing any further damage.
- Nail glue or resin: Depending on the size and severity of the crack, you can choose between nail glue or resin. Nail glue is suitable for small cracks, providing a quick and temporary fix. On the other hand, resin is more durable and ideal for larger or deeper cracks, offering a long-lasting solution.
- Nail polish remover: Nail polish remover is used to clean the nail surface before the repair process begins. It helps to remove any existing polish or residue, ensuring better adhesion of the repair products.
- Cotton balls: Cotton balls are essential for applying the nail polish remover and for cleaning the nail surface. They are gentle and absorbent, making them perfect for this task.
- Clean cloth: A clean cloth is useful for wiping away any excess product and for giving the nail a final polish.
Choosing the Right Nail Repair Products
When it comes to repairing a cracked dip nail, you have a few options for products. It’s important to choose the right product that suits your needs and provides the best results. Here are some additional details to consider:
Nail glue is a popular choice for small cracks as it provides a quick and easy fix. It dries quickly and holds the cracked nail together, allowing you to continue with your daily activities without any worries. However, it’s important to note that nail glue is a temporary solution and may not provide long-lasting results.
If you have a larger or deeper crack, resin is a more durable option. Resin is a strong adhesive that bonds the cracked nail together, providing a more permanent solution. It’s ideal for those who want a long-lasting repair and don’t mind spending a little more time on the process.
Ultimately, the choice between nail glue and resin depends on the severity of the crack and your personal preferences. Consider the size and depth of the crack, as well as the desired longevity of the repair, when making your decision.
Step-by-Step Guide to Fixing a Cracked Dip Nail
Having a cracked dip nail can be frustrating, but fear not! With a few simple steps, you can repair it and have your nails looking flawless again. Let’s dive into the process of fixing a cracked dip nail.
Preparing Your Nail for Repair
Before you begin the repair process, it’s important to prepare your nail properly. Start by removing any remaining nail polish from your cracked dip nail using nail polish remover and cotton balls. Take your time to ensure that the nail is clean and free of any residue.
Once the nail is clean, it’s time to gently file the cracked area. This step is crucial to remove any loose or damaged portions of the nail. However, be careful not to file too aggressively, as this can cause further damage to the nail. Take your time and file with a light touch, ensuring that you create a smooth surface.
Now that your nail is clean and filed, it’s time to give some attention to your cuticles. Using a cuticle pusher, gently push back the cuticles around the nail. This will create a neat and tidy canvas for the repair process. To add some extra care, apply a small amount of cuticle oil to moisturize and soften the cuticles. This will not only make the repair process easier but also promote healthy nail growth.
Applying the Repair Product
Now comes the exciting part – applying the repair product! Depending on your preference and the severity of the crack, you can choose between nail glue or resin. If you opt for nail glue, carefully apply a small drop on the cracked area. Take your time and be precise. Once the glue is applied, using a clean cloth, gently press the two sides of the crack together and hold for a few seconds. This will allow the glue to bond and create a strong repair.
If you decide to use resin, it’s essential to follow the manufacturer’s instructions for application. Resin can be a great option for a more durable and long-lasting repair. Make sure to read the instructions carefully and apply the resin accordingly.
After applying the repair product, allow it to dry completely. Once dry, it’s time to file the nail again. This step is crucial to smooth out any rough edges and create a seamless finish. Be gentle while filing, as you don’t want to damage the repair. Take your time and ensure that the nail looks and feels smooth.
Finalizing the Repair Process
Now that your nail is repaired and looking fabulous, it’s time to add some final touches. Apply a layer of clear top coat over the entire nail. This step serves two purposes: it protects the repair and adds a beautiful shine to your nail. Allow the top coat to dry completely before proceeding with your regular nail care routine.
Remember, taking care of your nails is essential for their health and longevity. Make sure to moisturize your nails and cuticles regularly, and avoid harsh chemicals that can weaken them. With proper care and maintenance, your nails will stay strong and beautiful!
Tips for Maintaining Dip Nails
Regular Nail Care Routine
To keep your dip nails looking their best, establish a regular nail care routine. This includes keeping your nails clean and moisturized, avoiding harsh chemicals, and being mindful of how you use your hands to prevent unnecessary strain or damage.
Preventing Future Cracks in Dip Nails
Prevention is key when it comes to avoiding cracked dip nails. To minimize the risk of cracks, remember to take proper care of your nails and avoid using them as tools. Wear protective gloves when engaging in activities that may cause damage to your nails, such as gardening or cleaning with harsh chemicals.
When to Seek Professional Help
Signs Your Nail Needs Professional Attention
While fixing a cracked dip nail at home is possible, there are instances when it’s best to seek professional help. If your nail is severely damaged, infected, or if you experience intense pain, it’s crucial to consult a trusted nail technician for appropriate treatment.
Finding a Trusted Nail Technician
When looking for a nail technician, ask for recommendations from friends or family members who have had positive experiences. Research the technicians in your area and read reviews to ensure you find someone skilled and reliable.
In conclusion, fixing a cracked dip nail at home is a relatively simple process that can be done with the right tools and materials. By understanding the basics of dip nails, preparing your nail properly, and following the step-by-step guide, you can repair a cracked dip nail and maintain a beautiful manicure. Remember to prioritize regular nail care and seek professional help when necessary. Now, go ahead and give your cracked dip nail the TLC it deserves!