In this guide, we will walk you through the steps to fix a corrupted SD card on your Nintendo Switch. We understand how frustrating it can be when you encounter this issue, but fear not, as we have compiled a list of troubleshooting techniques and advanced methods to help you resolve the problem. Along the way, we will also cover preventive measures to ensure that you minimize the risk of future SD card corruption. Let’s dive in!
Understanding the Problem: Corrupted SD Card on Nintendo Switch
Having a corrupted SD card on your Nintendo Switch can be a frustrating experience. It can lead to frequent game crashes, the inability to save or load game data, and error messages related to the SD card. Additionally, you may notice missing or corrupt files on the SD card. These signs are clear indicators that your SD card is indeed corrupted.
Common Signs of a Corrupted SD Card
Before we begin fixing the problem, it’s crucial to identify the signs of a corrupted SD card. By recognizing these signs, you can take appropriate action to resolve the issue. Some common indications of a corrupted SD card include:
- Frequent game crashes or freezing: If you find that your games are crashing or freezing more often than usual, it could be a result of a corrupted SD card.
- Inability to save or load game data from the SD card: When you are unable to save or load game data from the SD card, it is a clear indication that something is wrong.
- Error messages related to the SD card: If you receive error messages specifically mentioning the SD card, it is highly likely that the card has become corrupted.
- Missing or corrupt files on the SD card: If you notice that files on the SD card are missing or appear to be corrupted, it is a strong indication of SD card corruption.
If you experience any of these issues, it is important to address the problem promptly to prevent further damage to your SD card and potential loss of data.
Potential Causes of SD Card Corruption
SD card corruption can occur due to various reasons. It is essential to understand the potential causes to prevent future occurrences. Some of the common causes of SD card corruption include:
- Physical damage to the SD card: Accidental drops, exposure to extreme temperatures, or mishandling of the SD card can result in physical damage, leading to corruption.
- Improper ejection of the SD card from the Nintendo Switch: Removing the SD card from the console without following the proper ejection process can cause data corruption.
- Viral or malware attacks: SD cards can be susceptible to viral or malware attacks, especially if they have been used on multiple devices or connected to unsecured networks.
- File system errors: Issues with the file system, such as improper formatting or file system inconsistencies, can lead to SD card corruption.
Understanding the potential causes of SD card corruption can help you take preventive measures to avoid future problems.
Now that you have an understanding of the problem and its common signs and causes, let’s move on to the preparatory steps you should take before attempting to fix the corrupted SD card.
Preparatory Steps Before Fixing the SD Card
Fixing a corrupted SD card can be a daunting task, but with the right steps and tools, it is possible to recover your data and get your SD card back in working condition. Before you proceed with any repair techniques, it’s crucial to back up your data on the corrupted SD card. This ensures that you have a copy of your important files in case anything goes wrong during the fixing process.
Backing up your data is a crucial step that should never be overlooked. It not only provides a safety net in case of any mishaps but also allows you to restore your files to a new SD card if necessary. To back up your data, connect your SD card to a computer with an SD card reader or use an SD card adapter if your computer doesn’t have a built-in slot. Once connected, copy all the files from the SD card to a secure location on your computer’s hard drive or an external storage device.
Now that you have safeguarded your data, it’s time to gather the necessary tools for fixing the corrupted SD card. Having the right tools at hand will make the repair process smoother and more efficient. Here are the tools you will need:
- A computer with an SD card reader: This is essential for connecting your SD card to the computer and accessing its contents.
- SD card adapter (if the computer doesn’t have an SD card slot): An adapter allows you to connect the SD card to a computer that doesn’t have a built-in SD card slot. This is a handy tool to have if you frequently work with SD cards.
- Data recovery software (optional): If your SD card contains important files that are not backed up, data recovery software can help you retrieve them. This software scans the SD card for recoverable data and allows you to restore it to a safe location.
With your data backed up and the necessary tools in hand, you are now fully prepared to tackle the task of fixing your corrupted SD card. The next step is to explore the basic troubleshooting techniques that can help you recover your data and restore your SD card to a functional state.
Basic Troubleshooting Techniques
When it comes to troubleshooting issues with your Nintendo Switch, there are a few basic techniques that can often resolve minor problems. In this guide, we will explore two of these techniques: restarting your Nintendo Switch and removing and reinserting the SD card.
Restarting Your Nintendo Switch
One of the simplest yet most effective troubleshooting techniques is to restart your Nintendo Switch. This process can help resolve minor issues and glitches that may be causing problems with your console. To restart your Nintendo Switch, follow these steps:
- Make sure your console is turned on.
- Press and hold the power button located on the top of the console.
- A menu will appear on the screen. Select “Power Options.”
- Finally, choose “Restart” to initiate the restart process.
By performing a restart, you give your Nintendo Switch a fresh start, which can sometimes fix problems like a corrupted SD card.
Removing and Reinserting the SD Card
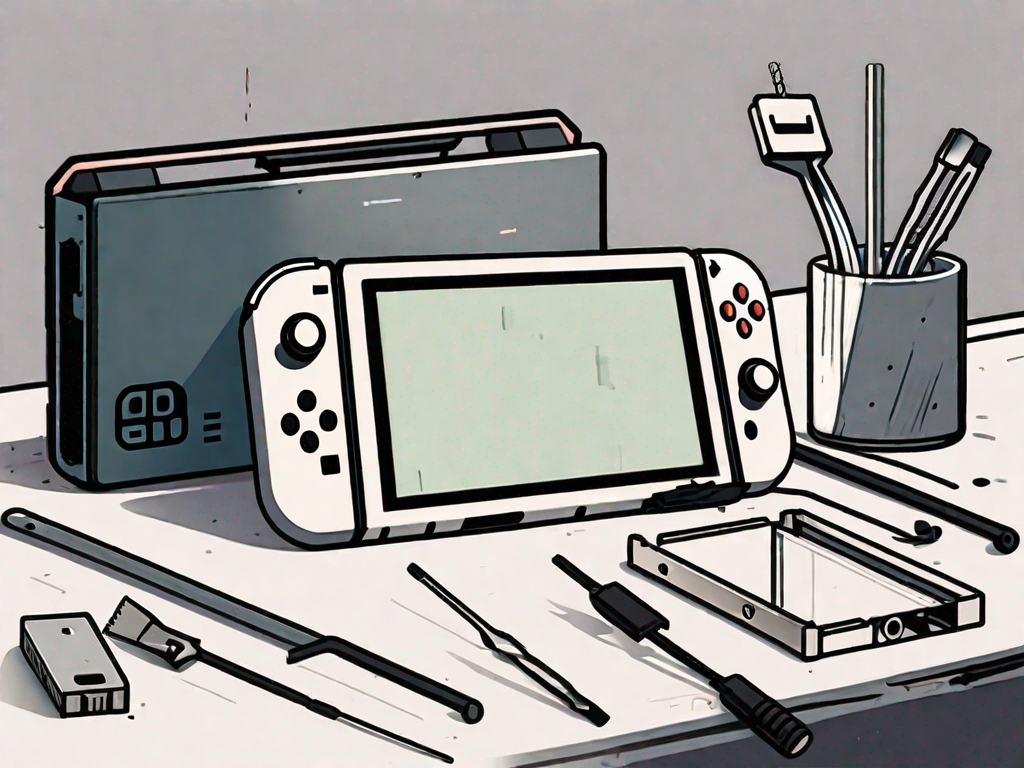
If restarting your Nintendo Switch doesn’t resolve the issue, another basic troubleshooting technique to try is removing and reinserting the SD card. This technique is particularly useful if you are experiencing problems related to your SD card, such as data corruption or read errors. To remove and reinsert the SD card, follow these steps:
- Ensure that your Nintendo Switch is powered off.
- Locate the SD card slot, which is located on the back of the console behind a small cover.
- Gently push the SD card inwards to release it from the slot.
- Once the SD card is released, carefully remove it from the slot.
- Inspect the SD card for any visible damage or dirt. If necessary, clean it using a soft, lint-free cloth.
- After cleaning (if needed), reinsert the SD card into the slot, making sure it is properly aligned.
- Power on your Nintendo Switch and check if the issue persists.
By removing and reinserting the SD card, you are essentially establishing a fresh connection between the card and the console, which can help resolve any communication issues that may be causing the problem.
If the basic troubleshooting techniques described above didn’t resolve the problem you are experiencing with your Nintendo Switch, it may be time to move on to more advanced methods to repair a corrupted SD card. These methods often involve using specialized software or seeking professional assistance to recover your data and fix any underlying issues with the card.
Advanced Methods to Repair a Corrupted SD Card
Using a Computer for SD Card Repair
If the basic troubleshooting techniques didn’t work, you can try using a computer to repair the corrupted SD card. This method provides more advanced options to fix the issue. Follow these steps:
- Insert the SD card into the computer’s SD card reader or adapter. Make sure it is properly inserted to establish a connection.
- Open File Explorer (Windows) or Finder (Mac) to access the file management system of your computer.
- Locate the SD card in the list of connected devices and right-click on it. A drop-down menu will appear.
- Select “Properties” (Windows) or “Get Info” (Mac) from the drop-down menu. This will open the properties window for the SD card.
- In the properties window, click on the “Tools” tab. This tab contains various tools and options for managing the SD card.
- Click on “Check” or “Verify” to run a scan and repair any errors on the SD card. The computer will analyze the card for any issues and attempt to fix them automatically.
If this method doesn’t work, you may need to format the SD card. Formatting is a more drastic measure that erases all data on the card, so make sure you have backed up your important files before proceeding.
Formatting the SD Card
Formatting the SD card can often resolve stubborn corruption issues. However, it is important to note that formatting will erase all data on the card. To format the SD card, follow these steps:
- Insert the SD card into your computer’s SD card reader or adapter. Ensure that it is properly connected.
- Open File Explorer (Windows) or Finder (Mac) to access the file management system of your computer.
- Locate the SD card in the list of connected devices and right-click on it. A drop-down menu will appear.
- Select “Format” from the drop-down menu. This will open the formatting options for the SD card.
- Choose your preferred format (FAT32 or exFAT) based on your requirements. FAT32 is compatible with most devices, while exFAT supports larger file sizes.
- Click “Start” to initiate the formatting process. A warning message may appear, reminding you that all data on the card will be erased.
- Follow the on-screen instructions to complete the formatting. The computer will erase all data on the SD card and reconfigure it to the chosen format.
Now that you have tried advanced repair methods, it’s important to implement preventive measures to avoid future SD card corruption. Regularly backing up your data, safely ejecting the SD card before removing it, and avoiding physical damage to the card are some steps you can take to ensure the longevity of your SD card.
Preventing Future SD Card Corruption
Proper Handling and Storage of SD Cards
Properly handling and storing SD cards can significantly reduce the risk of corruption. Follow these guidelines:
- Avoid touching the metal contacts on the SD card.
- Store SD cards in a cool and dry place to prevent exposure to moisture.
- Protect SD cards from physical damage by using protective cases or sleeves.
Regular Data Backup and Updates
Regularly backing up your important data from the SD card ensures that you have a copy in case of corruption. Additionally, keep your Nintendo Switch firmware and game software up to date by installing the latest updates provided by Nintendo.
By following these preventive measures, you can minimize the risk of encountering a corrupted SD card on your Nintendo Switch.
Now that you have learned how to fix a corrupted SD card on your Nintendo Switch and prevent future issues, you can get back to enjoying your gaming experience without any interruptions. Happy gaming!