Cords are an essential part of our daily lives, whether it’s for charging our devices, powering our appliances, or connecting our electronics. Unfortunately, accidents happen, and cords can get chewed by pets or damaged in other ways. Instead of replacing the entire cord, which can be expensive and inconvenient, you can easily repair it yourself. In this step-by-step guide, we will walk you through the process of fixing a chewed cord, ensuring it is safe and functional once again.
Understanding the Damage: Assessing a Chewed Cord
Before you begin the repair process, it’s important to assess the damage to determine the severity. This will help you understand the extent of the repair required and the tools you will need.
When faced with a chewed cord, it can be quite disheartening. The sight of frayed wires and exposed conductors can make you question whether your beloved electronic device can be salvaged. However, fear not! With a careful assessment and the right repair techniques, you can bring your cord back to life.
Identifying the Severity of the Damage
The first step is to examine the cord and identify how extensive the damage is. Is it a superficial chew with minor damage or a deep bite that has severed the wires inside? This assessment will help you determine the appropriate repair method.
Take a closer look at the affected area. Are there any visible signs of wire damage? Are the wires completely severed or just partially exposed? Understanding the severity of the damage will guide you in deciding whether a simple patch-up job will suffice or if a more comprehensive repair is necessary.
It’s worth noting that even if the wires are not completely severed, there may still be internal damage that is not immediately visible. In such cases, it’s always better to err on the side of caution and opt for a thorough repair.
Safety Measures Before Starting the Repair
Prior to starting any repair work, it is crucial to prioritize safety. Make sure the cord is unplugged from the power source to avoid any potential electric shocks. Additionally, ensure you are working in a well-ventilated area with proper lighting.
Electricity can be dangerous, and the last thing you want is to put yourself at risk while trying to fix a chewed cord. Unplugging the cord ensures that there is no power running through it, minimizing the chances of accidental shocks.
Working in a well-ventilated area is important to prevent the build-up of any harmful fumes that may be released during the repair process. Proper lighting is also essential to ensure you can see what you’re doing and avoid any accidental mistakes.
Remember, safety should always be your top priority when dealing with electrical repairs. By taking these precautionary measures, you can create a safe environment for yourself and minimize the risk of accidents.
Gathering the Necessary Tools for Repair
Once you have assessed the damage and taken necessary safety precautions, it’s time to gather the tools required for the repair. These tools will ensure you have everything you need at hand to successfully complete the task.
Before diving into the details of the tools needed, it’s important to understand the significance of each tool and how it contributes to the overall repair process. Each tool serves a specific purpose and plays a crucial role in restoring the functionality of the cord.
Essential Tools for Cord Repair
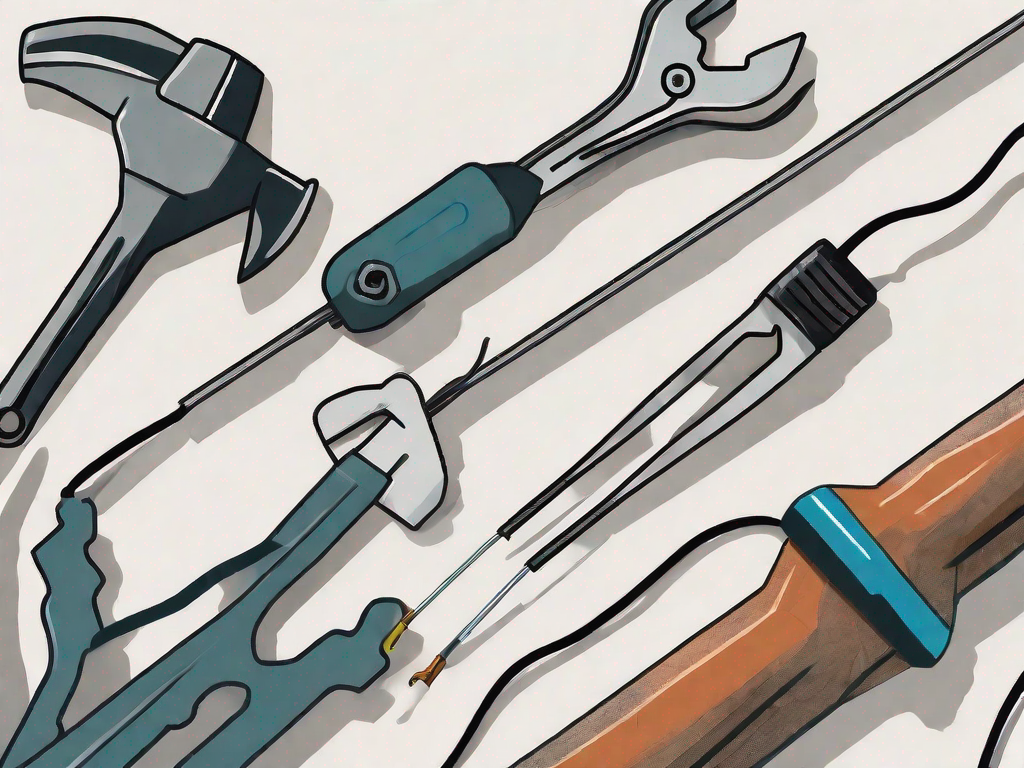
1. Wire strippers: These specialized tools allow you to remove insulation from the damaged area of the cord. With their sharp blades and adjustable settings, wire strippers make the process of exposing the wires quick and efficient. They ensure that you can work with precision and avoid damaging the underlying wires.
2. Electrical tape: This will be used to insulate the repaired area and ensure electrical safety. Electrical tape is a flexible and durable material that provides an extra layer of protection to the repaired section of the cord. It prevents any exposed wires from coming into contact with each other or with external elements, reducing the risk of electrical shocks or short circuits.
3. Soldering iron: If the wires are severed, a soldering iron will be necessary to reconnect them properly. This tool generates heat to melt solder, a metal alloy used to join two wires together. By applying the soldering iron to the wires and adding solder, you can create a strong and reliable connection that restores the electrical flow within the cord.
4. Heat shrink tubing: This tubing will provide additional insulation and protect the repaired area. Once the wires are soldered together, heat shrink tubing is slid over the joint and heated with a heat gun or a lighter. As it shrinks, the tubing forms a tight seal around the wires, creating a barrier against moisture, dust, and other potential sources of damage. It ensures the longevity of the repair and maintains the overall integrity of the cord.
Additional Helpful Tools for Complex Repairs
While the essential tools listed above will suffice for most chewed cord repairs, there are a few additional tools that can be helpful for more complex damages:
1. Multimeter: This tool will help you check the continuity and voltage of the repaired cord. A multimeter is an electronic device that measures various electrical properties, such as voltage, current, and resistance. By using the multimeter, you can ensure that the repaired cord is functioning correctly and delivering the appropriate amount of power.
2. Hot glue gun: If the cord’s outer casing has been damaged, a hot glue gun can be used to secure it back in place. The hot glue gun dispenses a molten adhesive that quickly solidifies upon contact with the damaged casing. This creates a strong bond that holds the casing together, preventing any further damage to the internal wires and enhancing the overall durability of the repaired cord.
By having these additional tools at your disposal, you can tackle more intricate repairs and address a wider range of cord damages. It’s always beneficial to be prepared for any unexpected challenges that may arise during the repair process.
Preparing the Damaged Cord for Repair
Now that you have gathered the necessary tools, it’s time to prepare the damaged cord for repair. This involves cleaning the cord and stripping the damaged area to expose the wires.
Cleaning the Cord
Before you can begin repairing the cord, it’s important to clean it thoroughly. Use a mild soap and water solution to gently wipe away any dirt or debris. This step is crucial as it ensures that the repair will be effective and long-lasting. By removing any contaminants from the cord, you create a clean surface for the repair materials to adhere to. Additionally, cleaning the cord helps to prevent any further damage that could be caused by dirt or debris rubbing against the wires.
When cleaning the cord, be sure to pay attention to any particularly dirty or stained areas. Use a soft cloth or sponge to gently scrub away any stubborn stains. Rinse the cord thoroughly with clean water to remove any soap residue. Once the cleaning process is complete, it’s important to allow the cord to dry completely before moving on to the next step. This can be done by laying the cord flat on a clean surface and allowing it to air dry naturally. Avoid using heat sources such as hairdryers, as they can cause damage to the cord.
Stripping the Damaged Area
Using wire strippers, carefully strip away the insulation from the damaged area of the cord. Take your time and be cautious not to damage the wires inside. The insulation serves as a protective layer for the wires, so it’s important to remove only the damaged section while leaving the rest intact. By stripping the damaged area, you expose the bare wires that will be repaired.
When using wire strippers, ensure that you select the appropriate gauge size for your cord. This will help you strip the insulation without cutting into the wires. Gently grip the cord with the wire strippers and apply slight pressure as you rotate the tool around the cord. This will create a clean cut through the insulation, allowing you to easily remove it. Once the damaged section is exposed, you are ready to proceed with the actual repair.
It’s worth noting that if the damaged area is extensive or if you encounter any difficulties during the stripping process, it may be best to consult a professional for assistance. They have the expertise and specialized tools to handle complex repairs and ensure the safety of the cord.
The Repair Process: A Step-by-Step Guide
Now that the cord is prepped, it’s time to dive into the actual repair process. Follow these steps to fix the chewed cord:
Connecting the Wires
If the wires are severed, you will need to reconnect them. Start by twisting the corresponding wires together. Ensure that the metal strands are securely interconnected.
Now, heat up your soldering iron and carefully apply solder to the twisted wires. This will create a strong and permanent connection. Be cautious not to apply excessive heat for too long, as it may damage the wires.
Insulating the Repair
Once the wires are securely connected, it’s time to insulate the repaired area. Slide a piece of heat shrink tubing over the repaired section. Use a heat gun or a hairdryer to shrink the tubing, ensuring a tight seal around the wires.
Next, wrap the entire repaired section with electrical tape. This additional layer of insulation will provide extra protection and prevent any exposed wires from coming into contact with each other or surrounding surfaces.
Testing the Repaired Cord
Now that the repair is complete, it’s crucial to test the cord before plugging it back into the power source. Testing the cord will ensure that it is safe to use and functioning properly.
Safety Precautions Before Testing
Prior to testing, make sure the cord is completely dry. Also, ensure that there are no exposed wires or loose connections. Double-check that the repaired area is securely insulated.
Steps to Test the Cord
Plug the cord into a power source and connect it to an appropriate device. Turn on the device and check if it is functioning as expected. Pay close attention to any signs of overheating, sparks, or unusual noises.
If the device is working properly without any issues, congratulations! You have successfully repaired the chewed cord. If any problems arise during testing, unplug the cord immediately and reevaluate the repair. It might be necessary to repeat the repair process or seek professional assistance.
By following this step-by-step guide, you can easily fix a chewed cord yourself, saving both time and money. Remember to prioritize safety throughout the entire process and test the cord before use. With a little effort and the right tools, you’ll have your cord back to its original functionality in no time.
Leave a Reply