In the world of music, broken strings can seem like an inevitable annoyance. Whether you are a professional musician or a casual player, having a broken string can put a pause on your practice or performance. However, with the right knowledge and tools, you can quickly and easily fix a broken string yourself. In this step-by-step guide, we will take you through the process of fixing a broken string, from understanding the basics of string repair to troubleshooting common issues. So, let’s get started!
Understanding the Basics of String Repair
Before we dive into the repair process, it’s crucial to familiarize yourself with the basics of string repair. Different types of strings may have unique repair needs, so having a general understanding will help you approach the repair with confidence.
When it comes to musical instruments, the strings play a vital role in producing beautiful sounds. However, over time, strings can break or wear out, requiring repair or replacement. Understanding the different types of strings and their unique repair needs is essential to ensure that your instrument continues to produce the best possible sound.
Types of Strings and Their Unique Repair Needs
There are various types of strings used on different musical instruments, such as guitars, violins, and pianos. Each type of string may have its own unique repair requirements. For example, guitar strings are typically made of steel or nylon, while violin strings are made of gut or synthetic materials. Understanding the materials and construction of your specific instrument’s strings will enable you to address any issues effectively.
Guitar strings, being made of steel or nylon, are prone to breaking due to tension and frequent use. When a guitar string breaks, it can be replaced individually, allowing you to continue playing without having to replace the entire set. On the other hand, violin strings, made of gut or synthetic materials, require more delicate handling. Repairing a broken violin string involves carefully removing the damaged string and replacing it with a new one, ensuring proper tension and alignment.
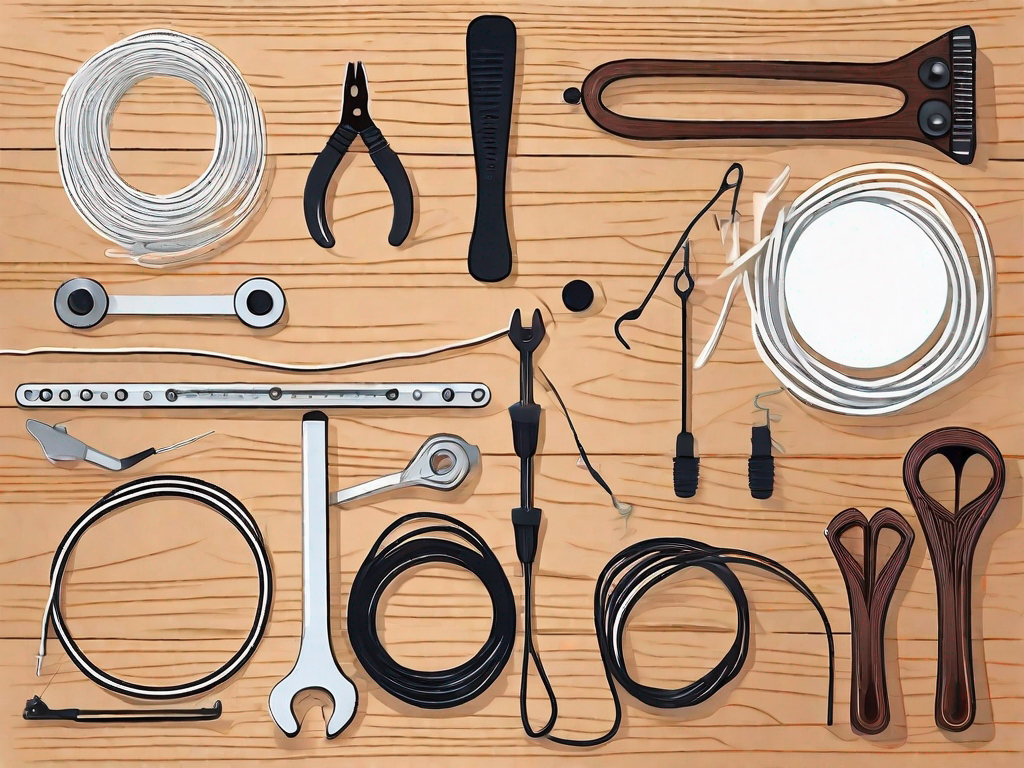
Essential Tools for String Repair
Before you start the repair process, it’s essential to gather all the necessary tools. To fix a broken string, you will typically need a set of pliers, wire cutters, a replacement string, and a string winder. These tools will allow you to remove the broken string and install a new one seamlessly. It’s always a good idea to keep these tools handy, as you never know when you might need them.
Pliers are useful for gripping and holding the string while you remove or install it. Wire cutters, on the other hand, are necessary for cutting the excess length of the string after installation. A replacement string is crucial to ensure that you have a suitable replacement for the broken one. Lastly, a string winder can make the process of winding the string around the tuning pegs faster and more efficient.
Having these essential tools readily available will save you time and frustration when it comes to repairing or replacing a broken string. It’s also a good idea to keep spare strings on hand, so you’re always prepared for any unexpected string breakages.
Preparing for the Repair Process
Now that you have a solid foundation of knowledge about string repair, it’s time to prepare for the repair process itself. Taking the necessary safety measures and assessing the damage will ensure a smooth and successful repair.
Safety Measures to Consider
Before you begin any repairs, it’s crucial to prioritize your safety. Always ensure that you have a stable work surface and good lighting to prevent accidents. A well-lit work area will allow you to clearly see the intricacies of the string and make precise repairs. Additionally, if you are working with sharp tools, such as wire cutters, be cautious and wear protective gloves if needed. These gloves will not only protect your hands from potential cuts but also provide a better grip on the tools, minimizing the risk of accidents. Remember, safety should always be your top priority when repairing strings.
Furthermore, it’s important to consider the safety of those around you. If you have children or pets in the vicinity, make sure they are kept at a safe distance from your work area. This will prevent any accidental injuries to them or damage to your repair materials.
Assessing the Damage
Once you are in a safe environment, it’s time to assess the damage to the broken string. Take a close look at the affected area and determine whether the string is fully broken or just partially damaged. Sometimes, a minor repair, such as a simple knot, can fix a partially damaged string. However, if the string is severely broken or frayed, you may need to replace the entire string.
When assessing the damage, pay attention to any signs of wear and tear on the surrounding strings. It’s possible that the neighboring strings have also been affected by the same factors that caused the breakage. Identifying these issues early on will allow you to address them proactively, preventing further damage and potential future repairs.
Additionally, consider the type of string you are working with. Different materials require different repair techniques. For example, nylon strings may require a different approach than steel strings. Understanding the characteristics of the string material will help you choose the most appropriate repair method and ensure the longevity of the repaired string.
Furthermore, take note of any other components that may have been affected by the broken string. For instance, if the string is attached to a bridge or a tuning peg, check for any signs of damage or misalignment. These components play a crucial role in the overall performance of the instrument, and addressing any issues with them will contribute to a successful repair.
By thoroughly assessing the damage and considering all relevant factors, you will be well-prepared to tackle the repair process with confidence and precision.
The Step-by-Step String Repair Guide
Now that you have taken the necessary precautions and assessed the damage, it’s time to dive into the step-by-step string repair process. Follow these instructions carefully to ensure a successful repair.
Removing the Broken String
The first step in the repair process is to remove the broken string. Using a pair of pliers, gently loosen and remove any tension on the string. Once the string is loose, carefully unwind it from the tuning pegs or bridge, depending on your instrument. Take your time to avoid any unnecessary damage.
Now, let’s take a closer look at the importance of removing the broken string properly. When a string breaks, it can leave behind sharp edges or fragments that can cause harm to your instrument or even injure you. By using pliers to loosen and remove the tension, you minimize the risk of any accidents. Additionally, being careful while unwinding the string ensures that you don’t accidentally damage other strings or the instrument itself.
Once the broken string is safely removed, you can move on to the next step.
Preparing the New String
With the broken string removed, it’s time to prepare the new string. Start by measuring the length needed for the replacement string, ensuring it matches the size and tension of the old string. Use wire cutters to trim the new string accordingly. Next, feed the trimmed end of the new string through the appropriate hole or slot on the instrument, depending on its design.
When preparing the new string, it’s essential to choose the right gauge and material. Different instruments require different string thicknesses and materials to produce the desired sound. Take into consideration factors such as the type of music you play and your personal preference. Experimenting with different strings can help you find the perfect fit for your instrument and playing style.
Once you have selected the appropriate string, it’s time to measure and cut it. By ensuring the new string is the correct length, you guarantee that it will fit properly and provide the desired tension. Using wire cutters, make a clean and precise cut to avoid any fraying or damage to the string.
Now that the new string is prepared, let’s move on to the final step.
Installing the New String
Once the new string is in place, slowly begin tightening it by turning the tuning pegs. Take care to tighten evenly to avoid any imbalances in the string tension. As you tighten the string, periodically check the pitch by plucking it gently. Continue tuning until the string reaches the desired pitch. Repeat the process for each remaining string, if necessary.
Installing the new string can be a delicate process that requires patience and precision. As you tighten the string, it’s crucial to maintain even tension to ensure a balanced sound across all strings. Uneven tension can lead to intonation problems and affect the overall playability of your instrument.
Remember to check the pitch of the string as you tighten it. Plucking the string gently allows you to hear its current pitch and make adjustments accordingly. By tuning the string to the desired pitch, you ensure that it harmonizes with the other strings and produces the correct notes when played.
Once you have successfully installed and tuned the new string, your instrument will be ready to play again. However, it’s important to note that strings naturally wear out over time, so regular maintenance and string replacement are essential to keep your instrument in optimal condition.
Troubleshooting Common String Repair Issues
While the string repair process is generally straightforward, occasional issues may arise. Familiarizing yourself with common troubleshooting techniques will help you overcome any challenges that come your way.
Dealing with Stubborn Strings
Sometimes, strings can be stubborn and refuse to stay in tune. If you encounter a string that constantly goes out of tune or fails to hold its tension, carefully inspect the string for any kinks or defects. Additionally, ensure that you have properly installed the string and have evenly tightened it. If the issue persists, it may be time to consult a professional for further assistance.
Addressing String Tension Problems
String tension plays a significant role in the performance and sound of an instrument. If you notice any excessive buzzing, rattling, or a lack of sustain, it may be a result of incorrect string tension. Adjusting the tension by tightening or loosening the strings can help alleviate these issues. However, be cautious when altering string tension, as drastic changes can potentially damage the instrument. It’s always a good idea to seek professional guidance when in doubt.
Maintaining Your Strings Post-Repair
Congratulations! You have successfully repaired your broken string. But the process doesn’t end there. To ensure the longevity and optimal performance of your strings, it’s essential to provide them with proper care and maintenance.
Regular String Care Tips
Regularly cleaning your strings with a soft cloth can help remove any dirt or debris that may accumulate during play. Additionally, using string lubricant can minimize friction and prolong the life of your strings. Lastly, store your instrument in a suitable environment, avoiding extreme temperature and humidity changes, as these can cause strings to deteriorate more quickly.
When to Consider Professional String Repair
While many string repairs can be done at home, there may be instances where professional assistance is required. If you encounter complex issues that you are unsure how to tackle, it’s always a good idea to consult a skilled instrument technician or repair specialist. These professionals have the expertise and experience to address any intricate problems and ensure the best possible repair outcome.
With this comprehensive guide, you now have the knowledge and confidence to fix a broken string. Remember to approach the repair process with patience and caution, and always prioritize your safety. With practice, you will become more proficient at string repairs, allowing you to focus on what truly matters – making beautiful music.